Metering is one of the most important aspects of film photography. A properly exposed photo will yield the best results–but what is good exposure and how do you get it? It all depends on the film you’re shooting, the light you’re shooting in, and the look you want. There are many types of meters and metering techniques, like in-camera metering, spot metering, incident metering, the sunny 16 rule, and even smartphone metering apps. Since there are so many ways to get a good exposure, we’re going over some of the more common ways to meter in this post.
In general, you do not want to underexpose film. In fact, it’s best to err on the side of overexposure–especially when shooting with color negative film and B&W film, which both have very good exposure latitude. Underexposing your photo will result in more grain, flat tones, and a lack of shadow detail. To avoid underexposing your film, avoid metering for the highlights which are the brightest part of the image. Instead, try metering for either the mid-tones or the shadows.
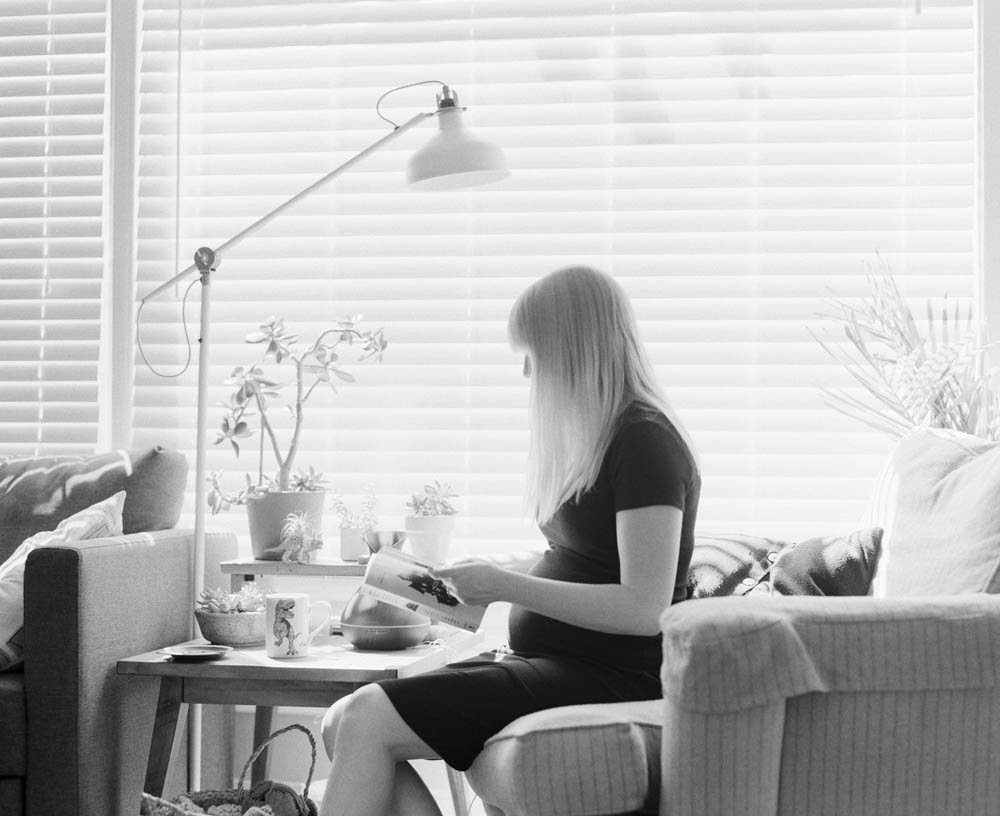
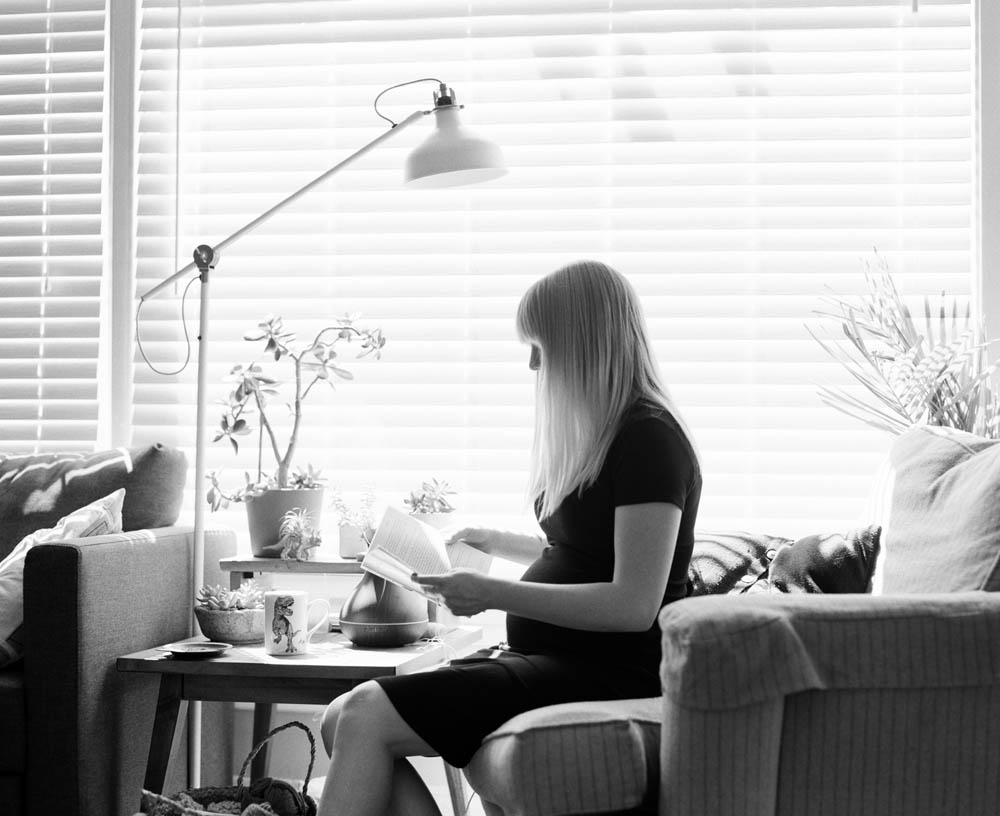
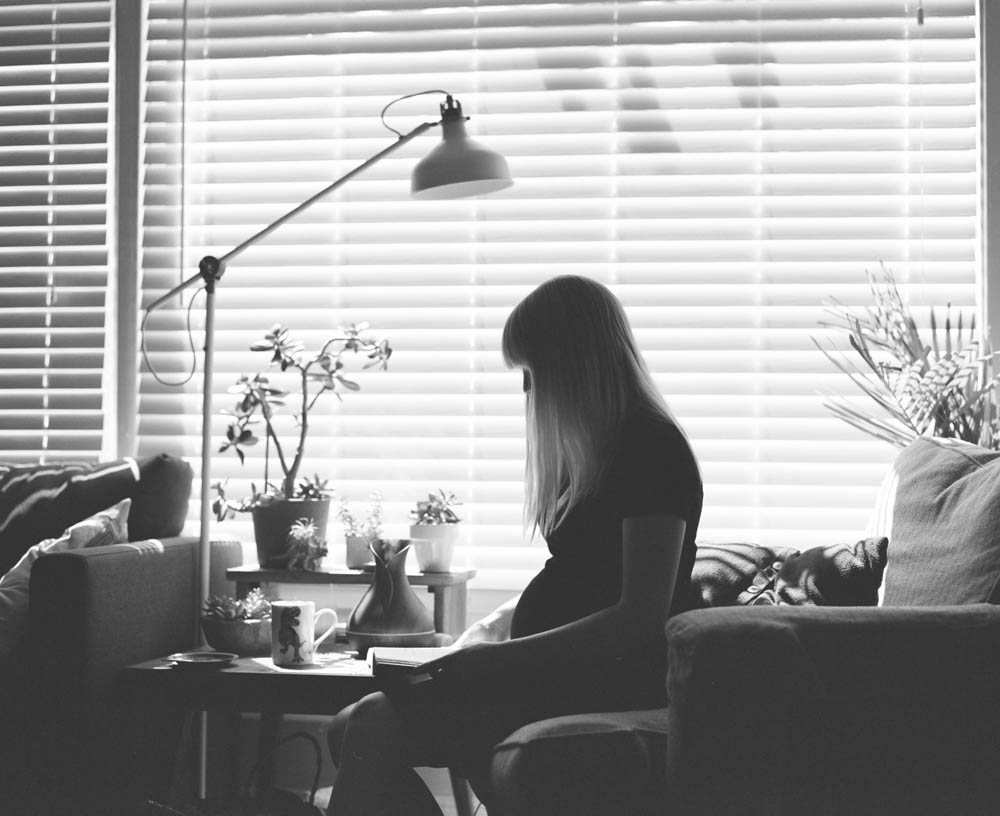
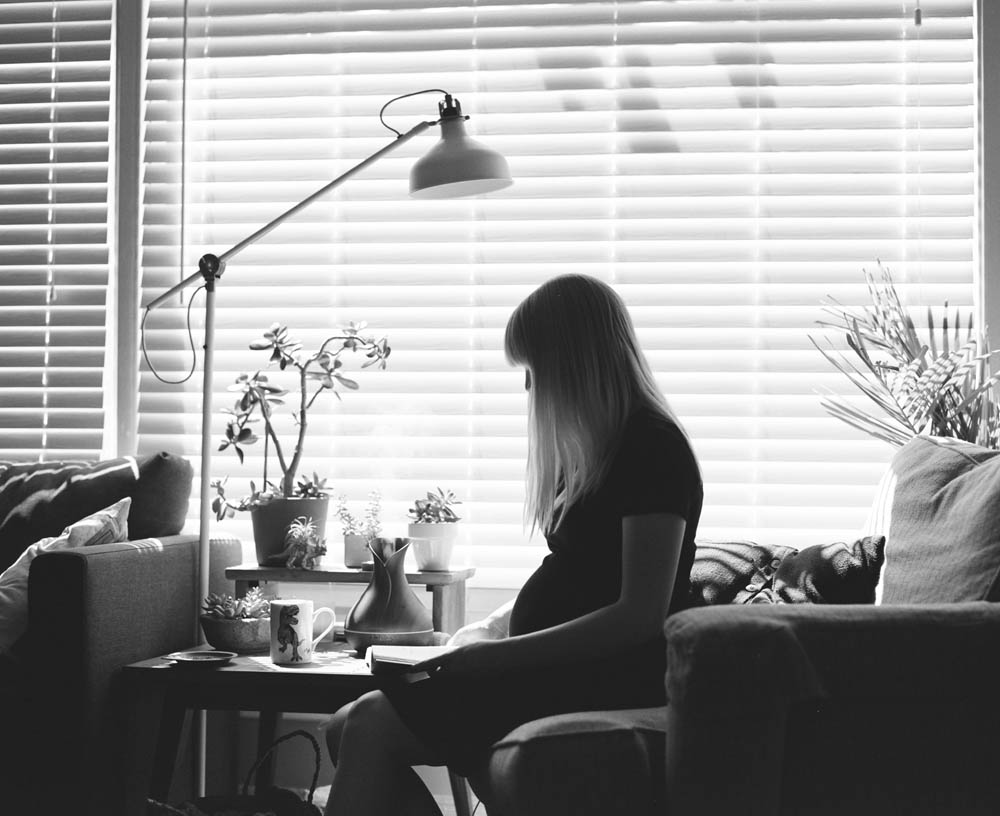
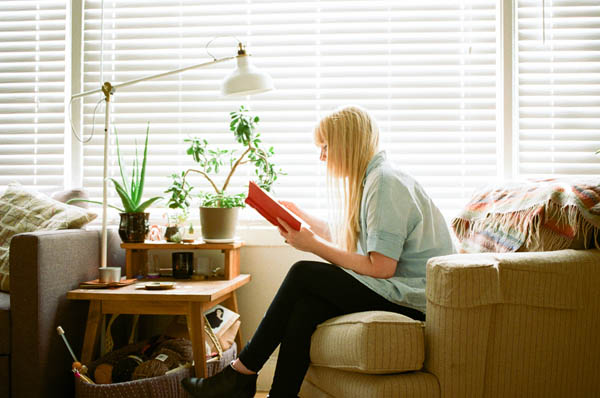
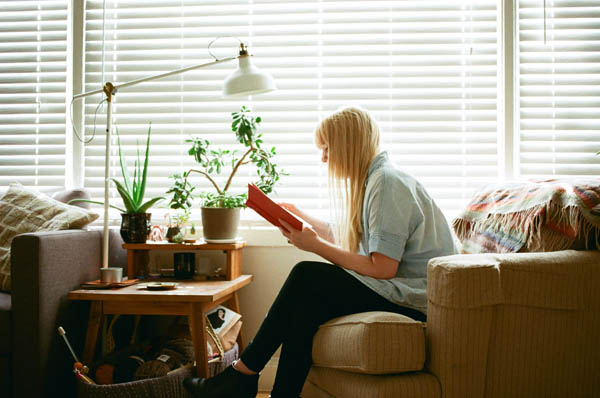
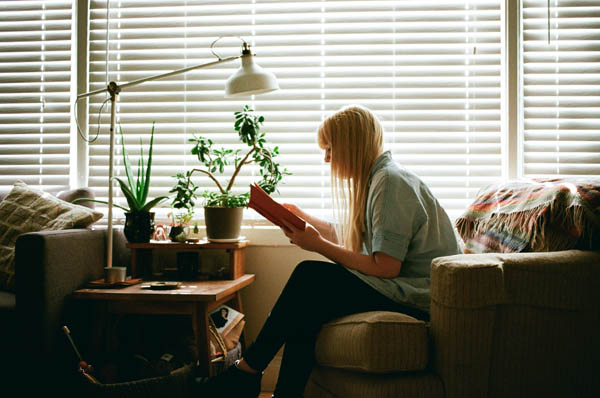
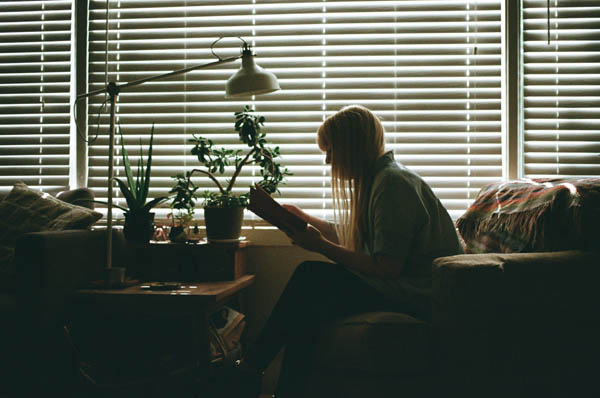
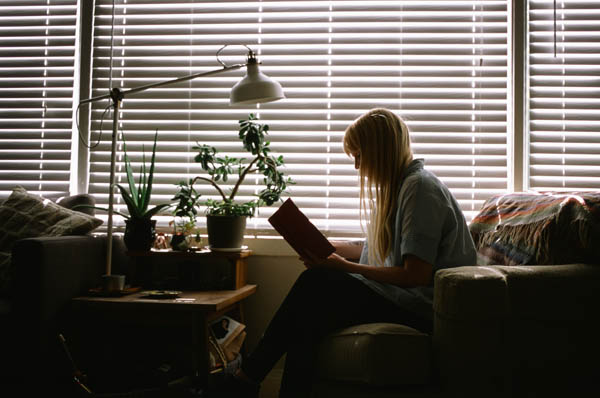
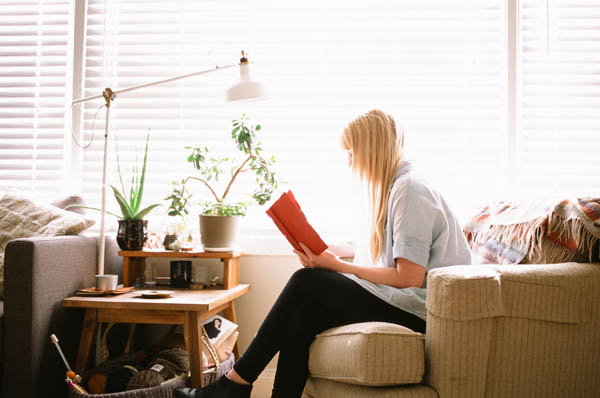
B&W typically has a wide range of exposure latitude, which means it does very well with overexposure. When shooting with B&W film, do not meter for the highlights–meter for either the mid-tones or even the shadows, depending on the light you’re shooting in. Below shows the wide range of exposure latitude that B&W film has. From the first to last image there is a 6 stop difference, the left was metered for the darkest shadows and the last was metered for the brightest highlight. We prefer the 60th at f/2.4 but it all comes down to preference really. If you want great shadow detail, meter for the shadows but say you want a silhouette then you would meter for the highlights.
15th at f/2.4
60th at f/2.4
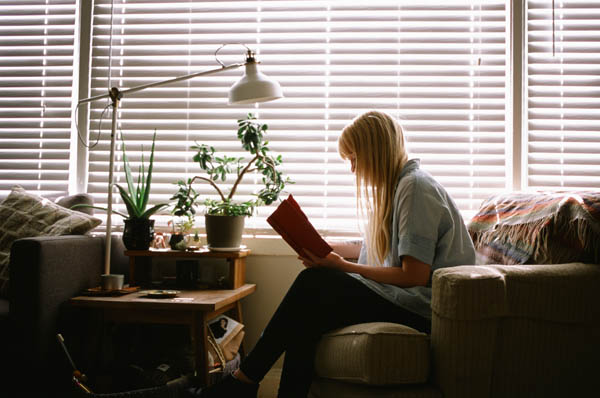
250th at f/2.4
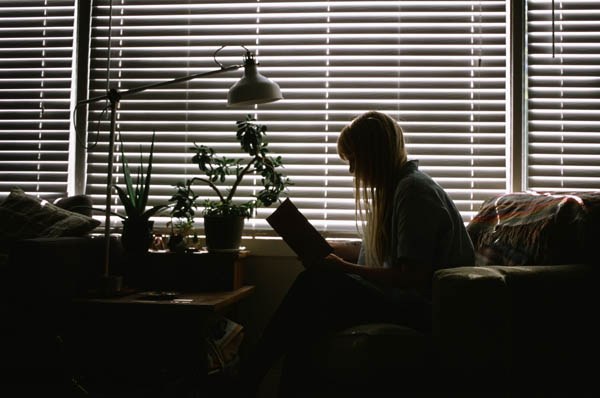
1000th at f/2.4
30th at f/2.4
125th at f/2.4
500th at f/2.4
Color Negative Film
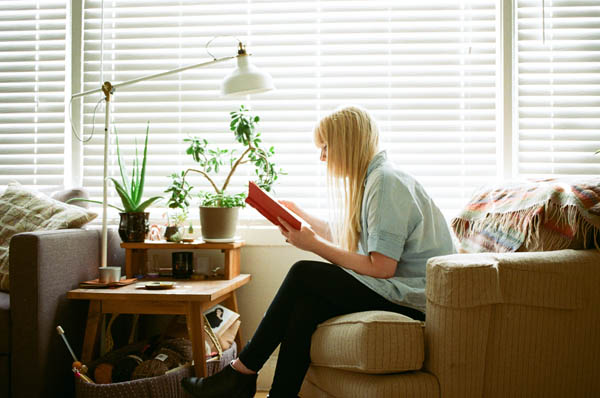
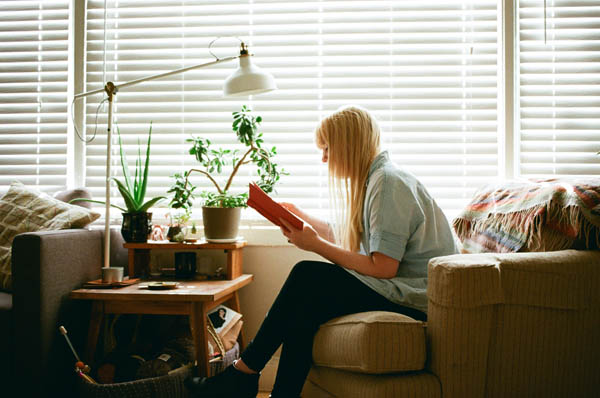
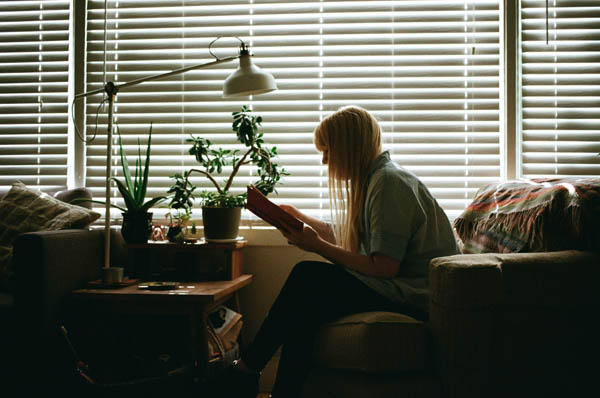
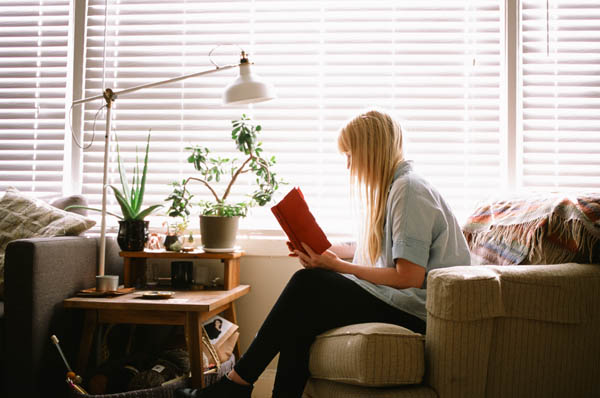
Like B&W film, color negative film typically has very high exposure latitude, meaning it does well with overexposure. As you can see in the samples below, the first photo was metered for the shadows which was the darkest part, therefore, it’s the brightest image and because of the amazing latitude of Kodak Ultramax 400 the highlights didn’t completely blow out. The last three photos are all underexposed. This can happen when in-camera meters meter for the highlights– to avoid this, point your camera at the darker part of the image/your subject, and use that meter reading.
30th at f/2.8
125th at f/2.8
500th at f/2.8
2000th at f/2..8
60th at f/2.8
250th at f/2.8
1000th at f/2.8
Slide Film
Slide film is much more touchy when it comes to overexposure and, while you definitely do not want to underexpose it, you also do not want to overexpose too much since it has less exposure latitude than negative film. It’s best to meter for the mid-tones and if you’re taking portraits, meter for the skin tones. It also helps to shoot in even light and avoid spotty/contrasty light. In the samples below you can see that overexposure will blow out the highlights but underexposure results in a loss of shadow detail. The third photo is the best balance and was metered for the skin tones with an incident meter.
8th at f/2.8
30th at f/2.8
125th at f/2.8
15th at f/2.8
60th at f/2.8
250th at f/2.8.
Metering Techniques
In-Camera Metering
Metering in camera is the most common way to meter. Most film cameras have built-in meters which are usually very easy to use and very accurate if used correctly. Although in-camera meters are very common, not all in-camera meters are the same. Some are more complex and have more advanced metering modes. For instance, newer film cameras like Nikon and Canon have multiple options: matrix/evaluative, center-weighted, and spot metering.
Matrix(Nikon) & Evaluative(Canon) metering divides up the entire frame, considering many factors like light and dark tones, where you focused, distance, highlights, and shadows. It’s very smart, BUT it doesn’t always get it right, especially in back lit scenarios.
Center-weight metering is a more precise technique for portraits and subjects that are backlit. It basically evaluates the light in the middle of the frame and ignores the rest of the frame.
Spot metering evaluates light only around the focus point and ignores everything else. Therefore, it’s the most precise of the three.
Not all film cameras have all of these options, but most do have center-weighted meters. In-camera center-weighted meters work well in even light but when shooting in more contrasty light you’ll need to pay close attention to what light you’re metering for, especially in backlit situations. For instance, if you’re taking portraits of someone who is backlit by bright sky you want to be careful not to meter for the sky which would silhouette them, instead, meter for the shadows. To do this, you’ll either need to get closer to the subject or meter at their feet where it’s darker matches light that hitting your subject.
To master your in-camera meter we highly recommend taking notes on how you meter which will help you get to know your camera meter better and eventually it will be secondhand nature.
Incident Metering
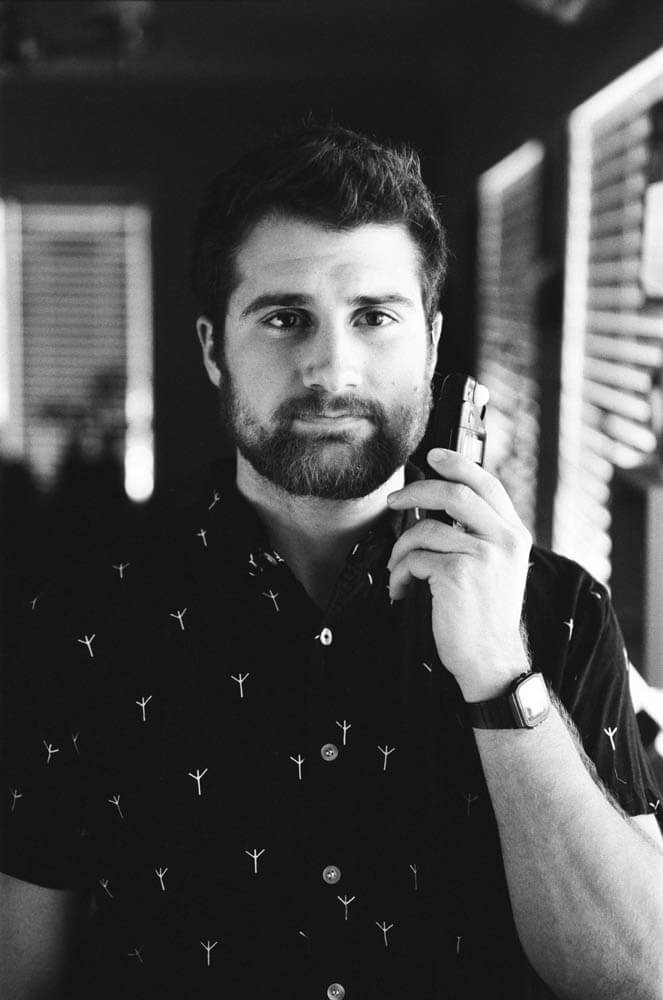
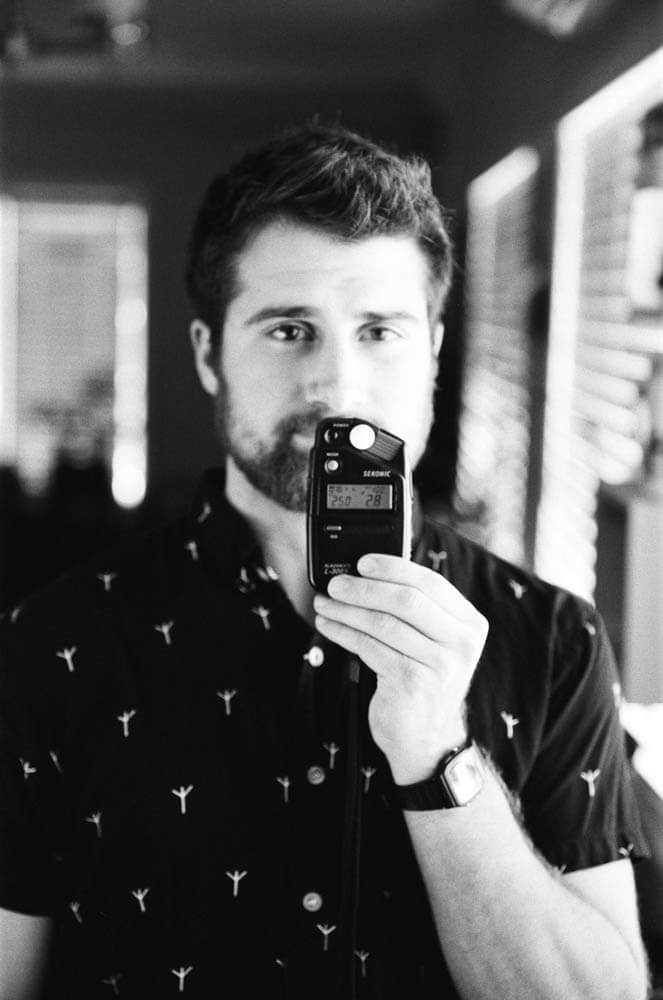
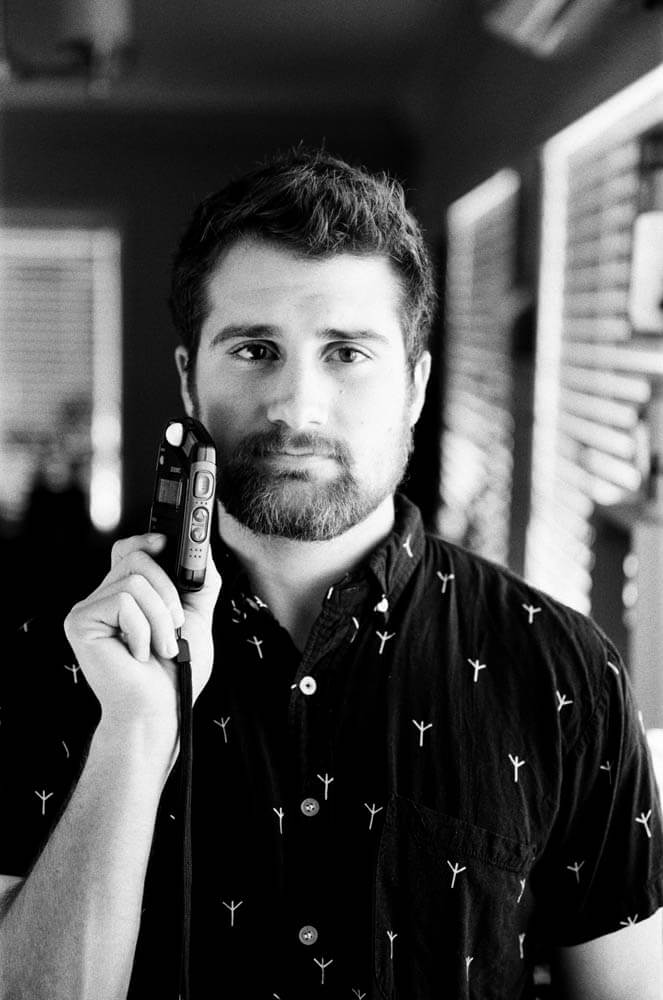
External handheld incident meters evaluate the light hitting your subject by averaging the shadows and highlights in your scene. If you were taking a portrait, you would place the meter near your subject so that the light that hits your subject hits your incident meter.
Incident meter for highlights, F/2.8 @ 500th. Metering for the highlights will make your shadows darker which less shadow detail.
Incident meter for highlights, F/2.8 @ 500th.
Incident meter for mid-tones, F/2.8 @ 250th. Placing the meter in the middle reads the highlights and shadows and give you a average meter reading.
Incident meter for shadows, F/2.8 @ 90th.
Incident meter for shadows, F/2.8 @ 90th. Metering for the shadows will give you better shadow detail and if you’re shooting with negative film, which has high exposure latitude, most likely won’t blow out.
Incident meter for mid-tones, F/2.8 @ 250th.
Spot Metering by Mat Marrash
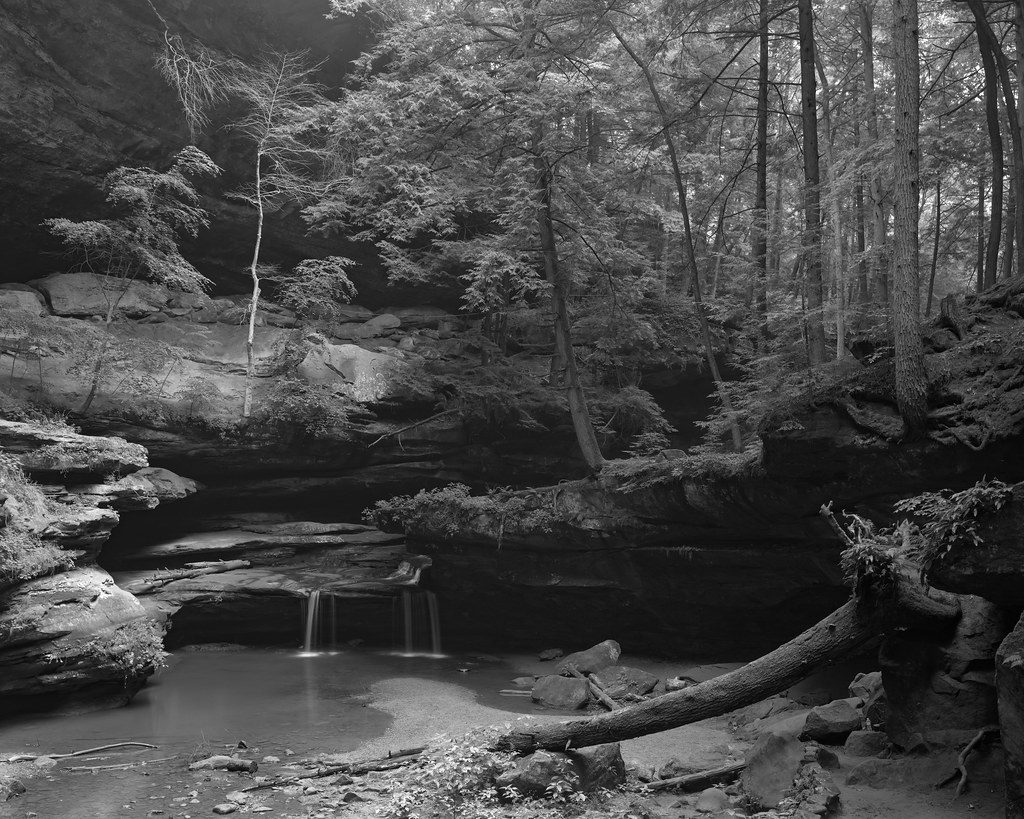
One of the most useful pieces of equipment in my landscape photography kit is my handheld spot meter. It’s an incredibly simple device and is one of the few pieces of gear that requires batteries to operate (thank goodness!). A spot meter is a tool for taking a reflected light measurement from a tiny portion of the scene, anywhere from a 1 to 5-degree angle of view. When working with a limiting medium like film, it helps to know precisely where parts of a photographic scene will fall when you make an exposure. Let’s take this photograph for example.
It was early morning when I made this photograph and sunlight was just beginning to peek out from the trees in the background. I wanted to capture the feeling of the light striking the rocks to the left side of the frame but also wanted to showcase all the little details underneath the waterfall. My trusty spot meter, a Sekonic L 778, was able to take reflected readings up to 100m away while I and the 8×10 camera were ready to make an exposure. I actually made multiple pictures of this scene, one with expired Kodak Ektachrome E100G, and then the one above with Ilford HP5+. Each exposure relied on information from different places in the frame.
Side note: When you’re just starting out with metering, it’s handy to take notes as there are a lot of factors at play. The more information you take with you, the quicker you can learn your gear.
Since slide film has a lower dynamic range than B&W film, I had to make careful measurements of the highlight regions and consider those as an area 2-3 stops brighter than where I was making the exposure. For the B&W film, my main area of importance was the shadows. Typically, I’ll take a reading of the shadows that I want details in and consider those areas 1-2 stops darker than where I’m making the exposure. Without getting into a full-blown lesson on The Zone System, this is my most basic use of the spot meter; Gathering information on values and placing them along a scale from black to white.
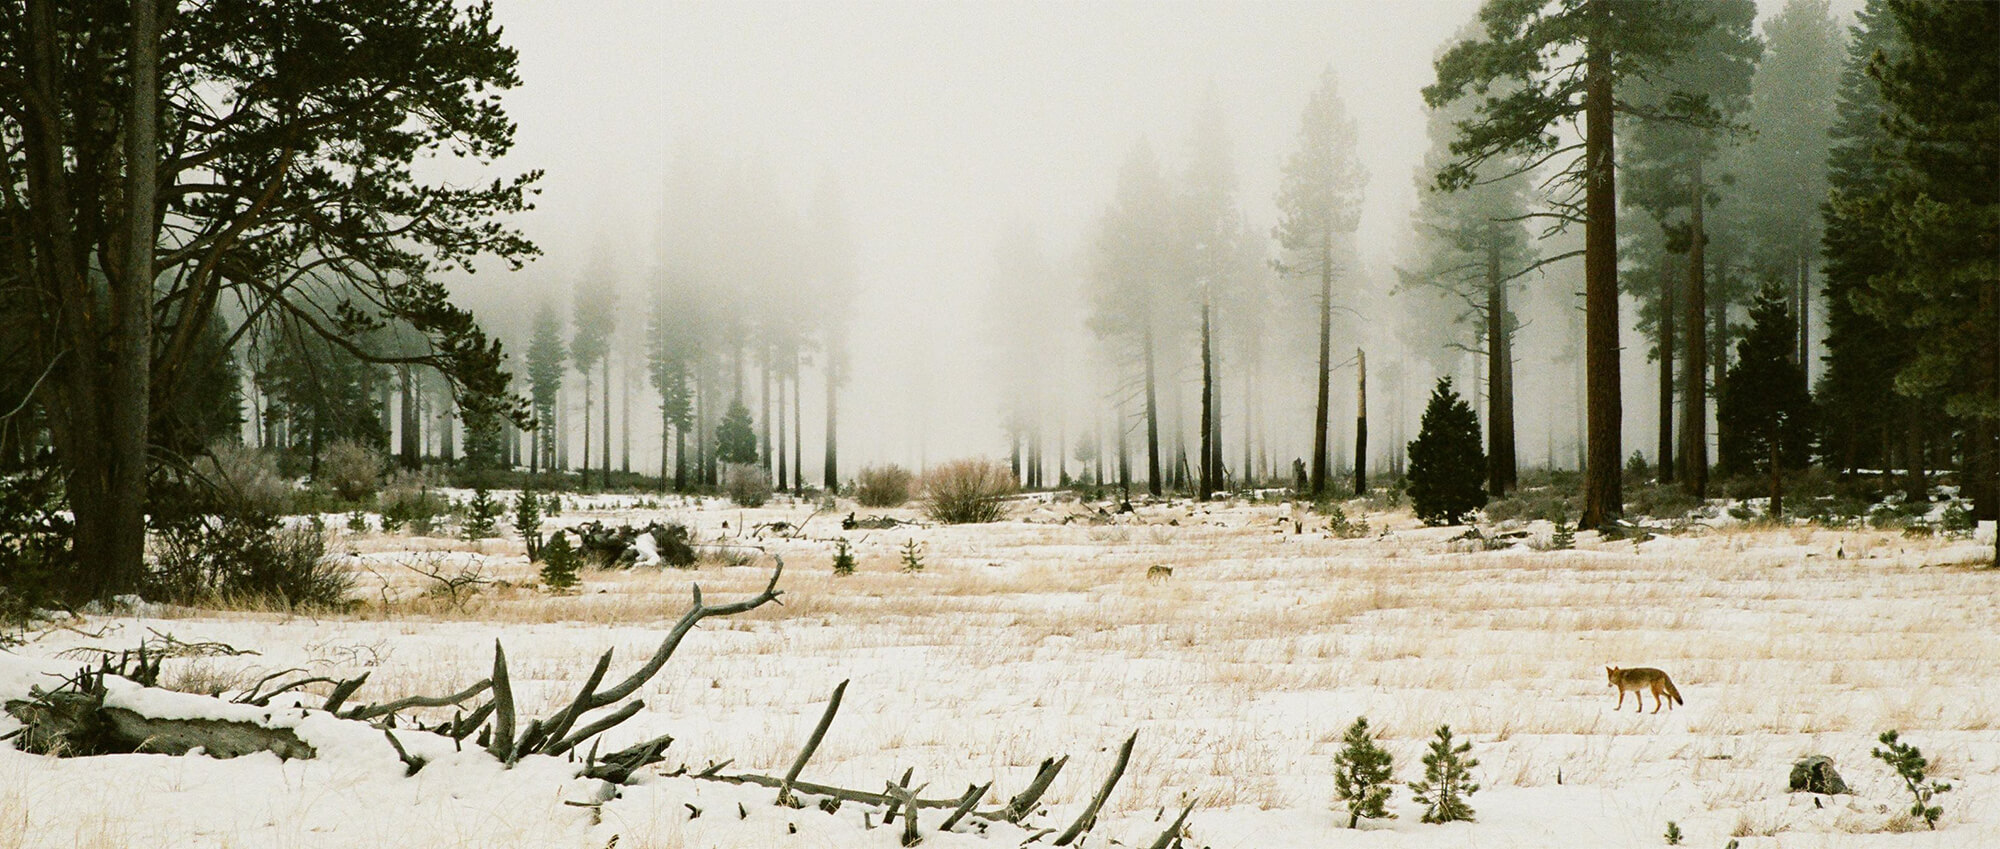
How do you meter for scenes like this?
Bright/white/reflective scenes like this can often trick a light meter because they will read brighter than what they really are which can result in an underexposed photo. That’s why both of these shots were overexposed by 1 stop while metering in-camera with a Canon Elan 7. The amazing thing is these two photos could’ve been shot 2 more stops brighter and the highlights still wouldn’t have blown out since Kodak Portra 400 has such great exposure latitude 🙌🏼.
Sunny 16 Rule
If you shoot with a mechanical camera with no light meter, a manual camera with broken meter, or you just want to learn how to shoot without using a meter with this is a great technique for you. The Sunny 16 rule will help you shoot without a meter and it’s very accurate when done right.
Set your aperture based on your conditions.
Set shutter speed* to match the film iso you’re shooting.
100iso = 100th | 200iso = 200th | 400iso = 400th | 800iso = 800th *Round down if your camera doesn’t have the specific shutter speed. Example – both 100th, shoot at a 60th, no 200th, shoot at 125th.
Keep in mind, the Sunny 16 Rule is less of a rule and more of a guide. It’s really a starting point—and the more you use it the better you’ll understand it. When using this technique we recommend shooting only color negative and black & white film, which both have great exposure latitude. This way, you can safely err on the side of overexposure without worrying about blowing out your highlights.
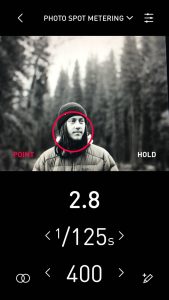
Smartphone Light Meter App
Incorrect Metering. Metered for Highlights.
You might be surprised how accurate most of the smartphone light meter apps are. They work well if you don’t have an external or in-camera meter or if you want a second option to your in-camera meter. Most of the light meter apps are free and work similarly to most external meters; you just select your film iso, point your phone at the scene you’re photographing, and tap on the area you want to meter for. The app will suggest an aperture as well as shutter speed, both of which can be adjusted. If your subject is far away in a scene with contrasty light it’s best to get close to your subject to get an accurate meter reading then go back and frame your scene using that meter reading.
Some smartphone apps we recommend are; the Lumu Light meter, Pocket Light meter, and the Lux – Professional Light Meter, which are all free.


 Gift Cards
 Film Index
 FAQ
FAQ 35mm
35mm 120/220
 Single Use Cameras
 110/126/Advantix
 Sheet Film
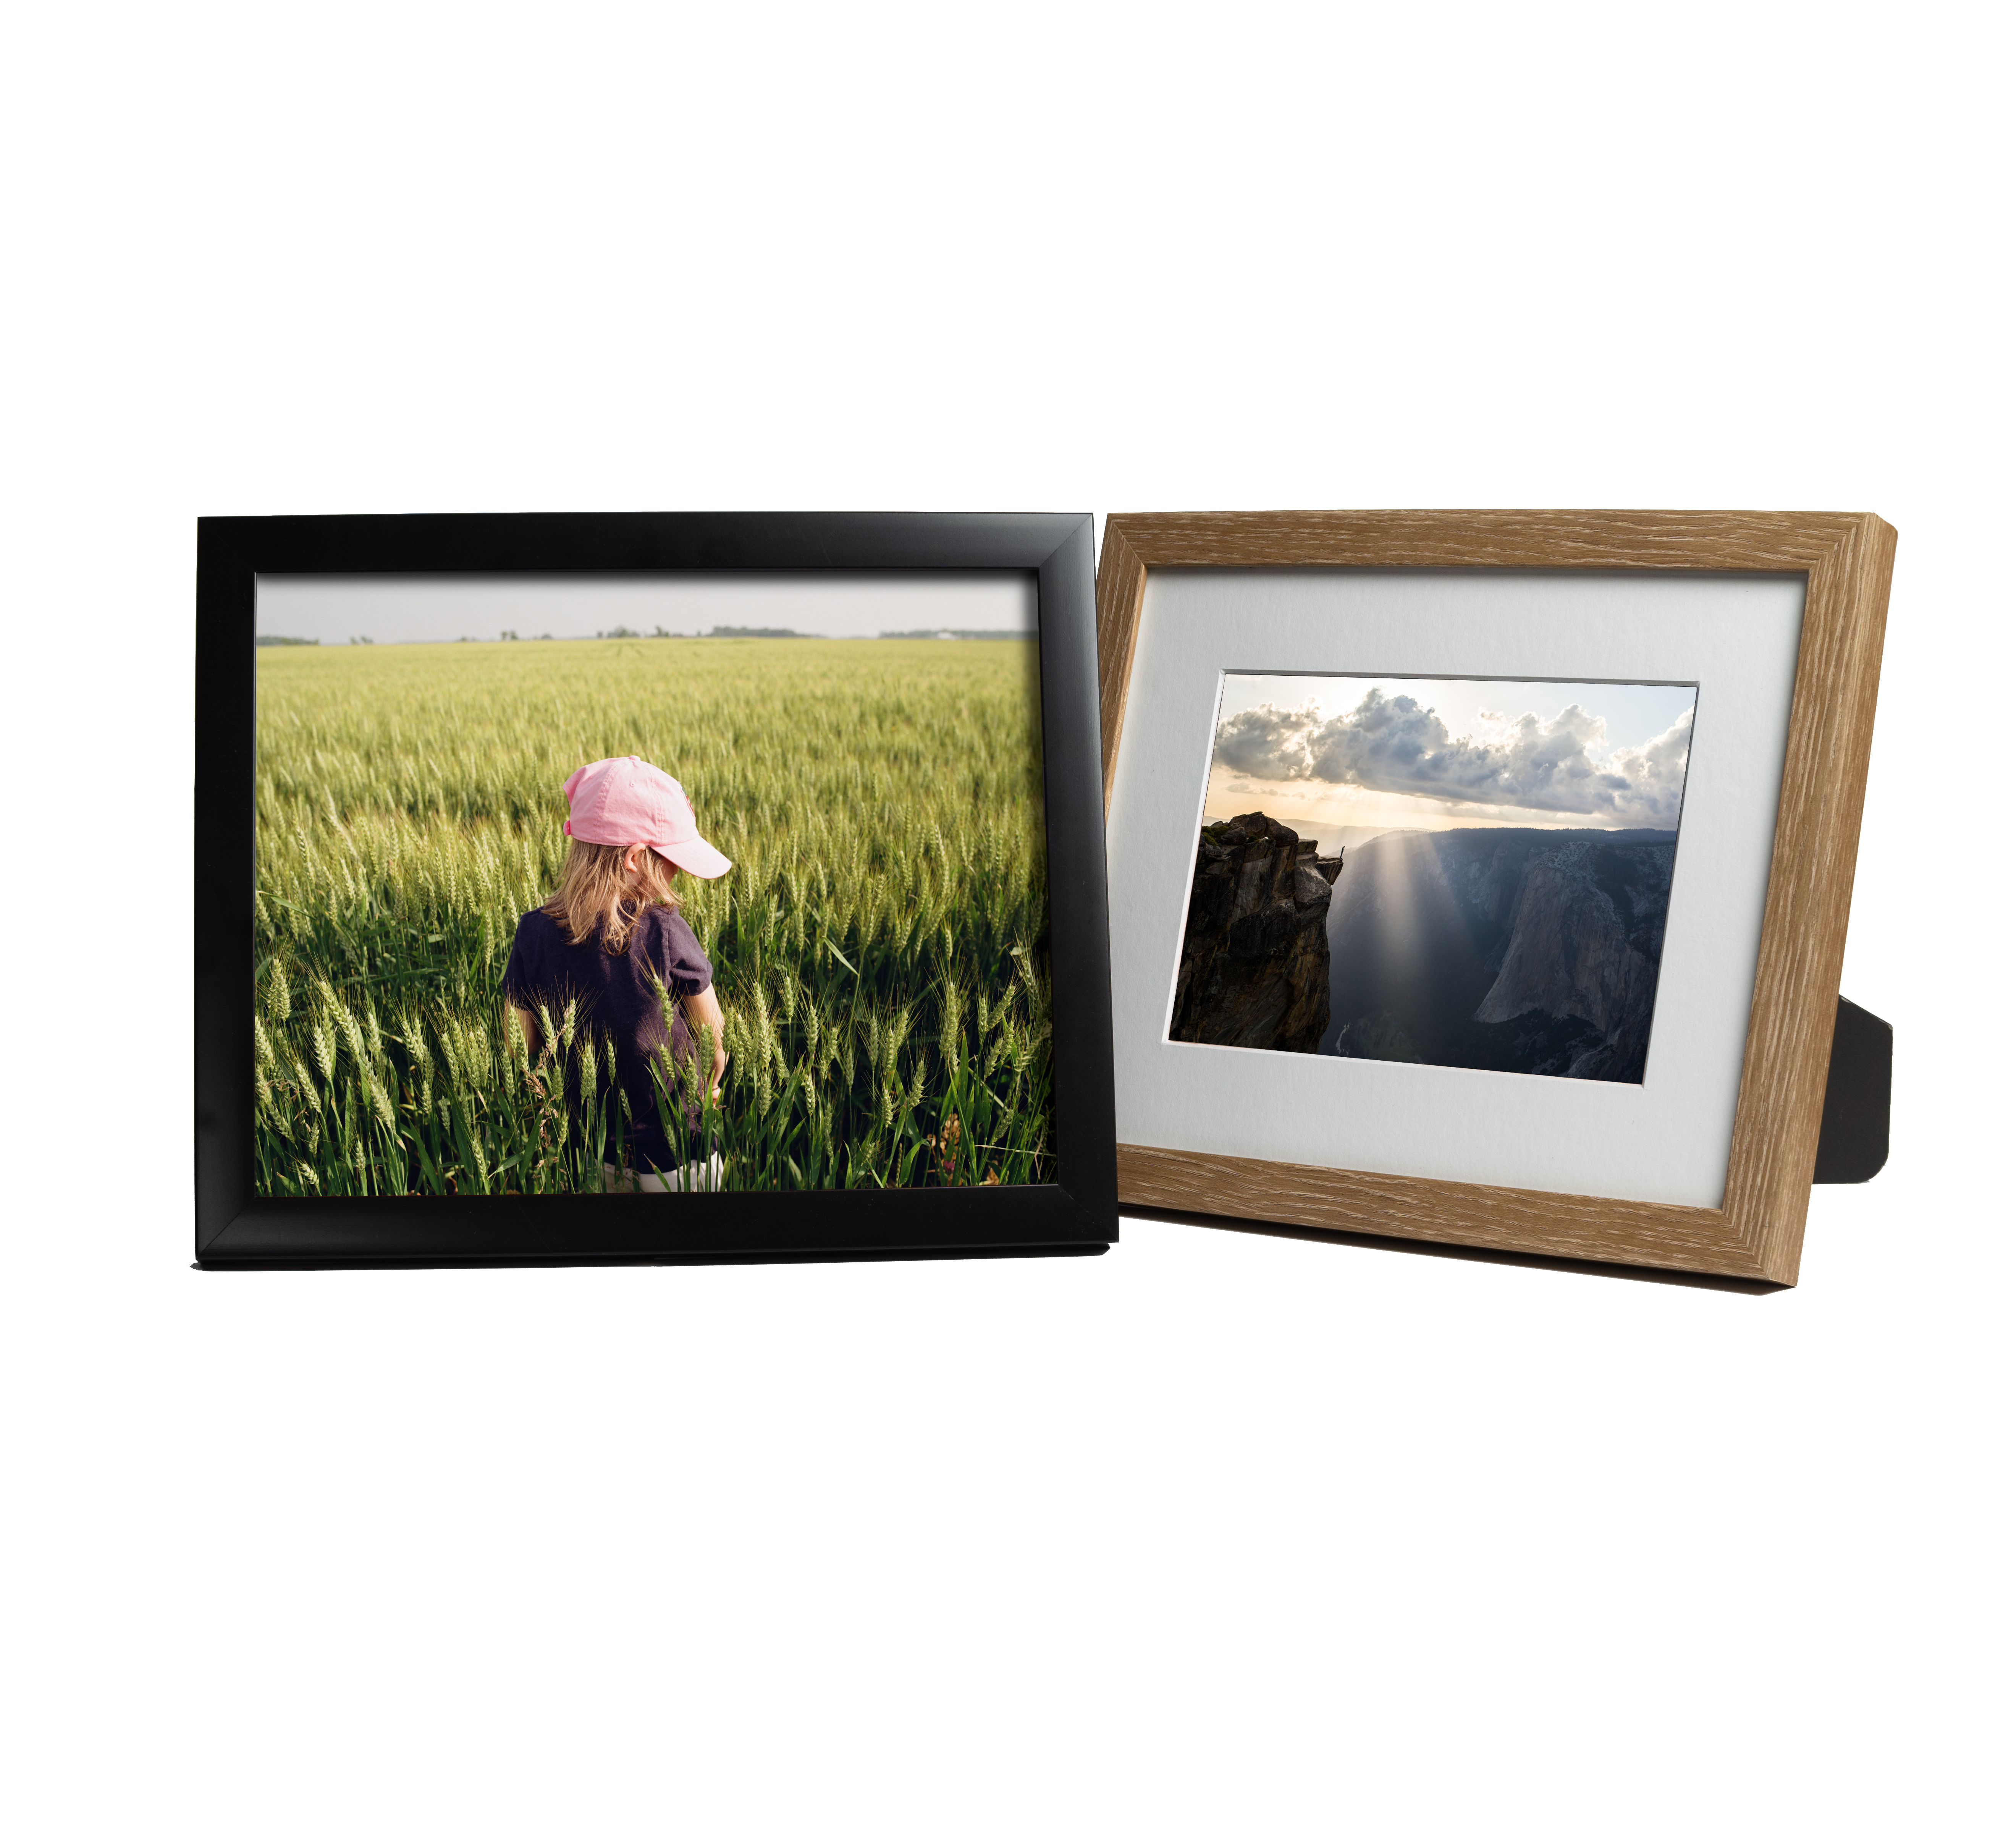
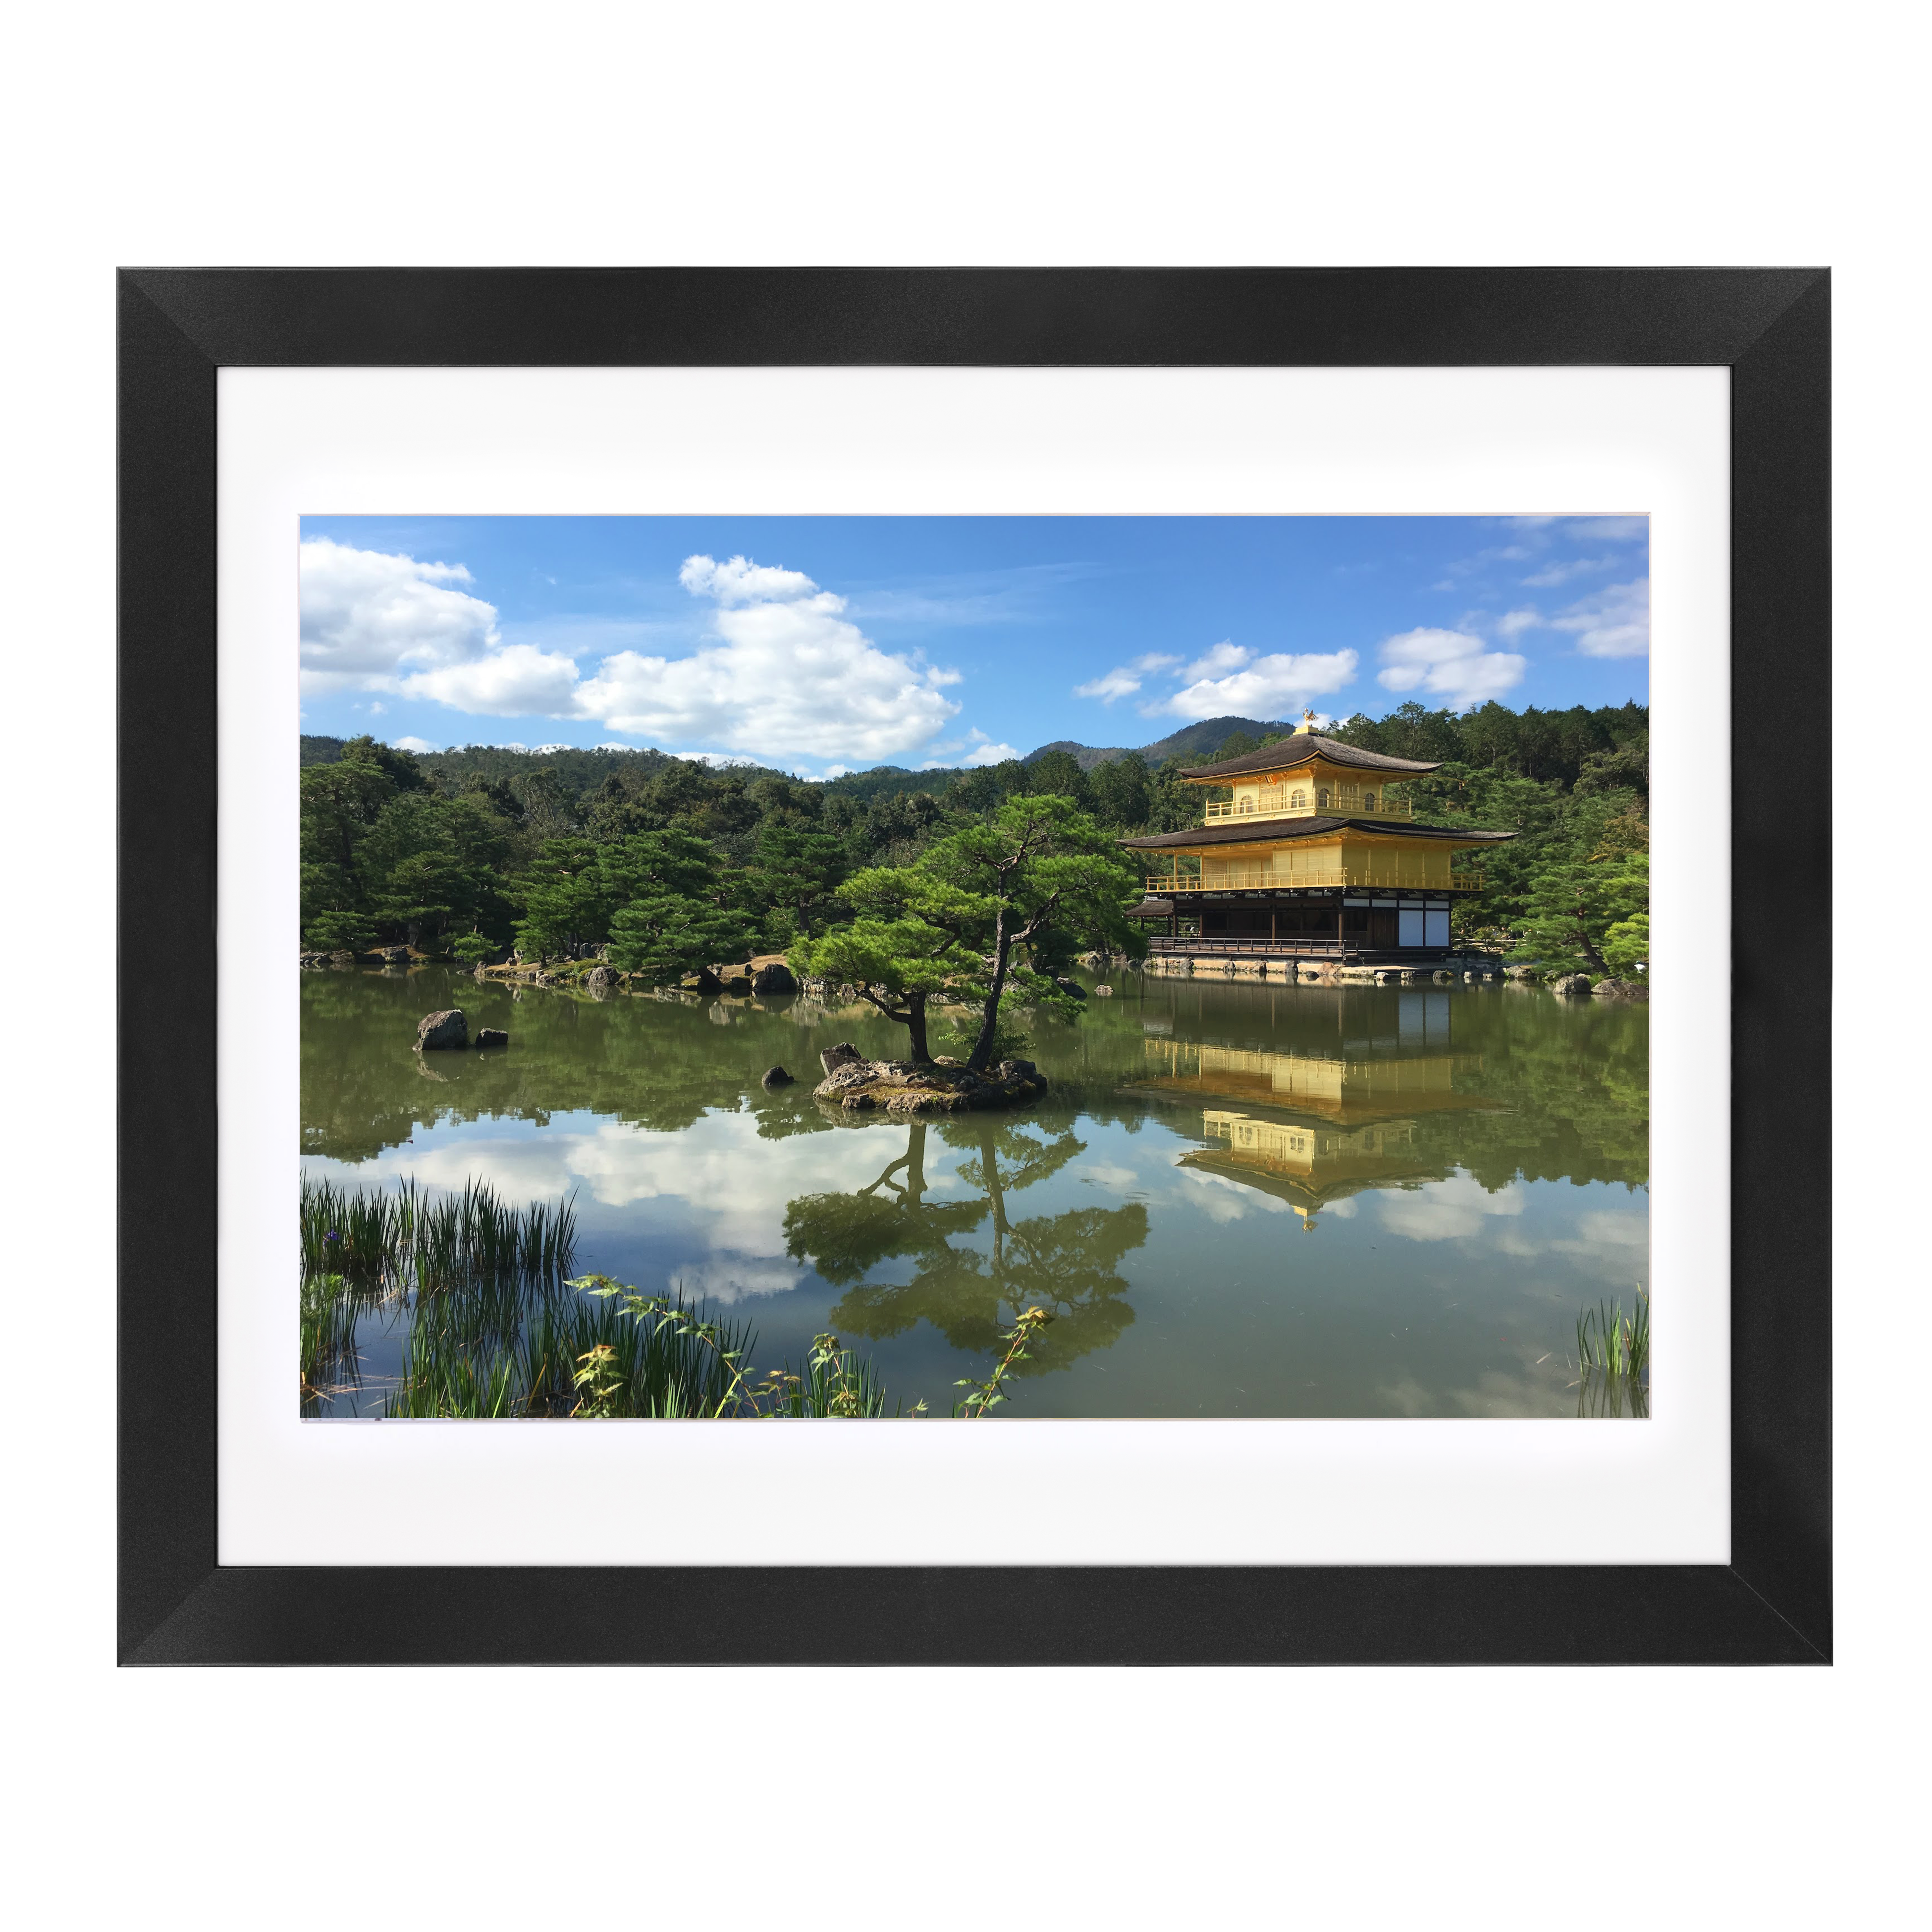
 Desktop Framed Prints