


 FAQ
FAQ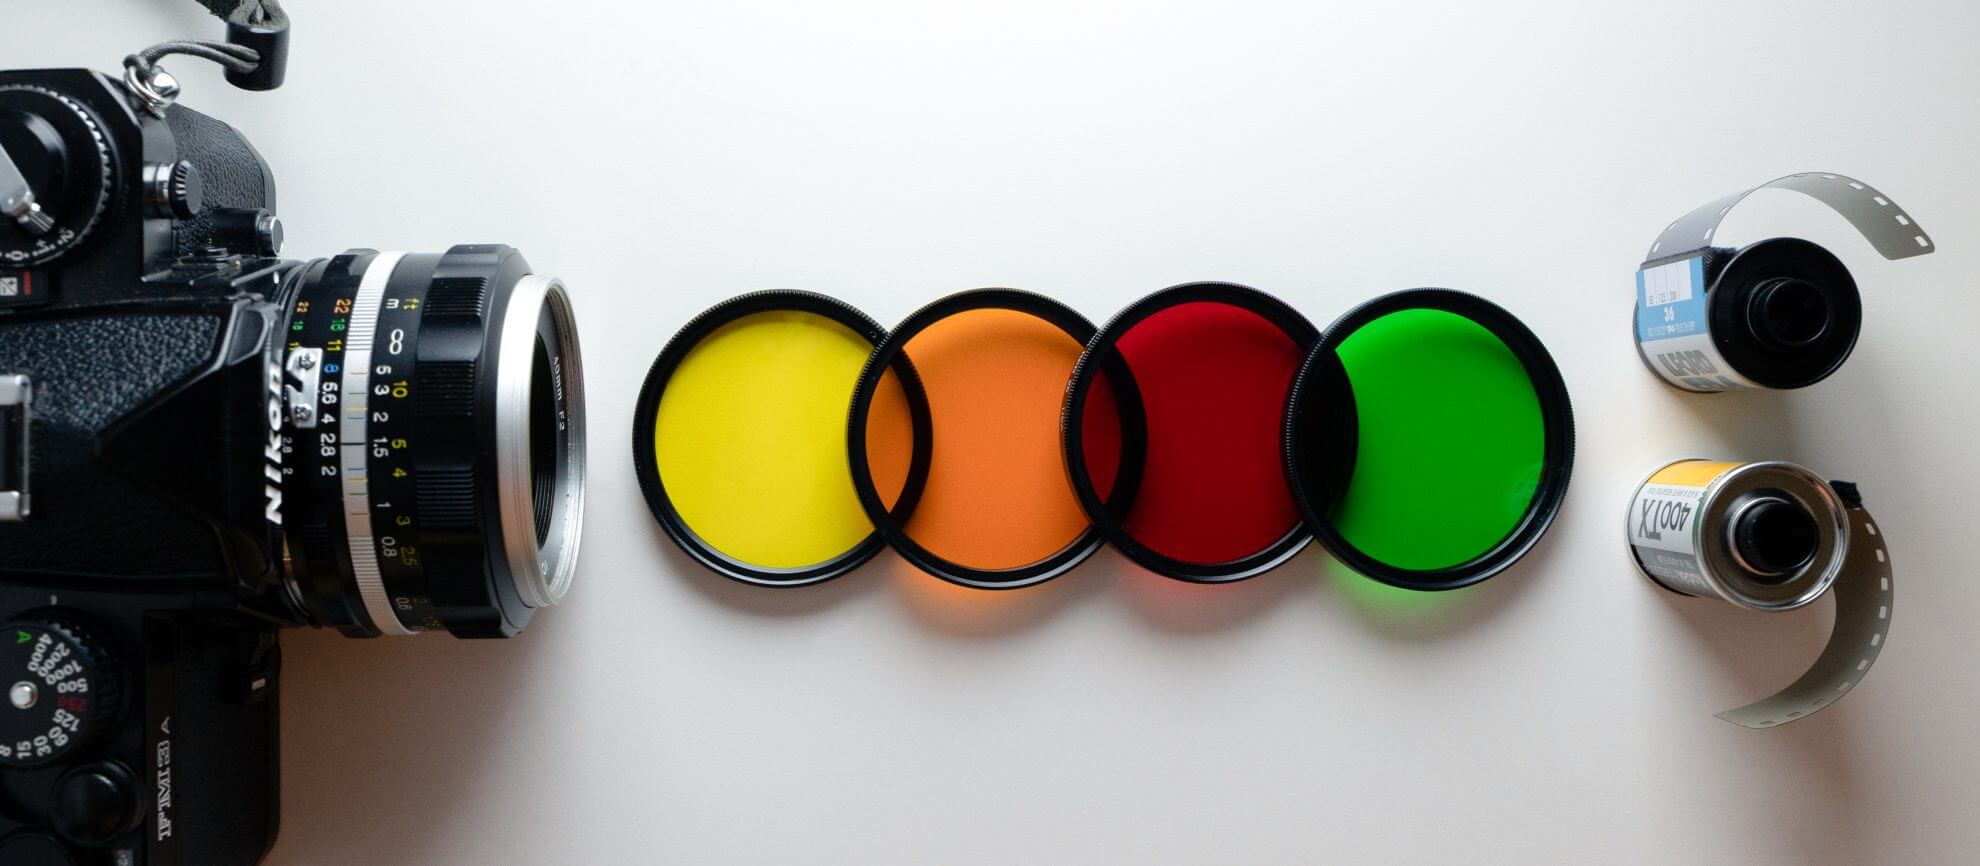
Our guide will explain using yellow, orange, red, and green with black and white film photography. We’ll discover when best to use them and the kinds of outcomes achieved with each color. There will also be tips and examples showing each of the filter types. You’ll also find some great resources at the end to reference our B&W Film Index and make sure you have what you need for processing and printing.
How Do Color Filters Affect B&W Film?
When you shoot black and white film, it’s tough to get the same effect as shooting color. B&W film records the colors of light as white, and color filters block some wavelengths from being captured. When taking pictures, they act as sunglasses, filtering out specific frequencies to not distract from your picture’s quality. The process often makes objects appear clearer because their background has been eliminated, along with all those pesky reflections that can get in people’s shots without asking. Colored lens filters can help to ensure objects remain well defined in images while still providing some vibrancy for mood shots or scenery backgrounds.
Choosing the Right Color Filters
As a B&W film photographer, you probably know that there is a lot of debate about using colored filters in your photography. Some say they should not be used at all, while others believe that they can add interesting effects to the final image. Many kinds of color filters are available today, but most photographers use these standard colors; yellow, orange, red, and green. These colored filters have been around since the early days of film photography and have been used by professional photographers ever since then.
Cons to Consider When Using Color Filters
The color filters covered in this article refer to the circular type. Mounting lower-quality filters on the front of a lens can increase the risk of flare. However, some filters with more expensive and advanced coatings can overcome this risk. Although, flare can happen with good filters as well which is why it is good to have a lens hood as well.
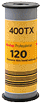
Each filter reduces the amount of light transmitted by 1 to 4 stops and could significantly affect your shooting style. It is recommended to use a film such as Delta 400 or Tri-X 400.
400 ISO film will still allow enough light even with -4 stops. In obtaining test shots for this article, we were able to shoot with 50 ISO and 100 ISO with a red filter during the day without a tripod. A tripod is a great way to achieve balance as pushing film increases contrast (as do filters) so the contrast could get way too strong especially with a red filter.
Most newer cameras use TTL metering to correct the impact of filters automatically. Some older models will need to have exposure adjusted manually – reference an owner’s manual to see how your camera meters correctly. However, beginners should stick to a film camera with TTL metering until they get used to the process and outcomes of using colored filters. It is also essential to consider the use of SLR versus Rangefinder-style cameras. With an SLR, you will see the impact of the color filter when framing the shot. However, with a rangefinder, you won’t see how the color filter impacts as you are not looking through the lens.
Using Color Filters
To get a more creative and exciting look for your black and white photos, be sure to not only convert them with the right color filter but also experiment by using an assortment of different ones.
If certain colors in a scene seem too similar, it can make the B&W picture relatively flat and milky. You can change this mood by adjusting the color contrast. A color filter allows you to alter accents of colors in different tones from their original representation.
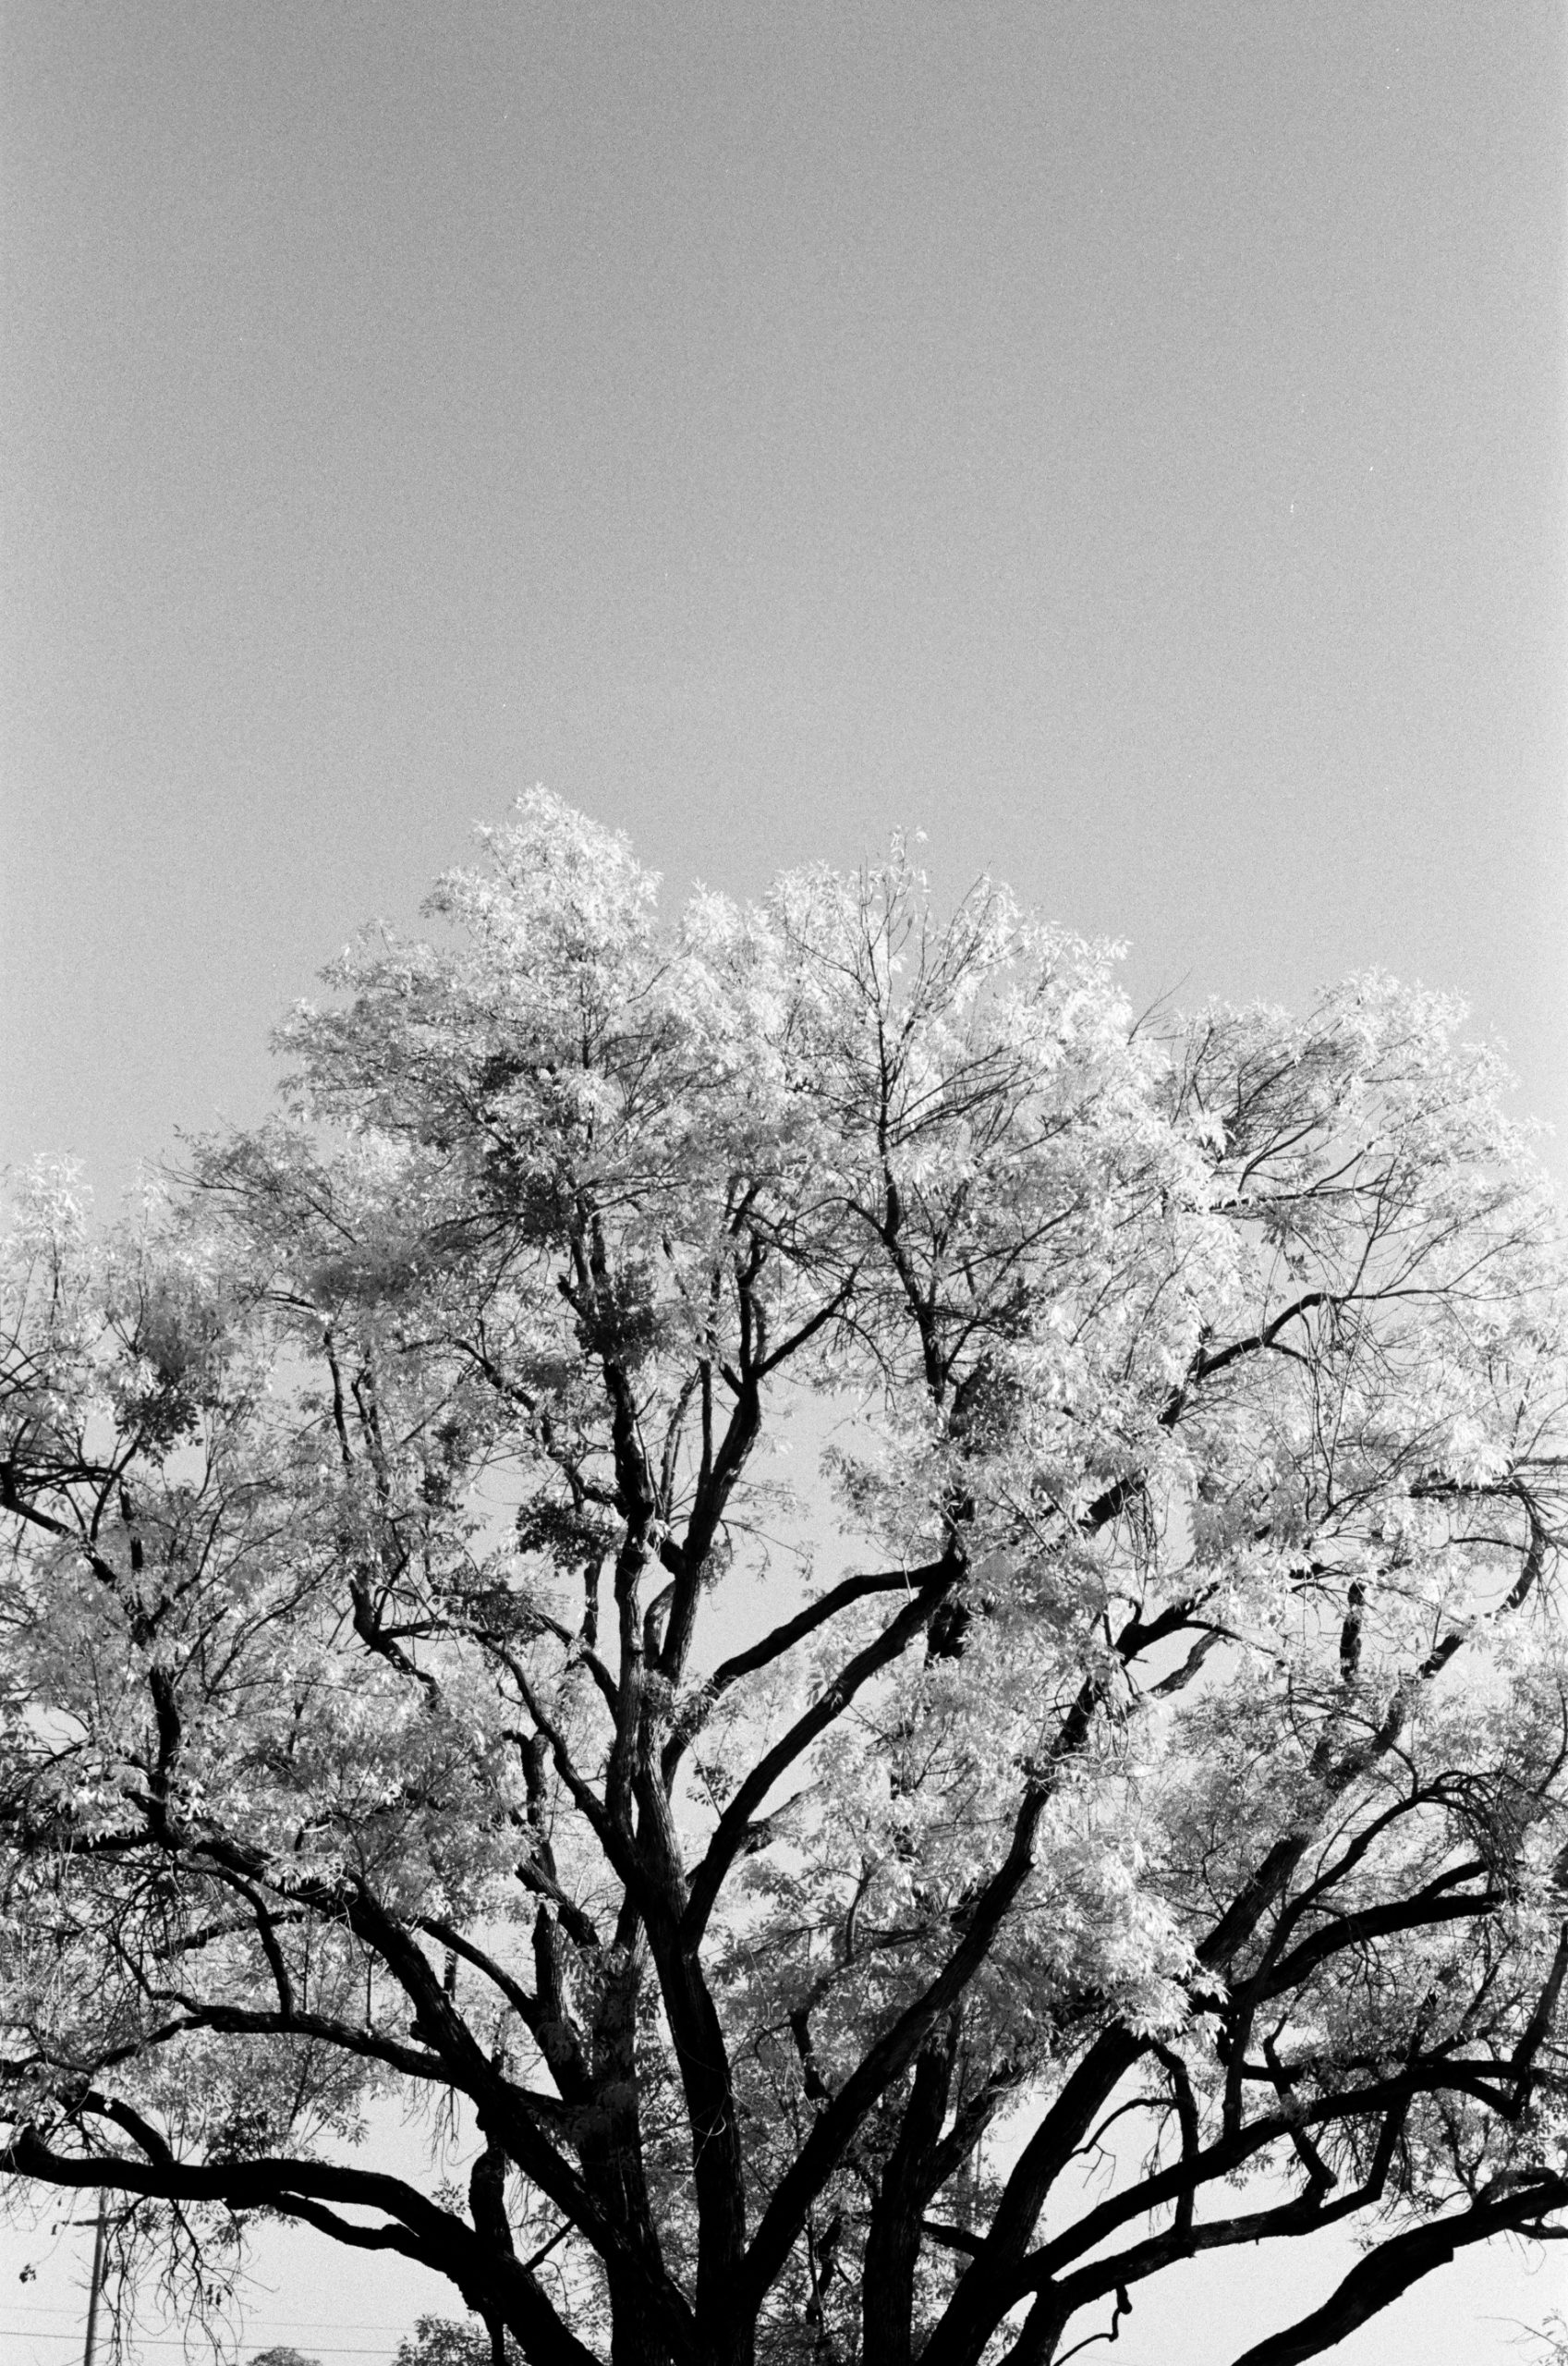
Yellow Filter (-1 Stop)
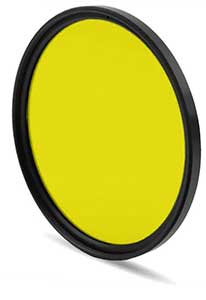
A yellow filter gives an excellent balance between photographic effect and ease of use. Many people like to “bring out their clouds” with this type. The yellow filter darkens blues but reproduces green and other colors in lighter shades. It gives more differentiation between different kinds of leaves while flesh tones have a natural look. It works well with pictures containing people against an environmental background.
Ilford PANF 50 with a 12 Yellow Tiffen filter made the blue sky slightly darker which made the clouds more 
Ilford PANF 50 with a 12 Yellow Tiffen filter which added some contrast, giving this photo a more dramatic look. 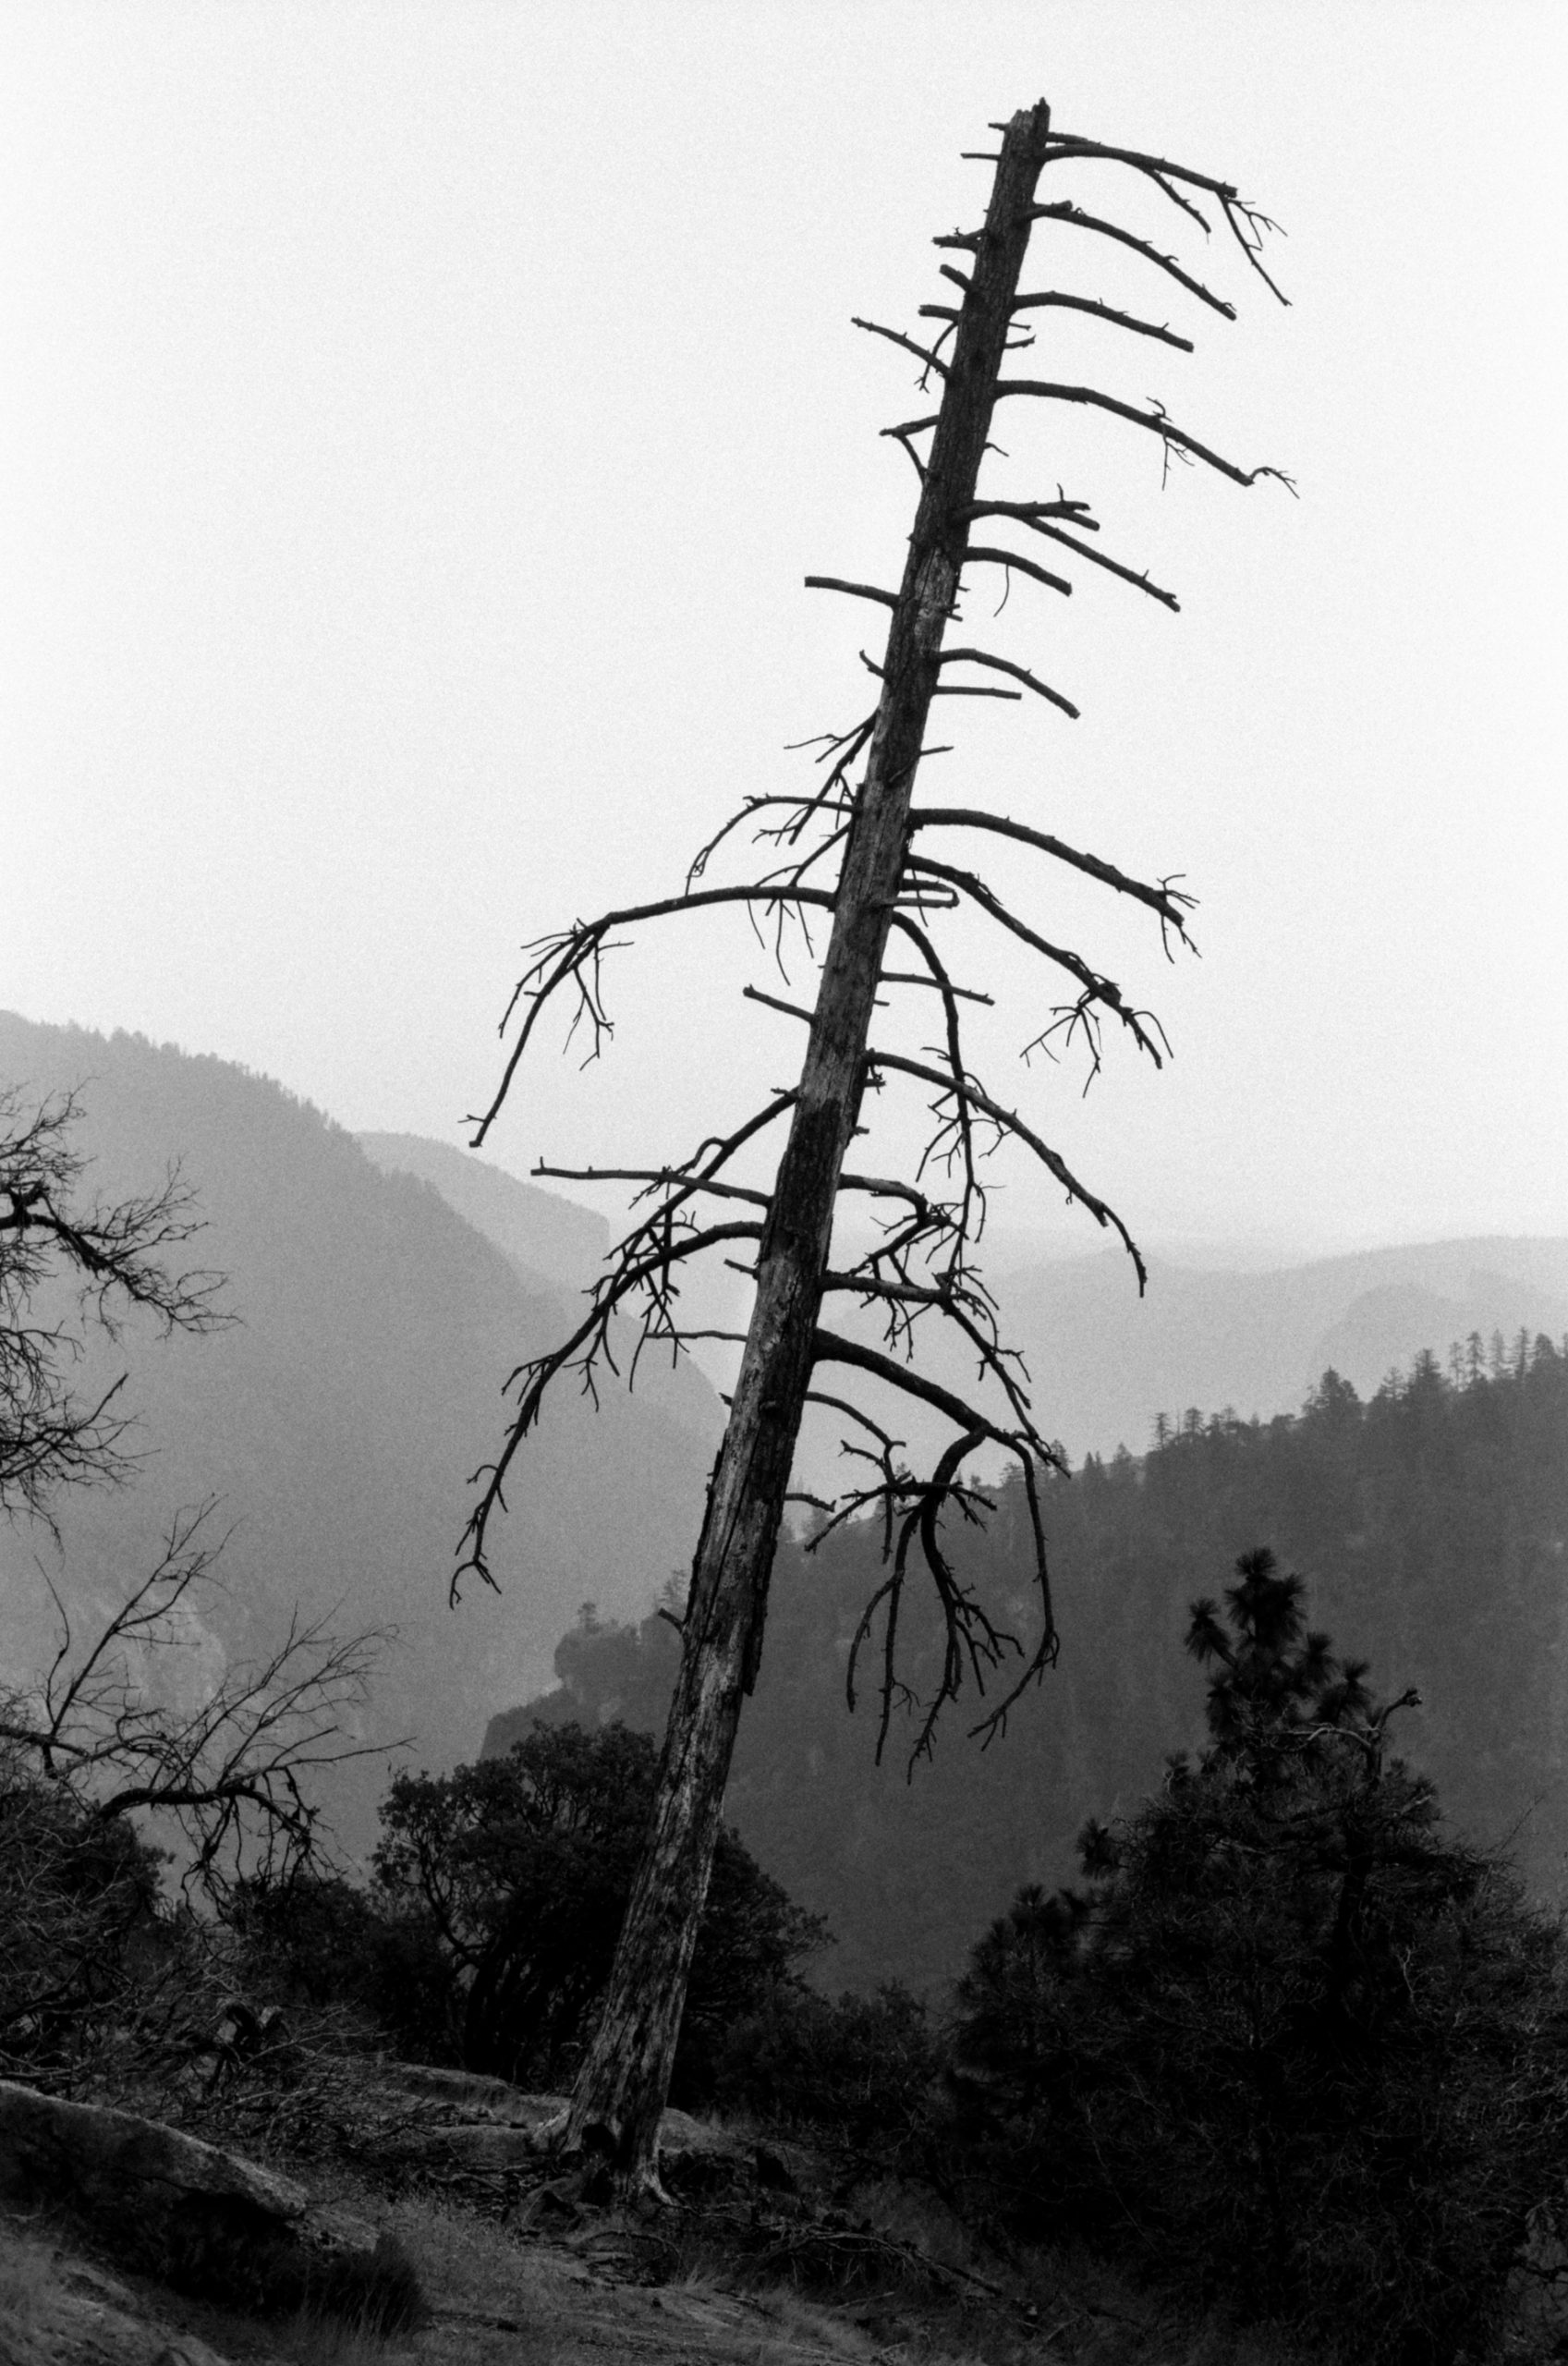
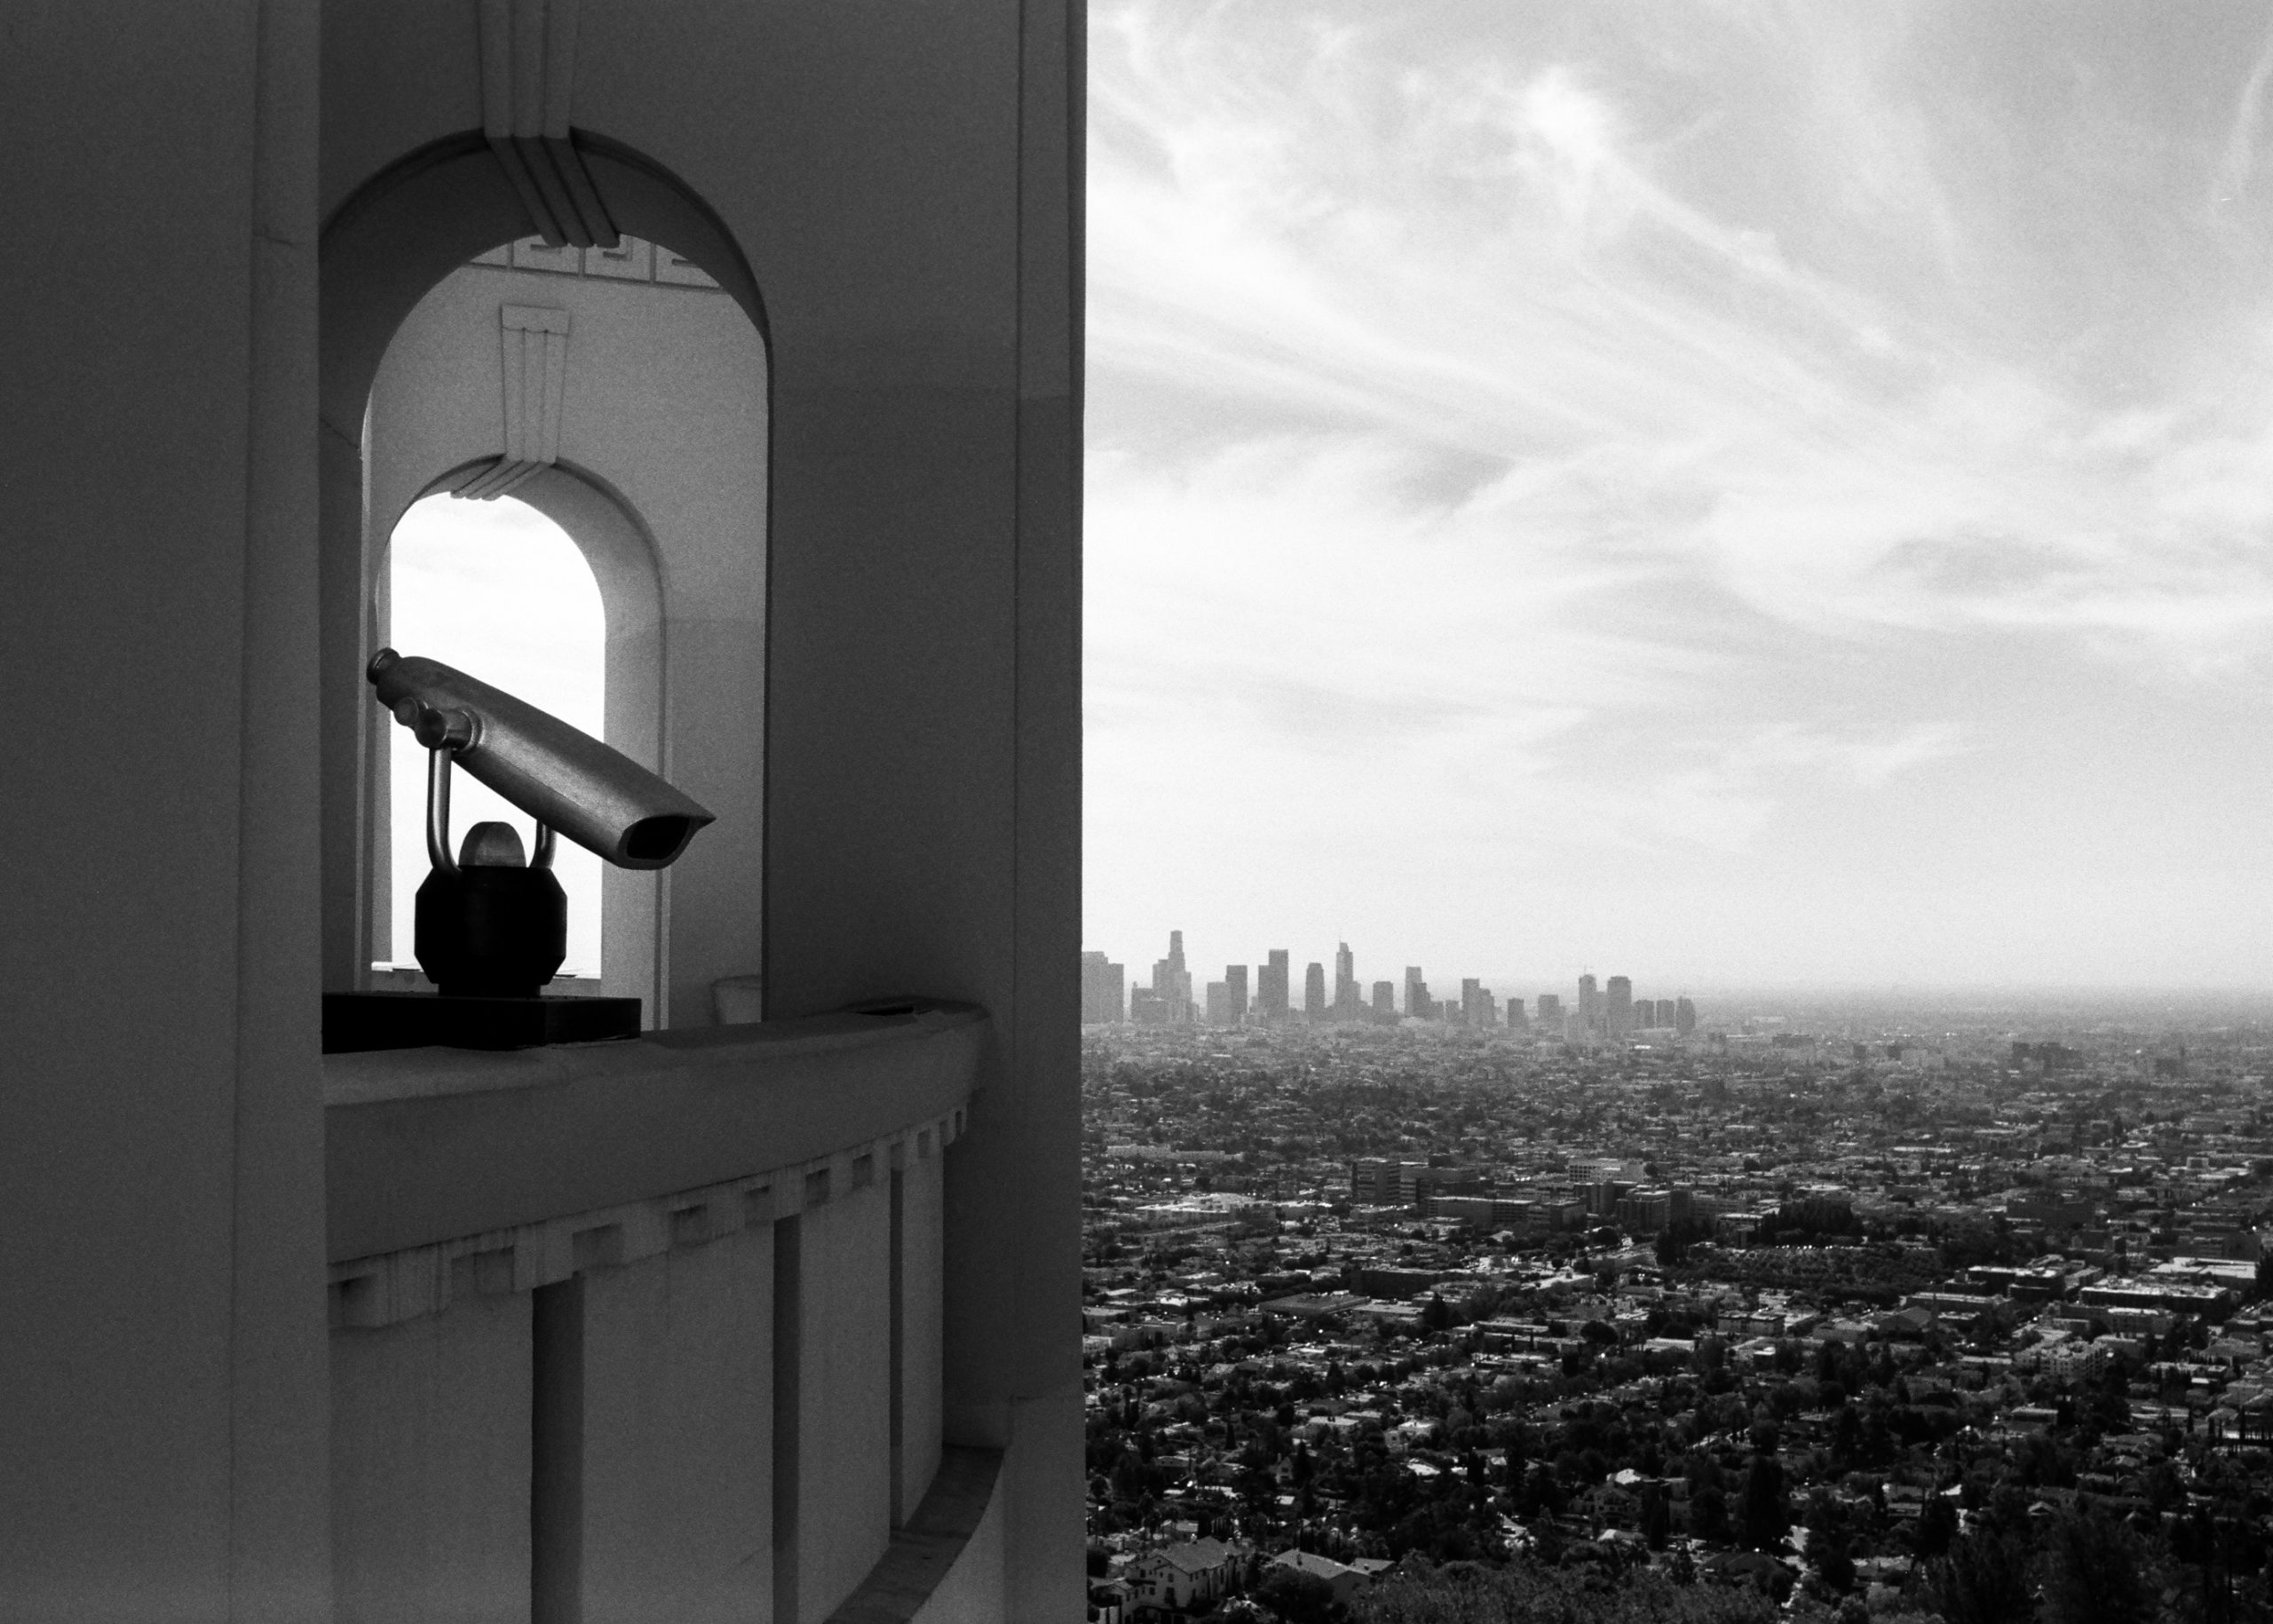
Ilford Delta 100 with a Yellow 12 Tiffen Filter which helped cut through the haze from a distant forest fire.
Orange Filter (-2 Stops)
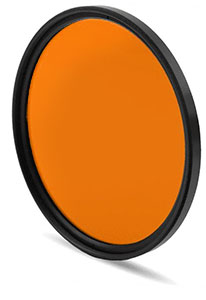
Orange filters are more dramatic than yellow but less so than red. The sky will take on a dark tone when recorded in blue skies thanks to its strong contrast with the clouds and gives off an impactful look that other colors cannot match. Orange also helps penetrate through haze efficiently, giving flowers their signature “pop.” So if you’re into your landscape shots and lush floras, screw on the Orange filter.
Kodak Tri-X 400 with 21 Orange Tiffen Filter which brightened the orange leaves and darkened the blue sky. 
Kodak Tri-X 400 with 21 Orange Tiffen Filter which made the orange leaf brighter and the surrounding green leaves 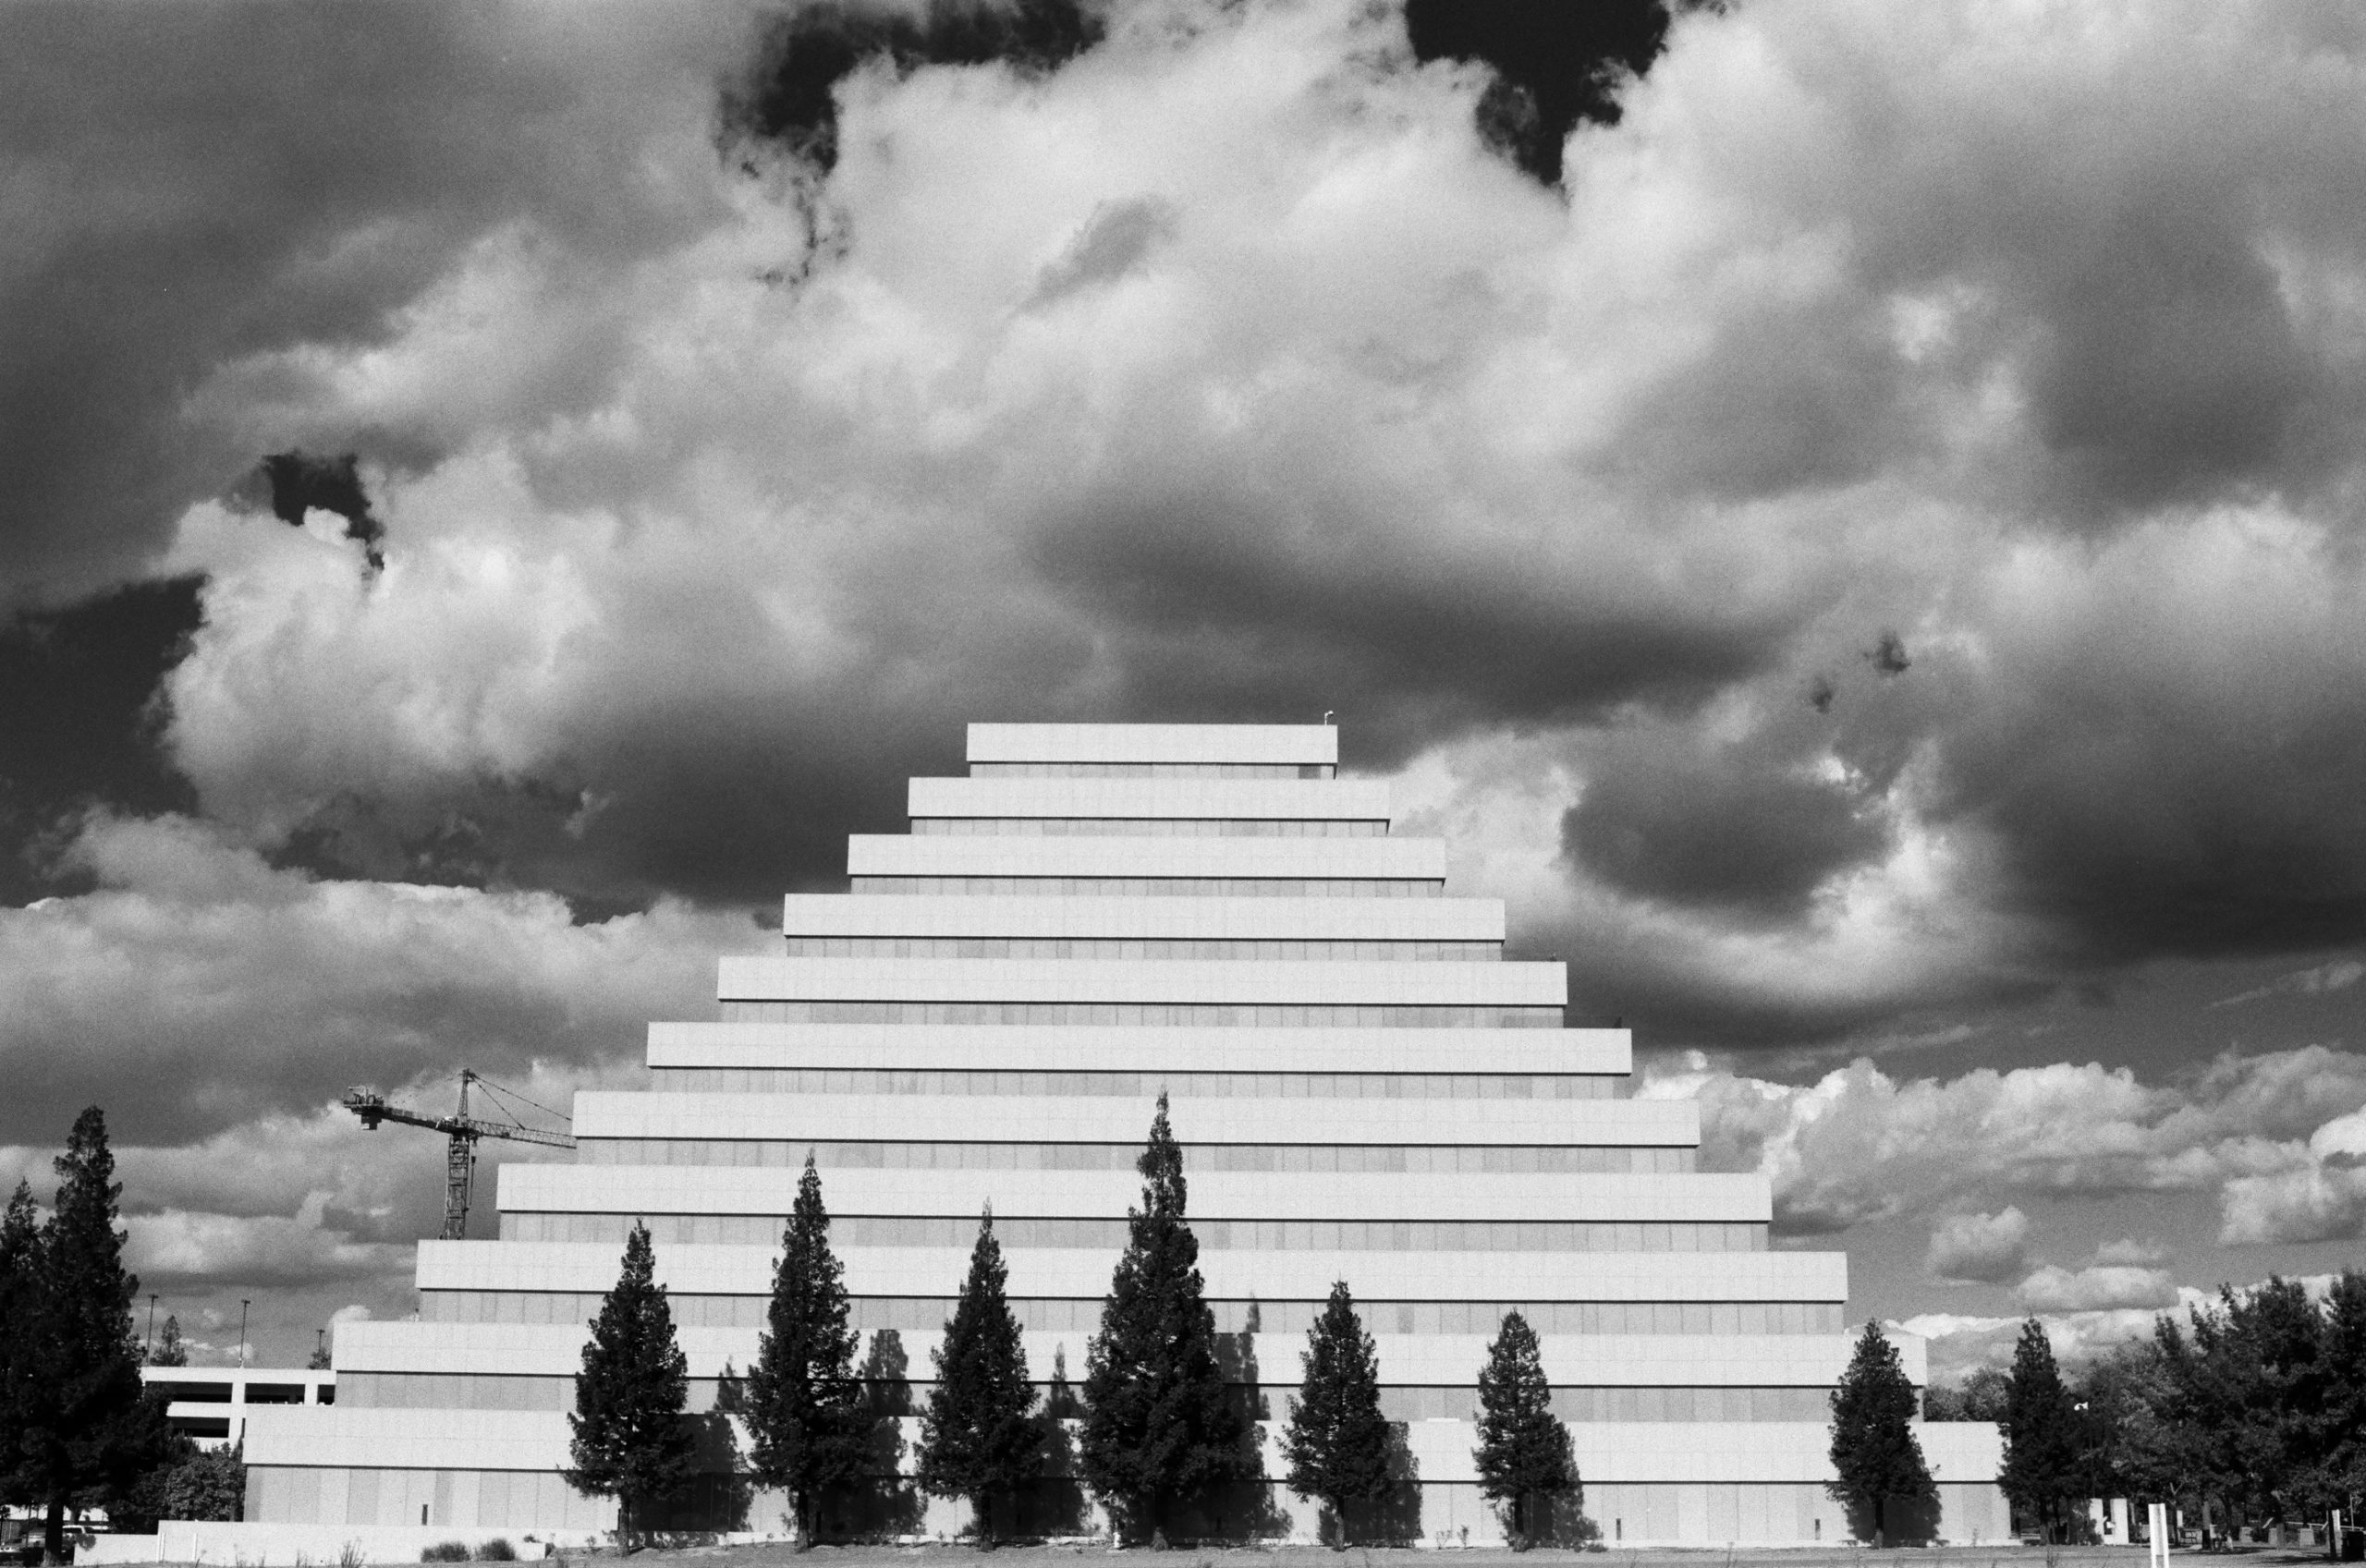
Ilford Delta 100 with Orange 12 Tiffen Filter. The orange filter darkened the blue sky, making it much more
Red Filter (-3 Stops)

A red filter is the go-to for bold and dramatic effects. Not only will it give your photos a more intense feel, but using this type of color eliminates any haziness that might be present in those shots with mixed material buildings or foggy landscapes – giving you clarity where there was once misty atmosphere before. When you add a red filter to your camera, blue skies will become very dark. Instead of looking at pictures in which there are endless amounts of fluffy white clouds drifting lazily across an open field or high above some pretty scenery, now they come out dark and ominous providing a much more dramatic feel.
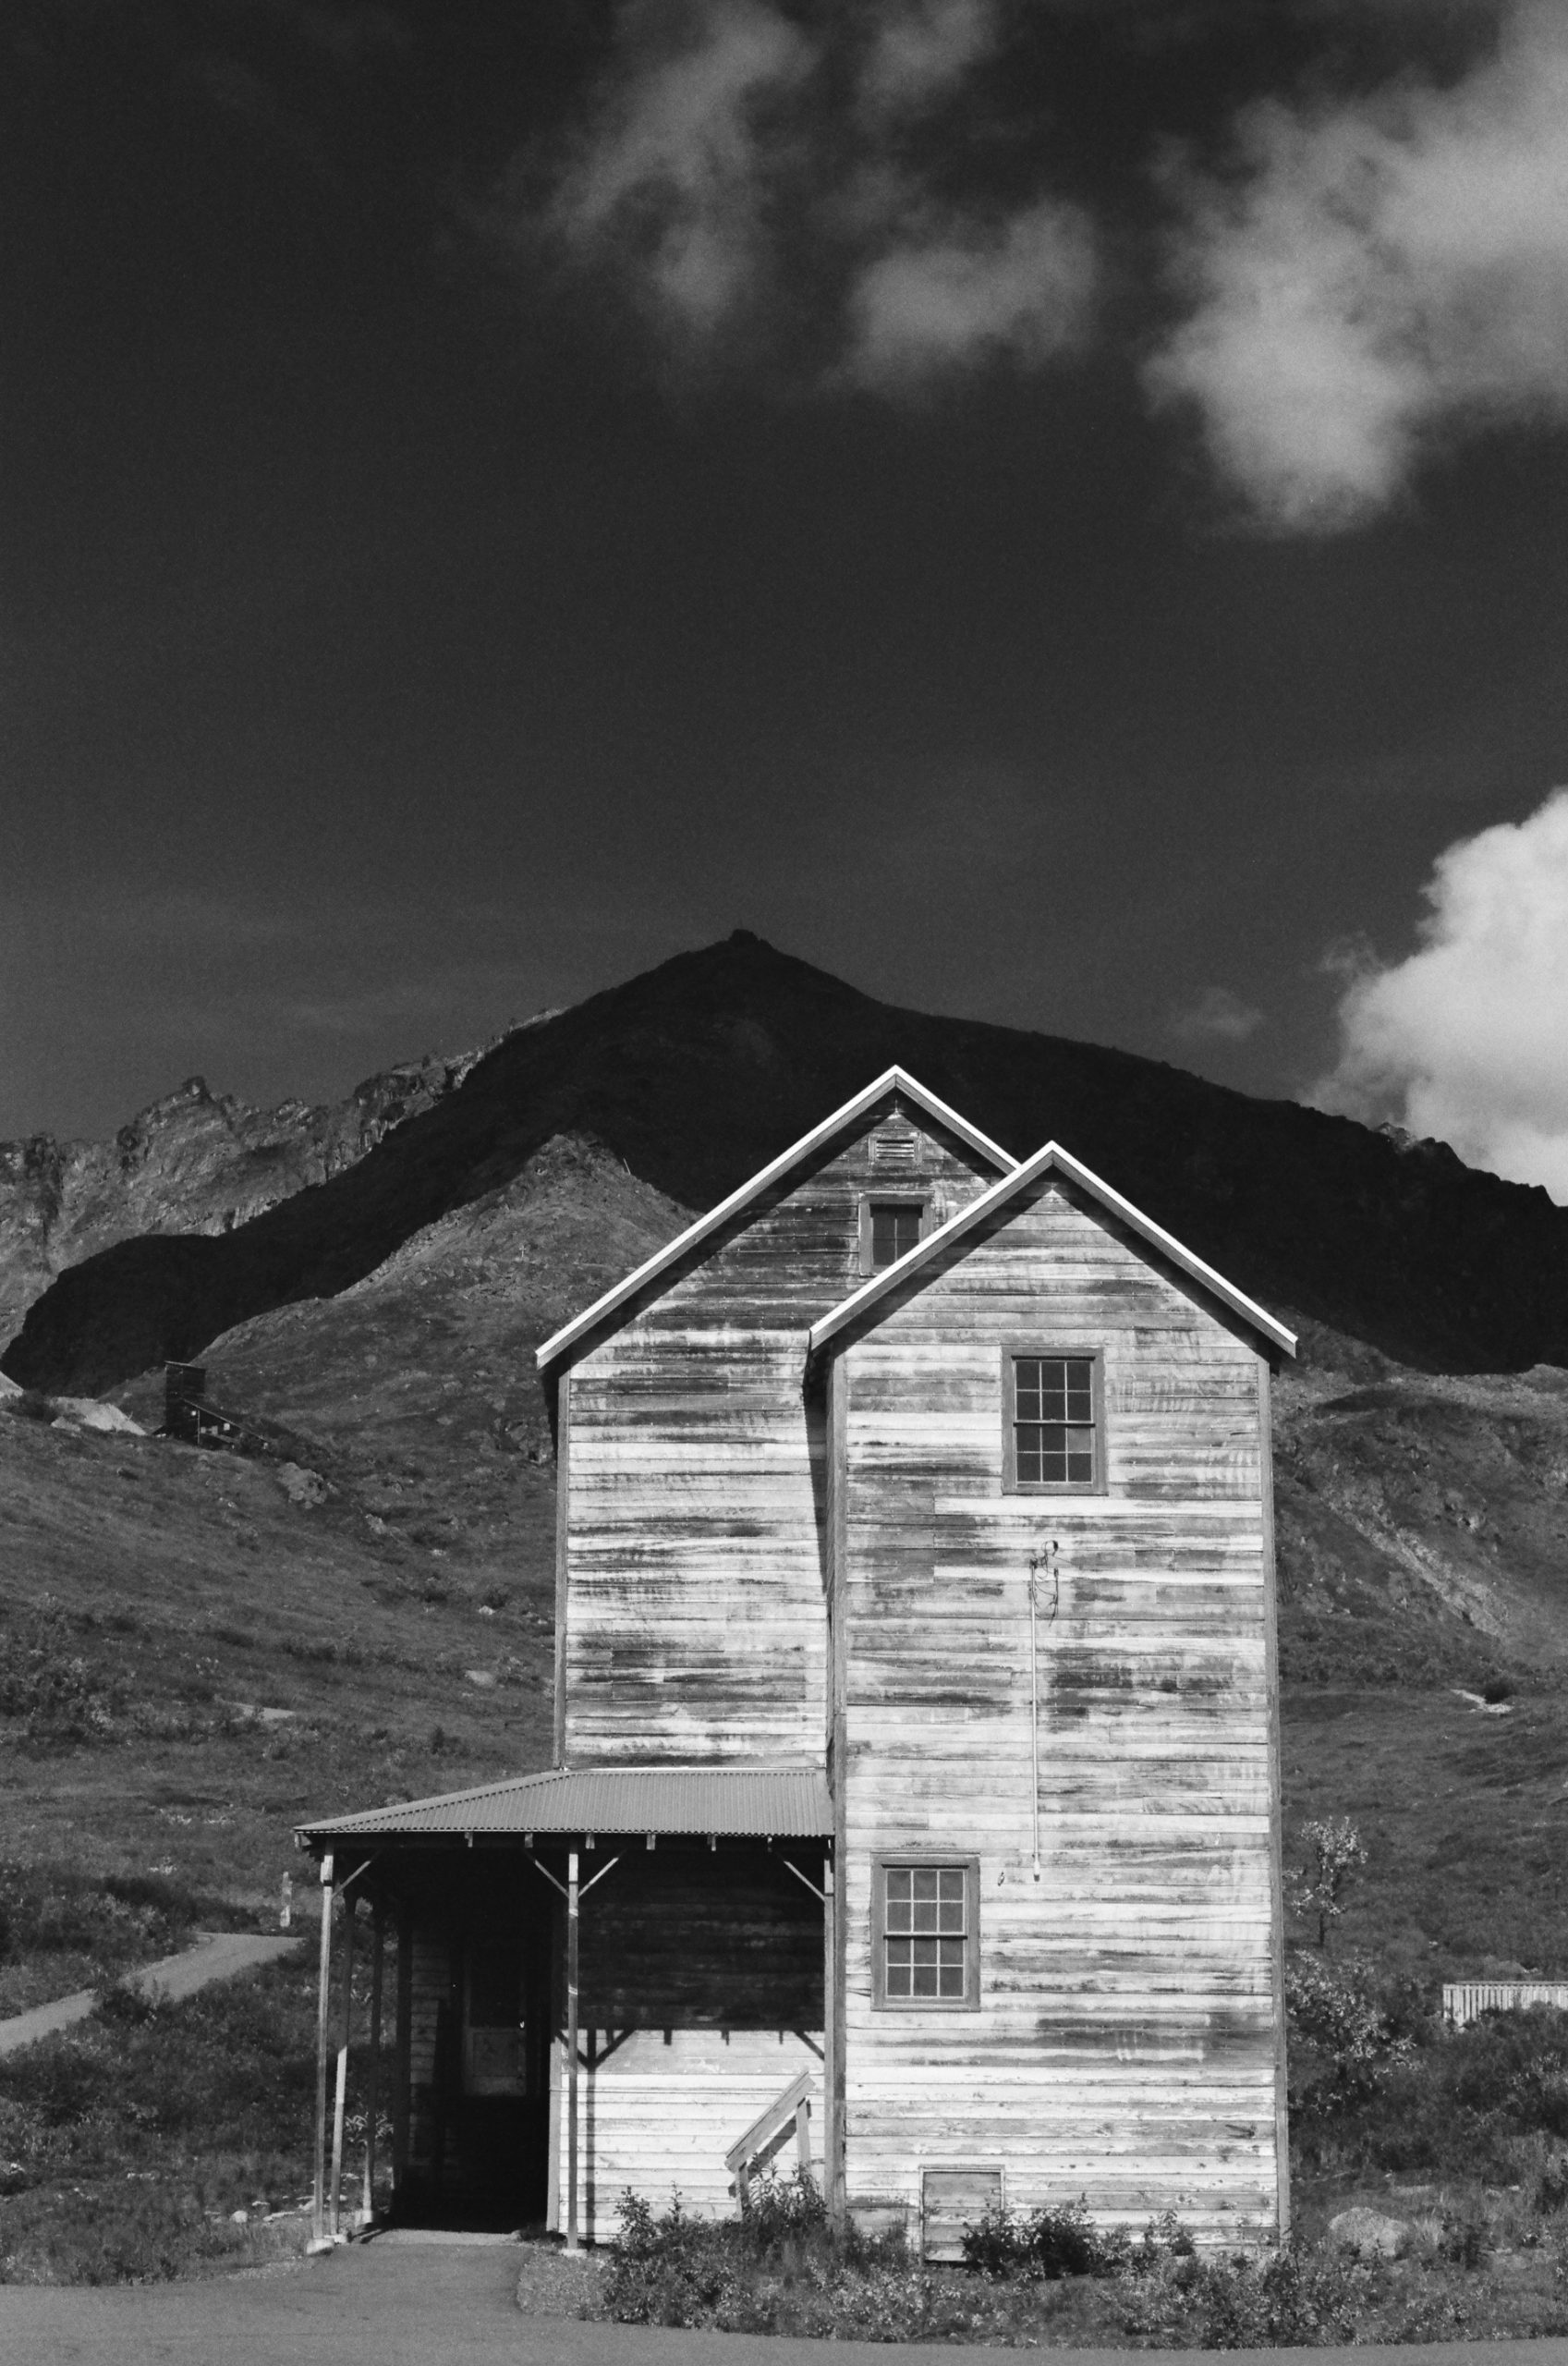
Ilford Delta 100 with 25 Red Tiffen Filter which blocked the blue light, darkening the blues sky, making for a much 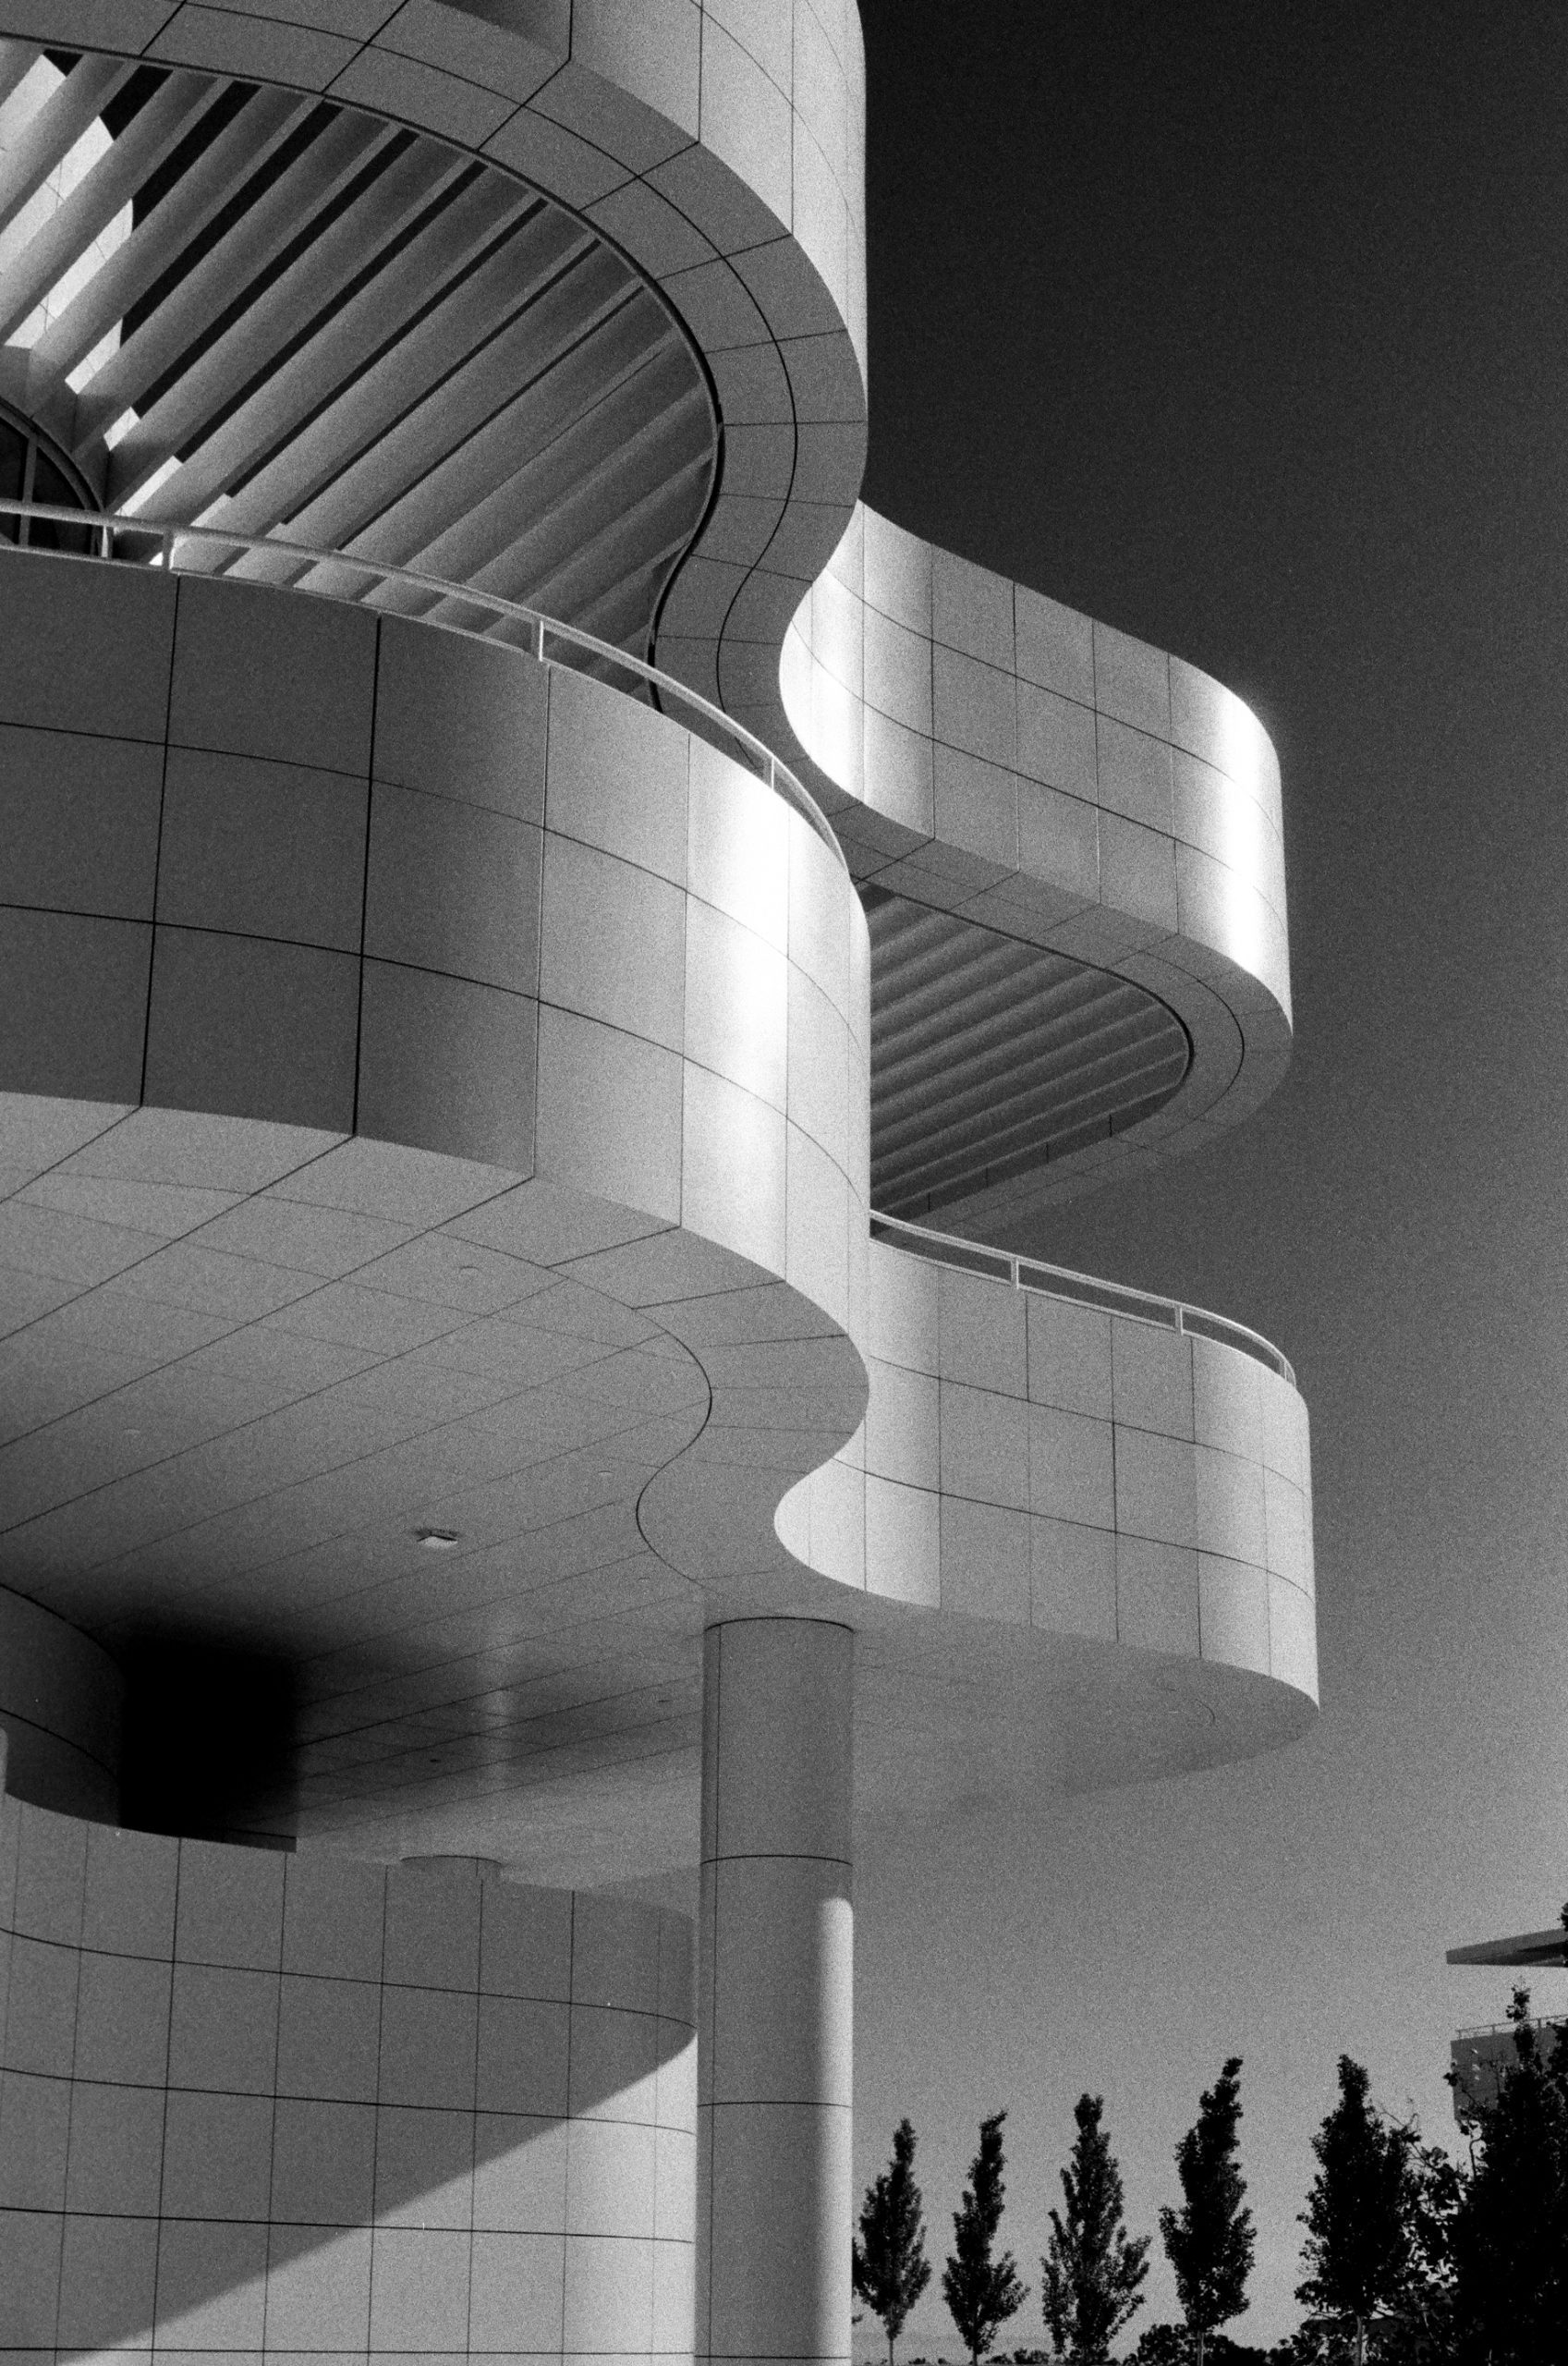
Ilford HP5 Plus 400 with 25 Red Tiffen Filter which blocked the blue light, darkening the blues sky. 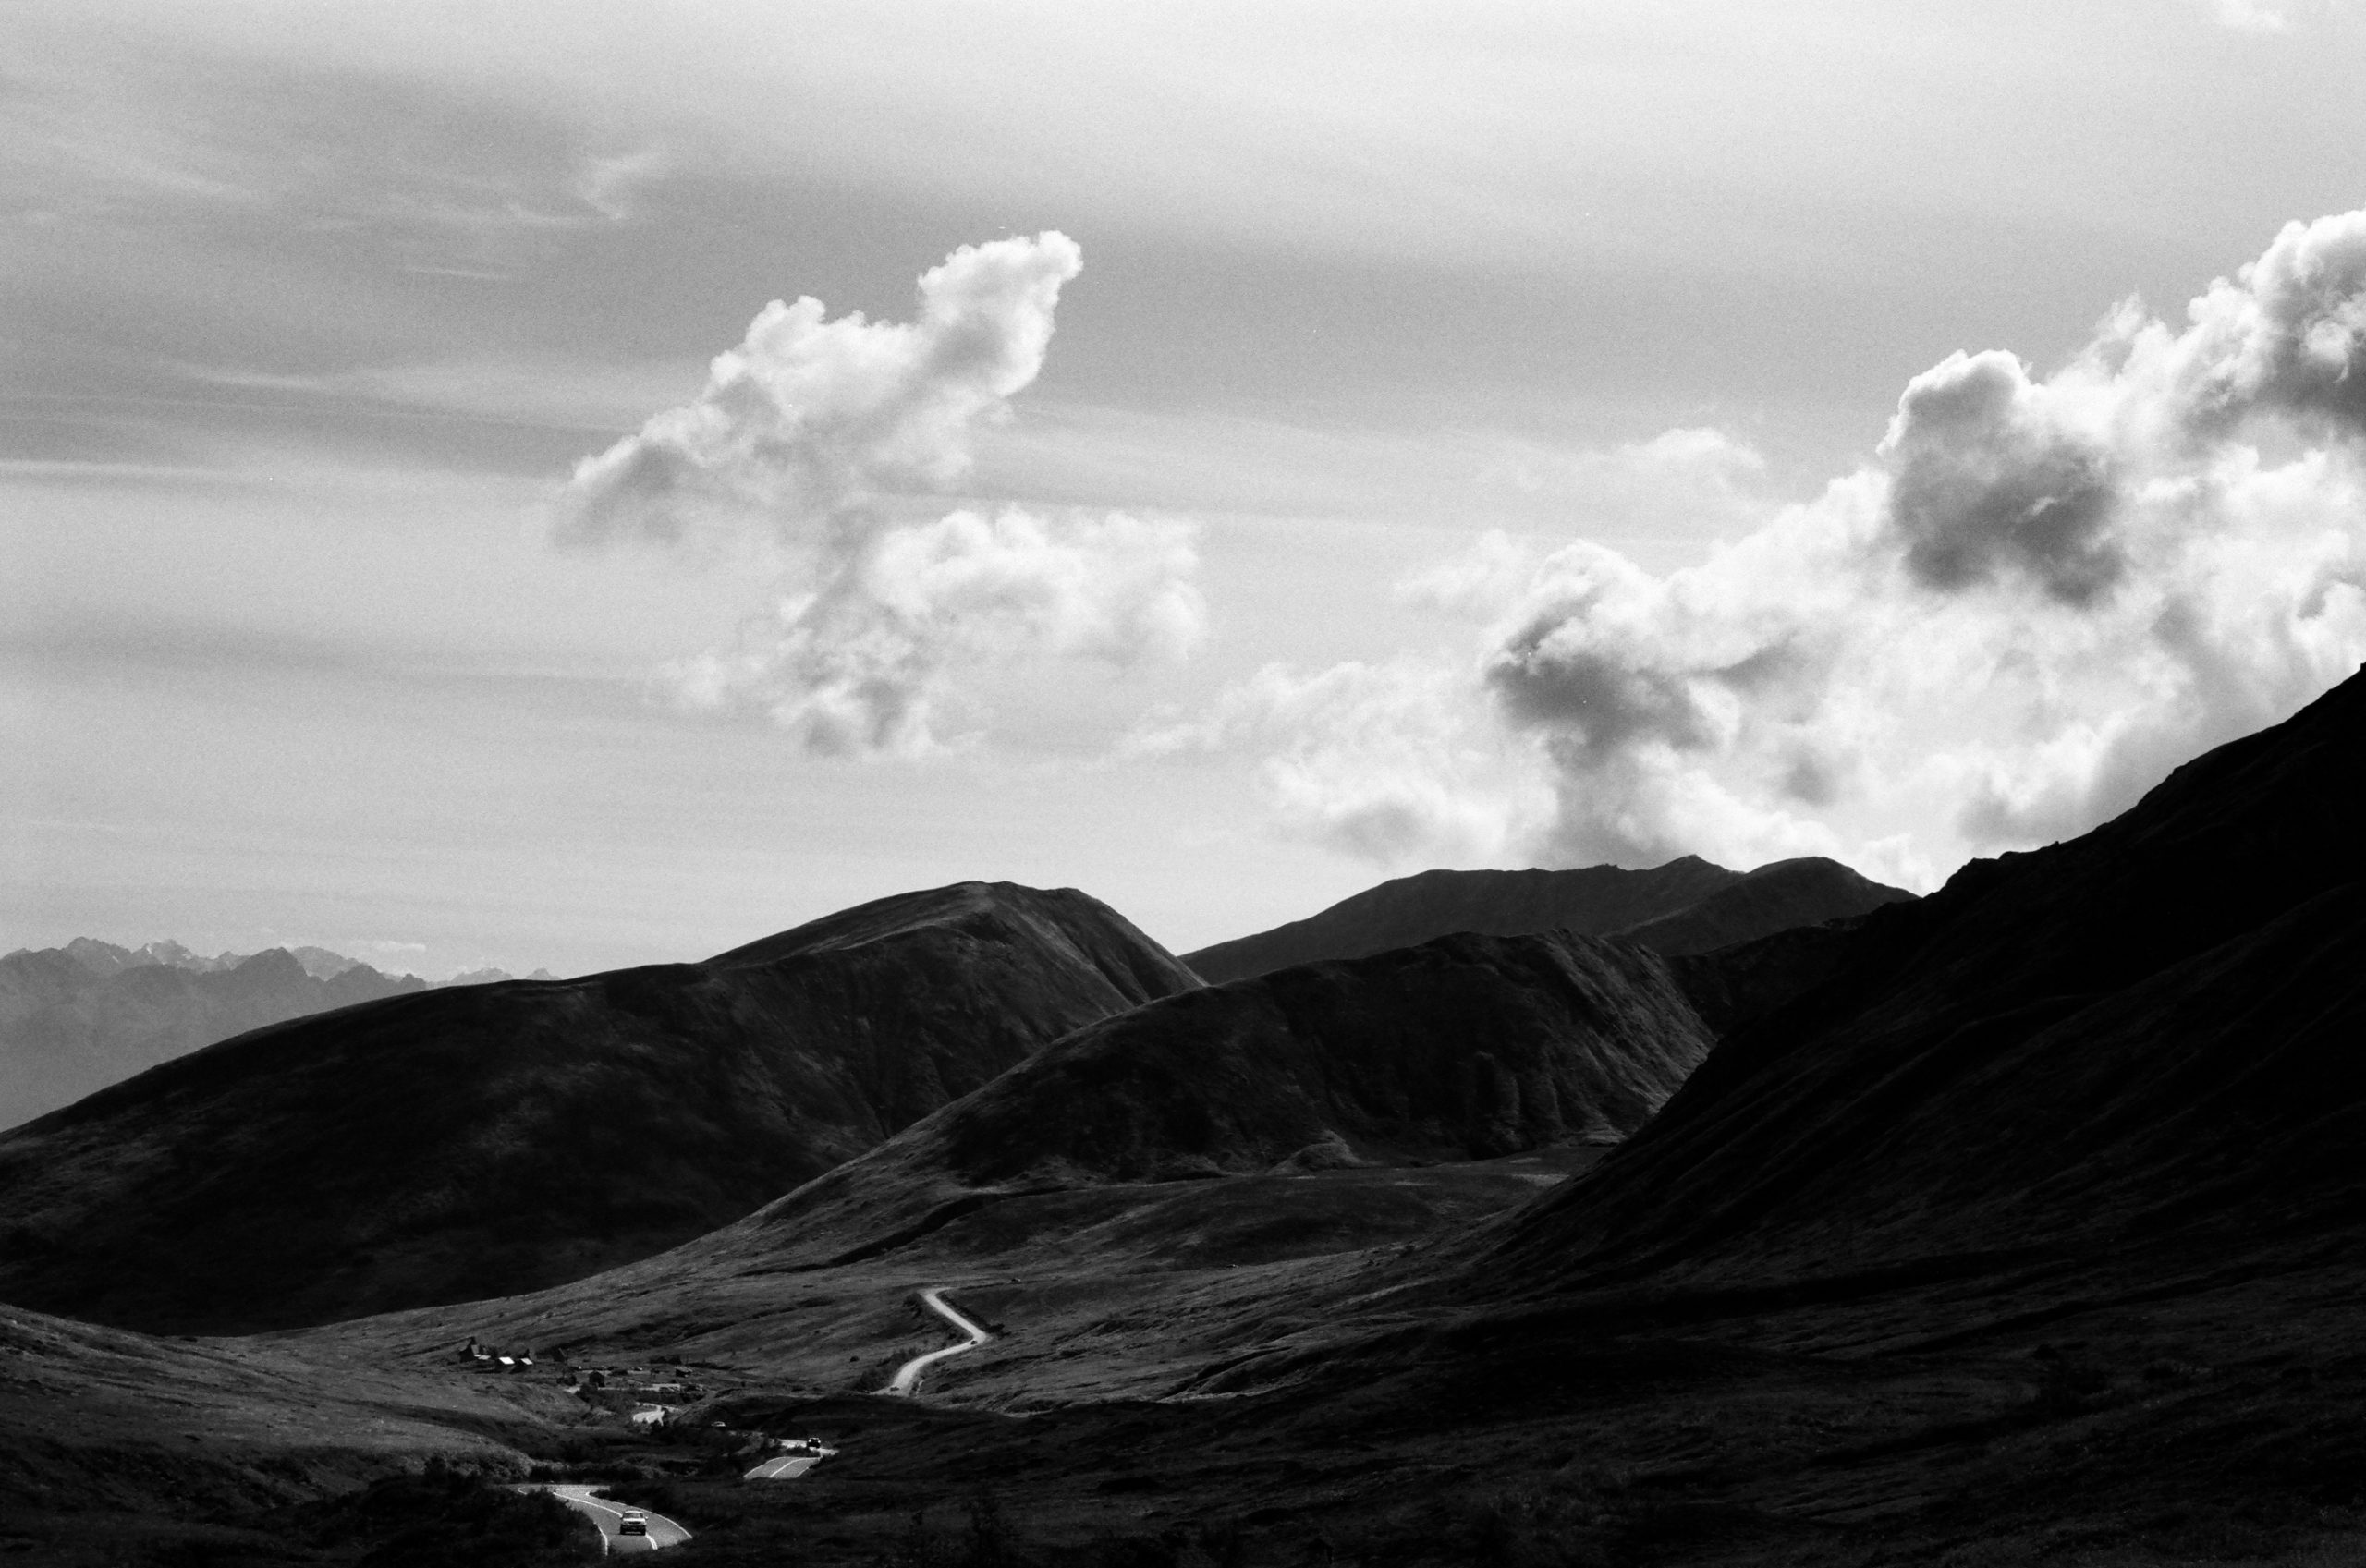
Ilford Delta 100 with 1 Red 25 Tiffen filter which darkened the blue sky as well as the mountains covered in green
Green Filter (-2 Stop)
Green filters are used almost exclusively for scenes that contain a lot of green. A green filter will allow leaves to appear more natural with a lighter feel to them. It will lighten dark green leaves, which usually read as very deep in shadows without it.
Although this solution might not work for every type of landscape photograph, it’s often an ideal fit when applied to ones with an abundance of greens.
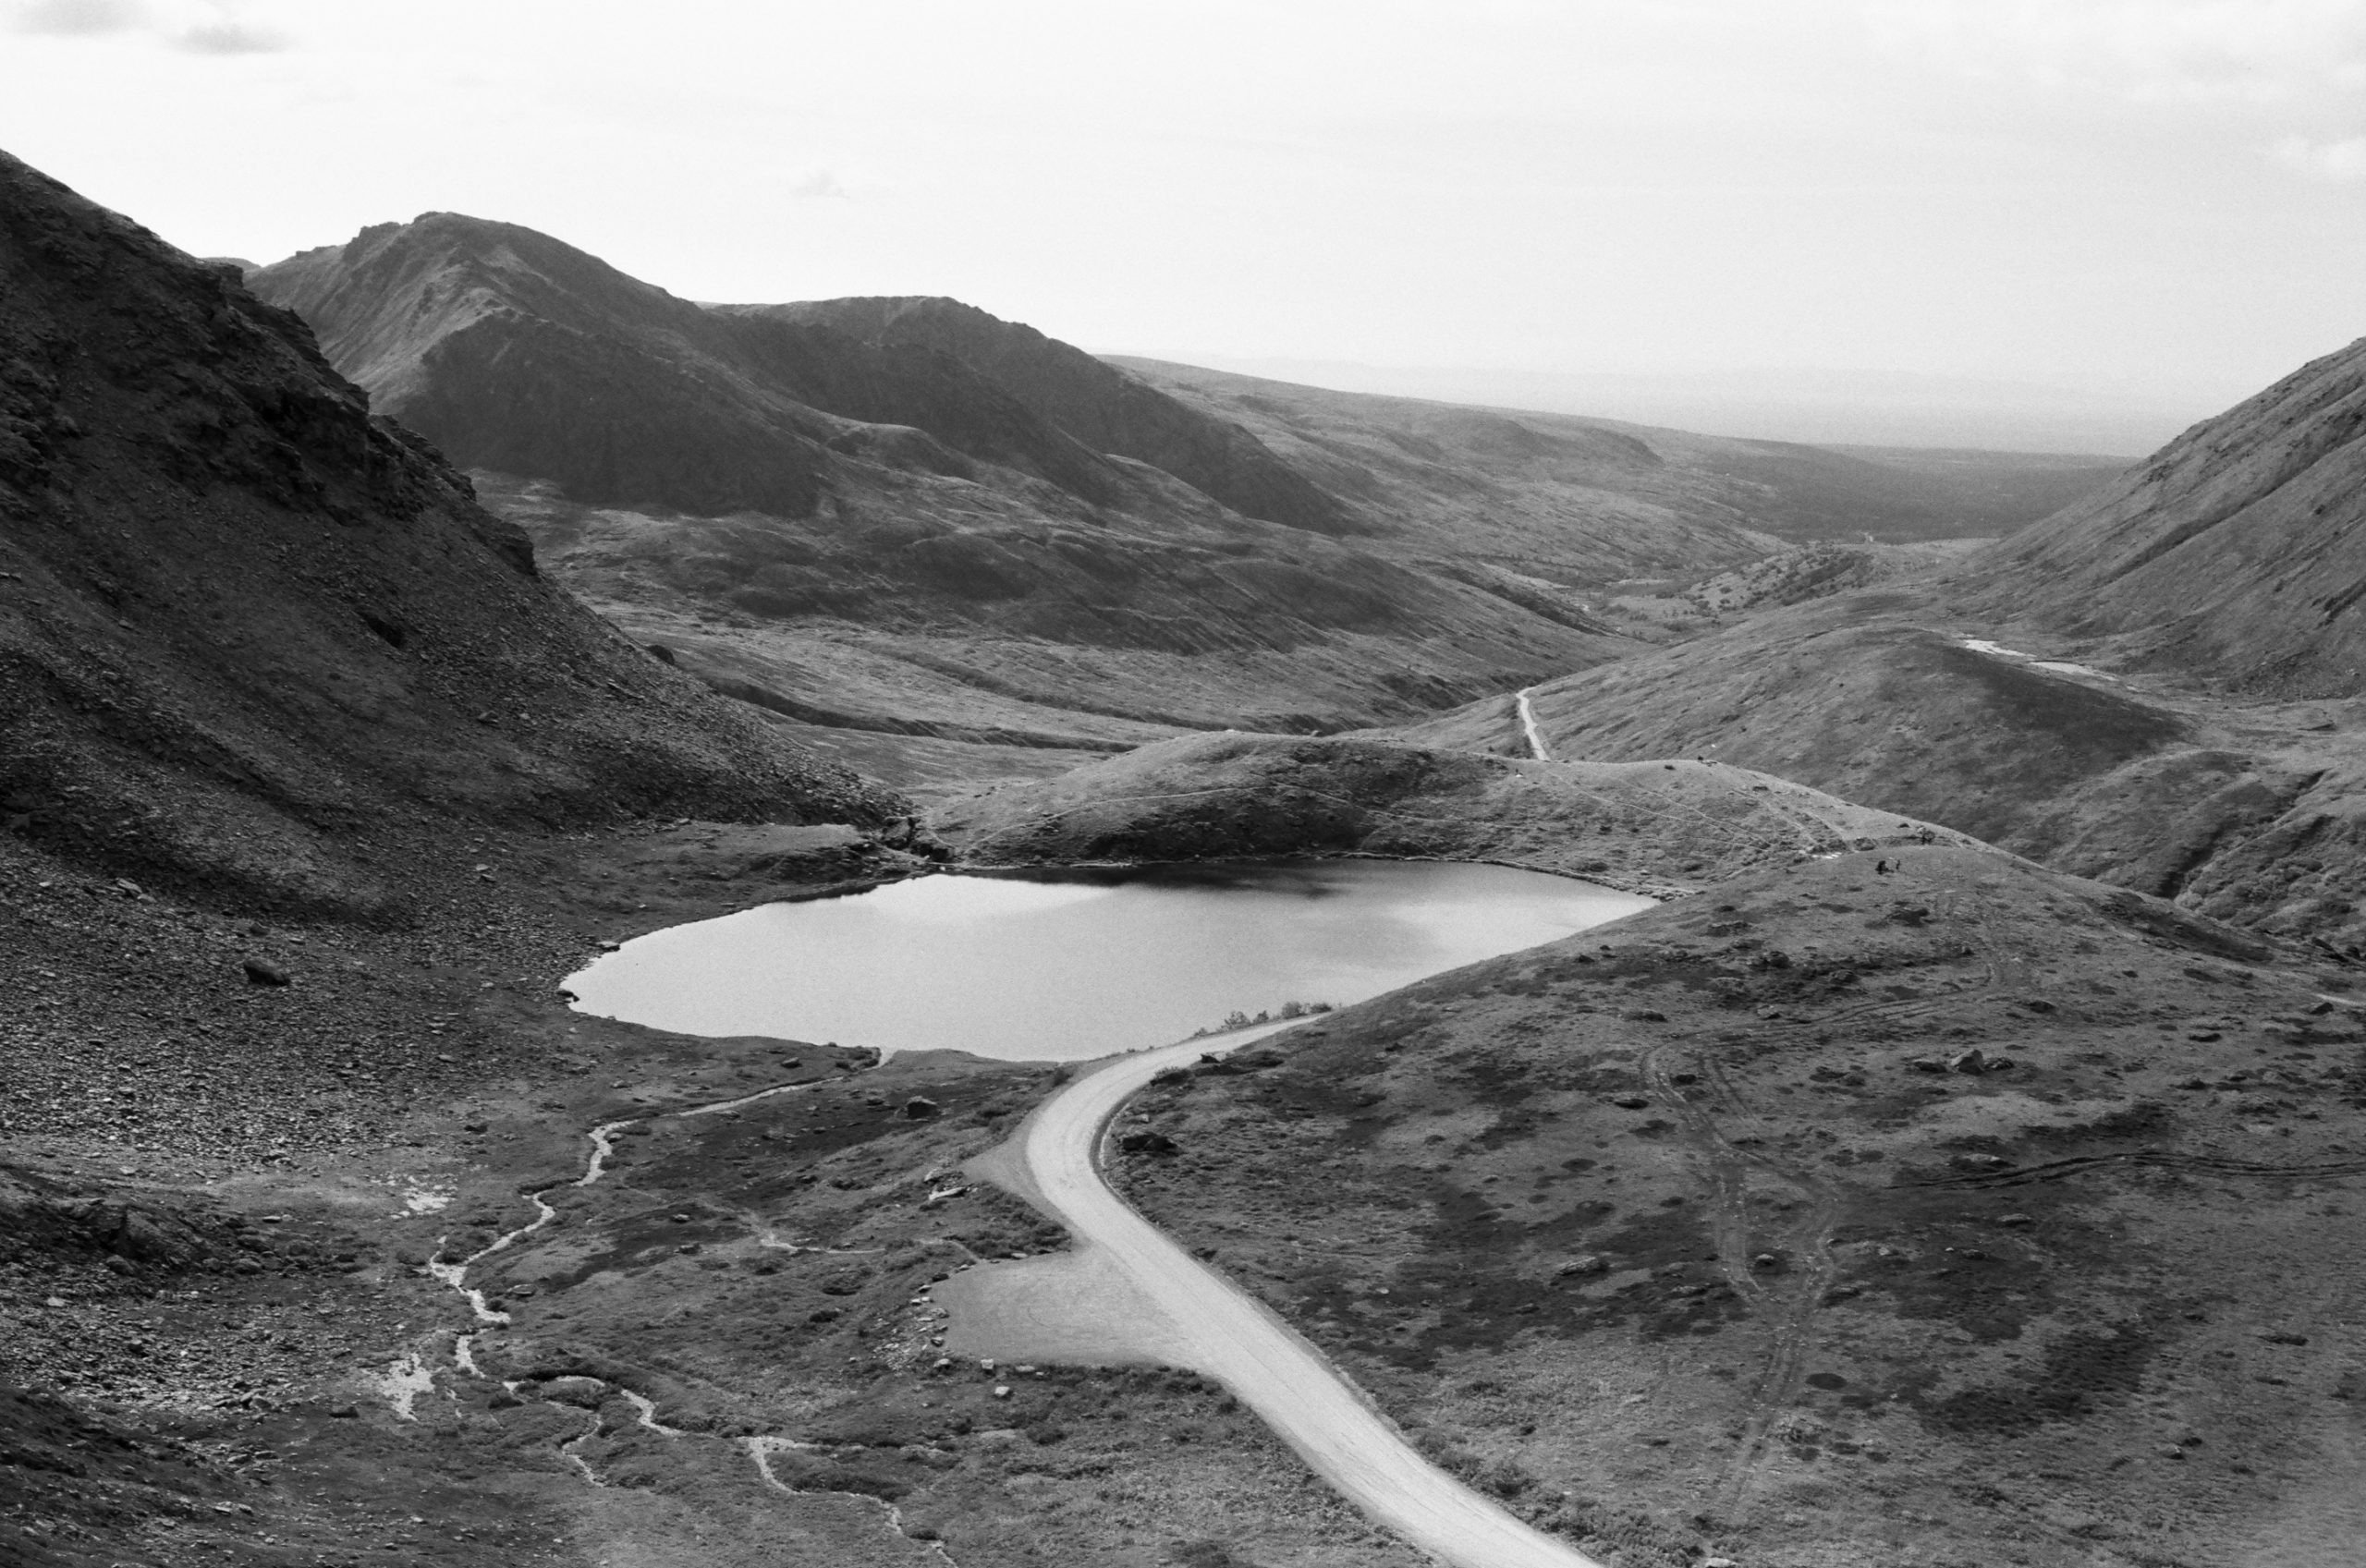
Ilford Delta 100 with 11 Green Tiffen Filter which brightened the foliage in the foggy landscape. 
Kodak TMAX 400 with 11 Green Tiffen Filter which made the green plant brighter and the red rocks darker. 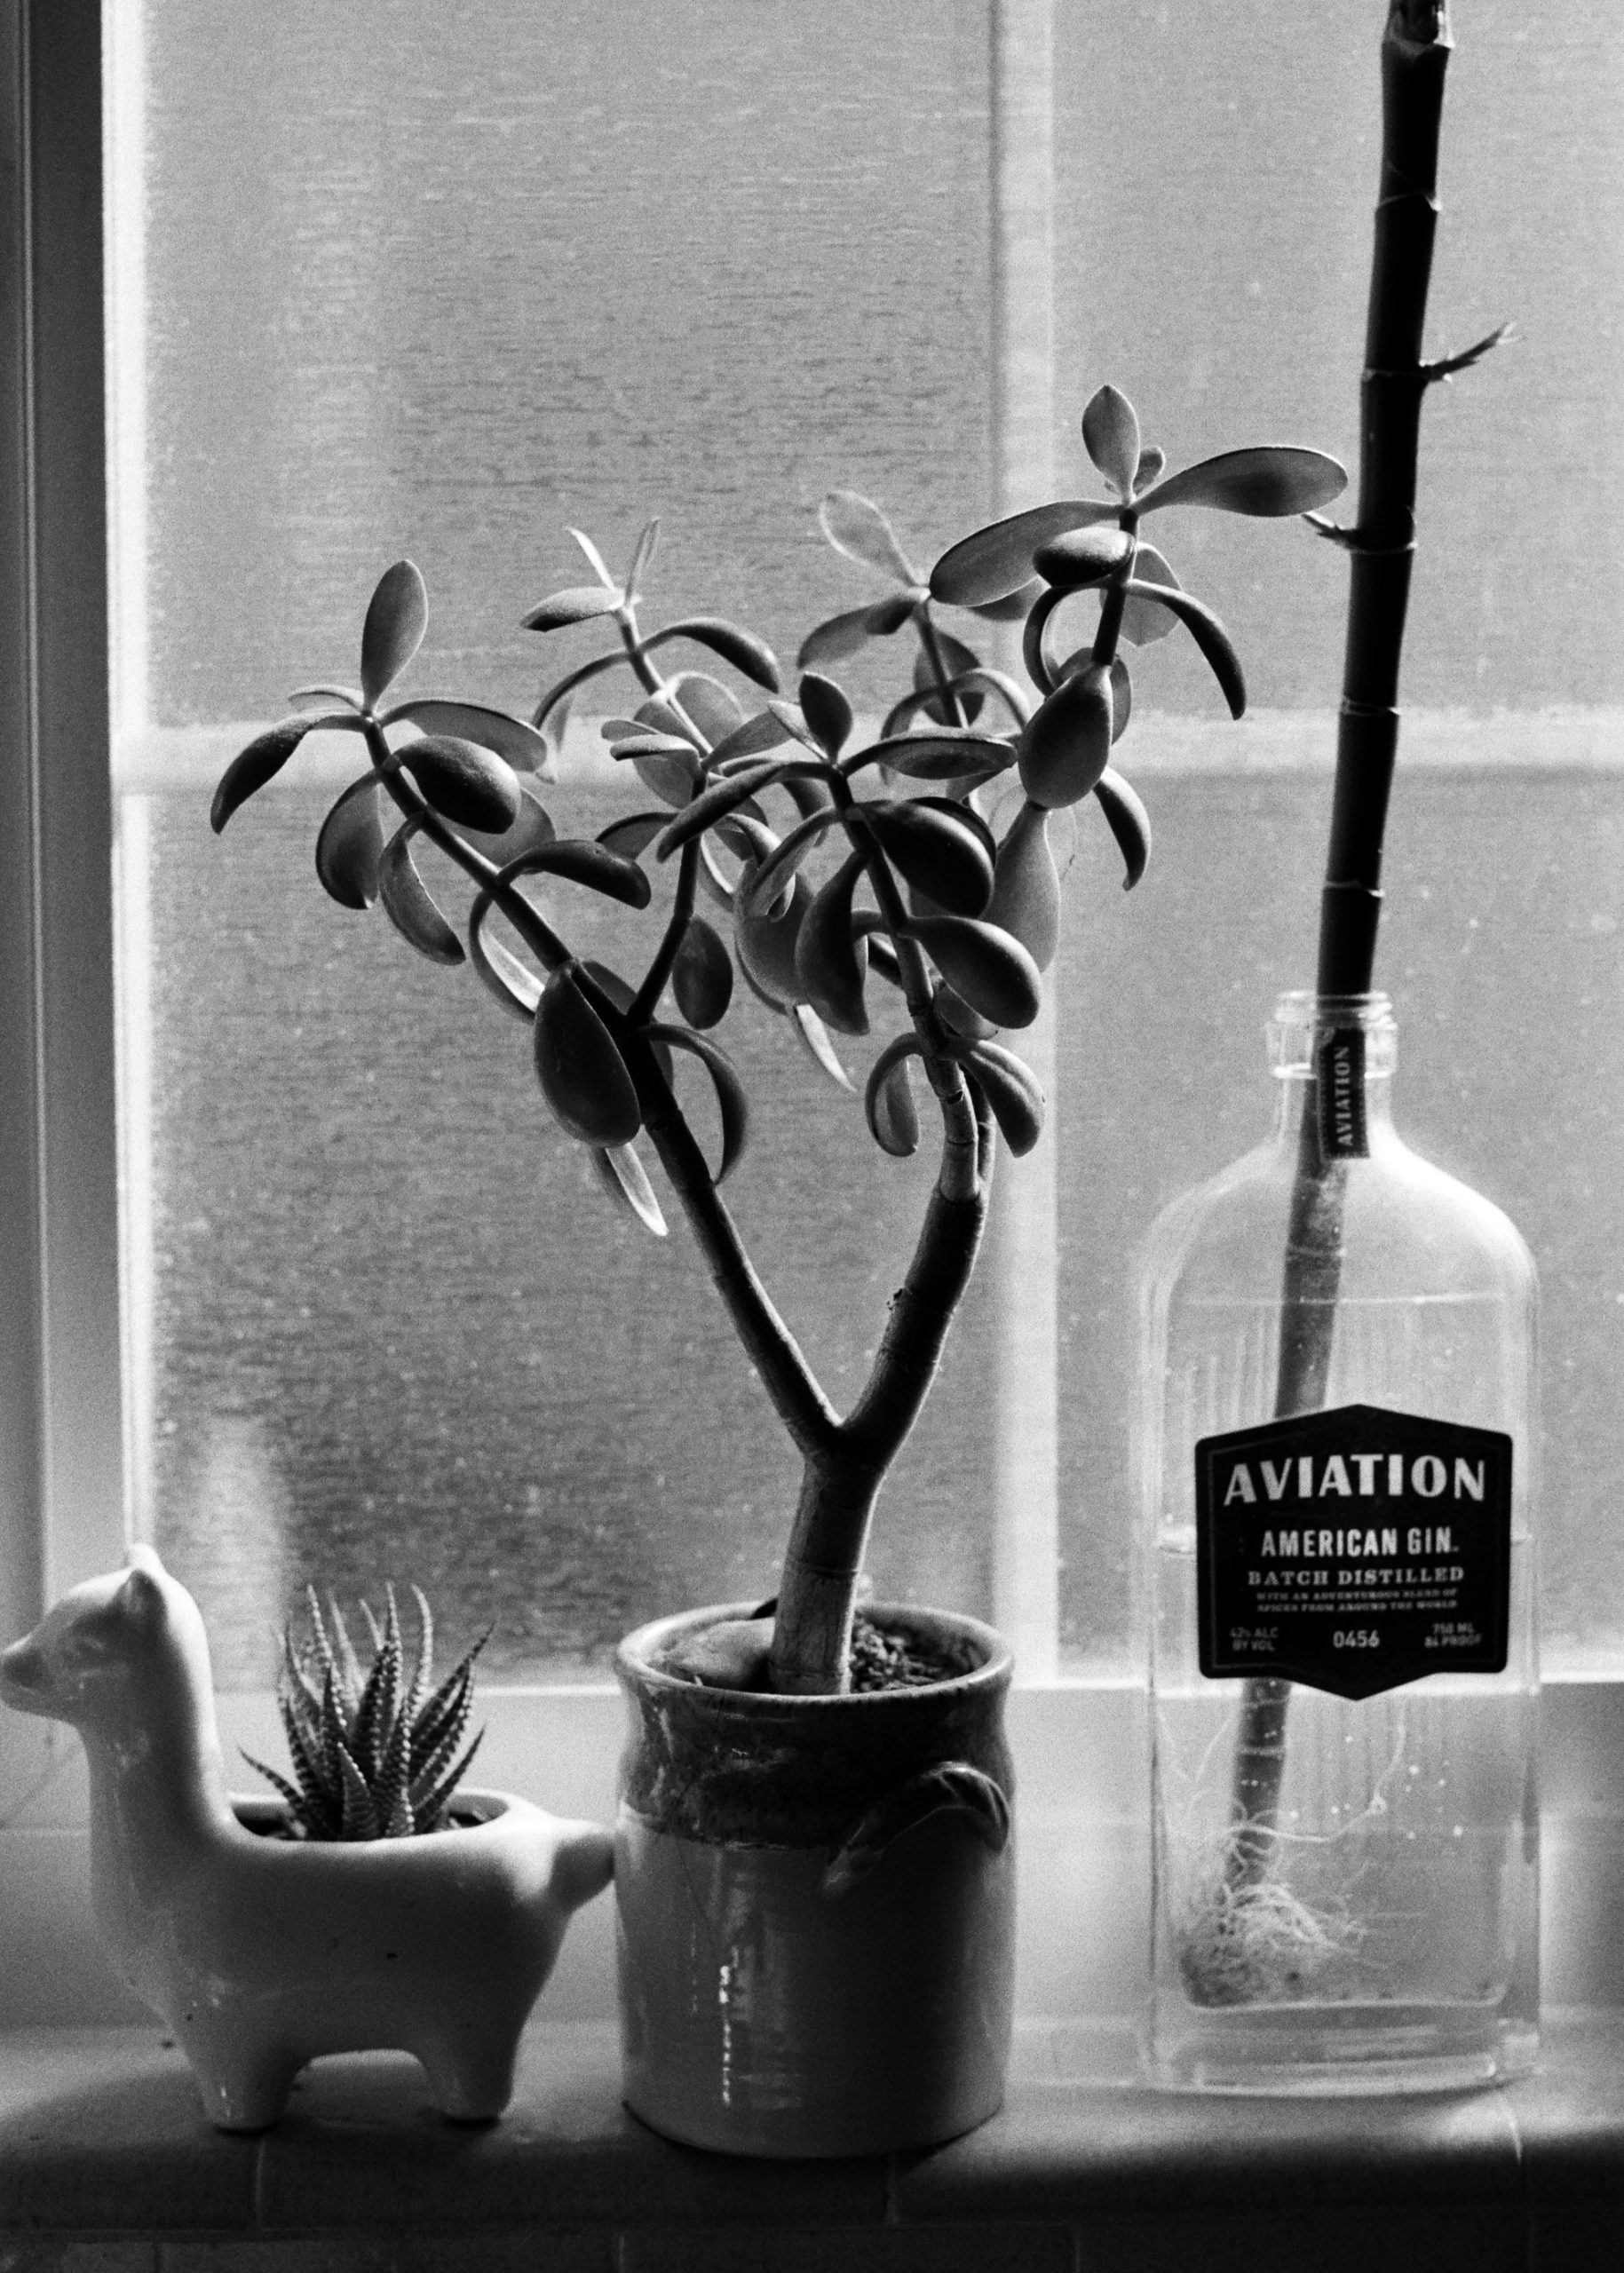
Ilford Delta 400 with a Green 11 Tiffen filter which brighter the green jade plant, separating it from the background.
Side-by-side examples
B&W Film Used With Color Filters
Portraits on Ilford Delta 400
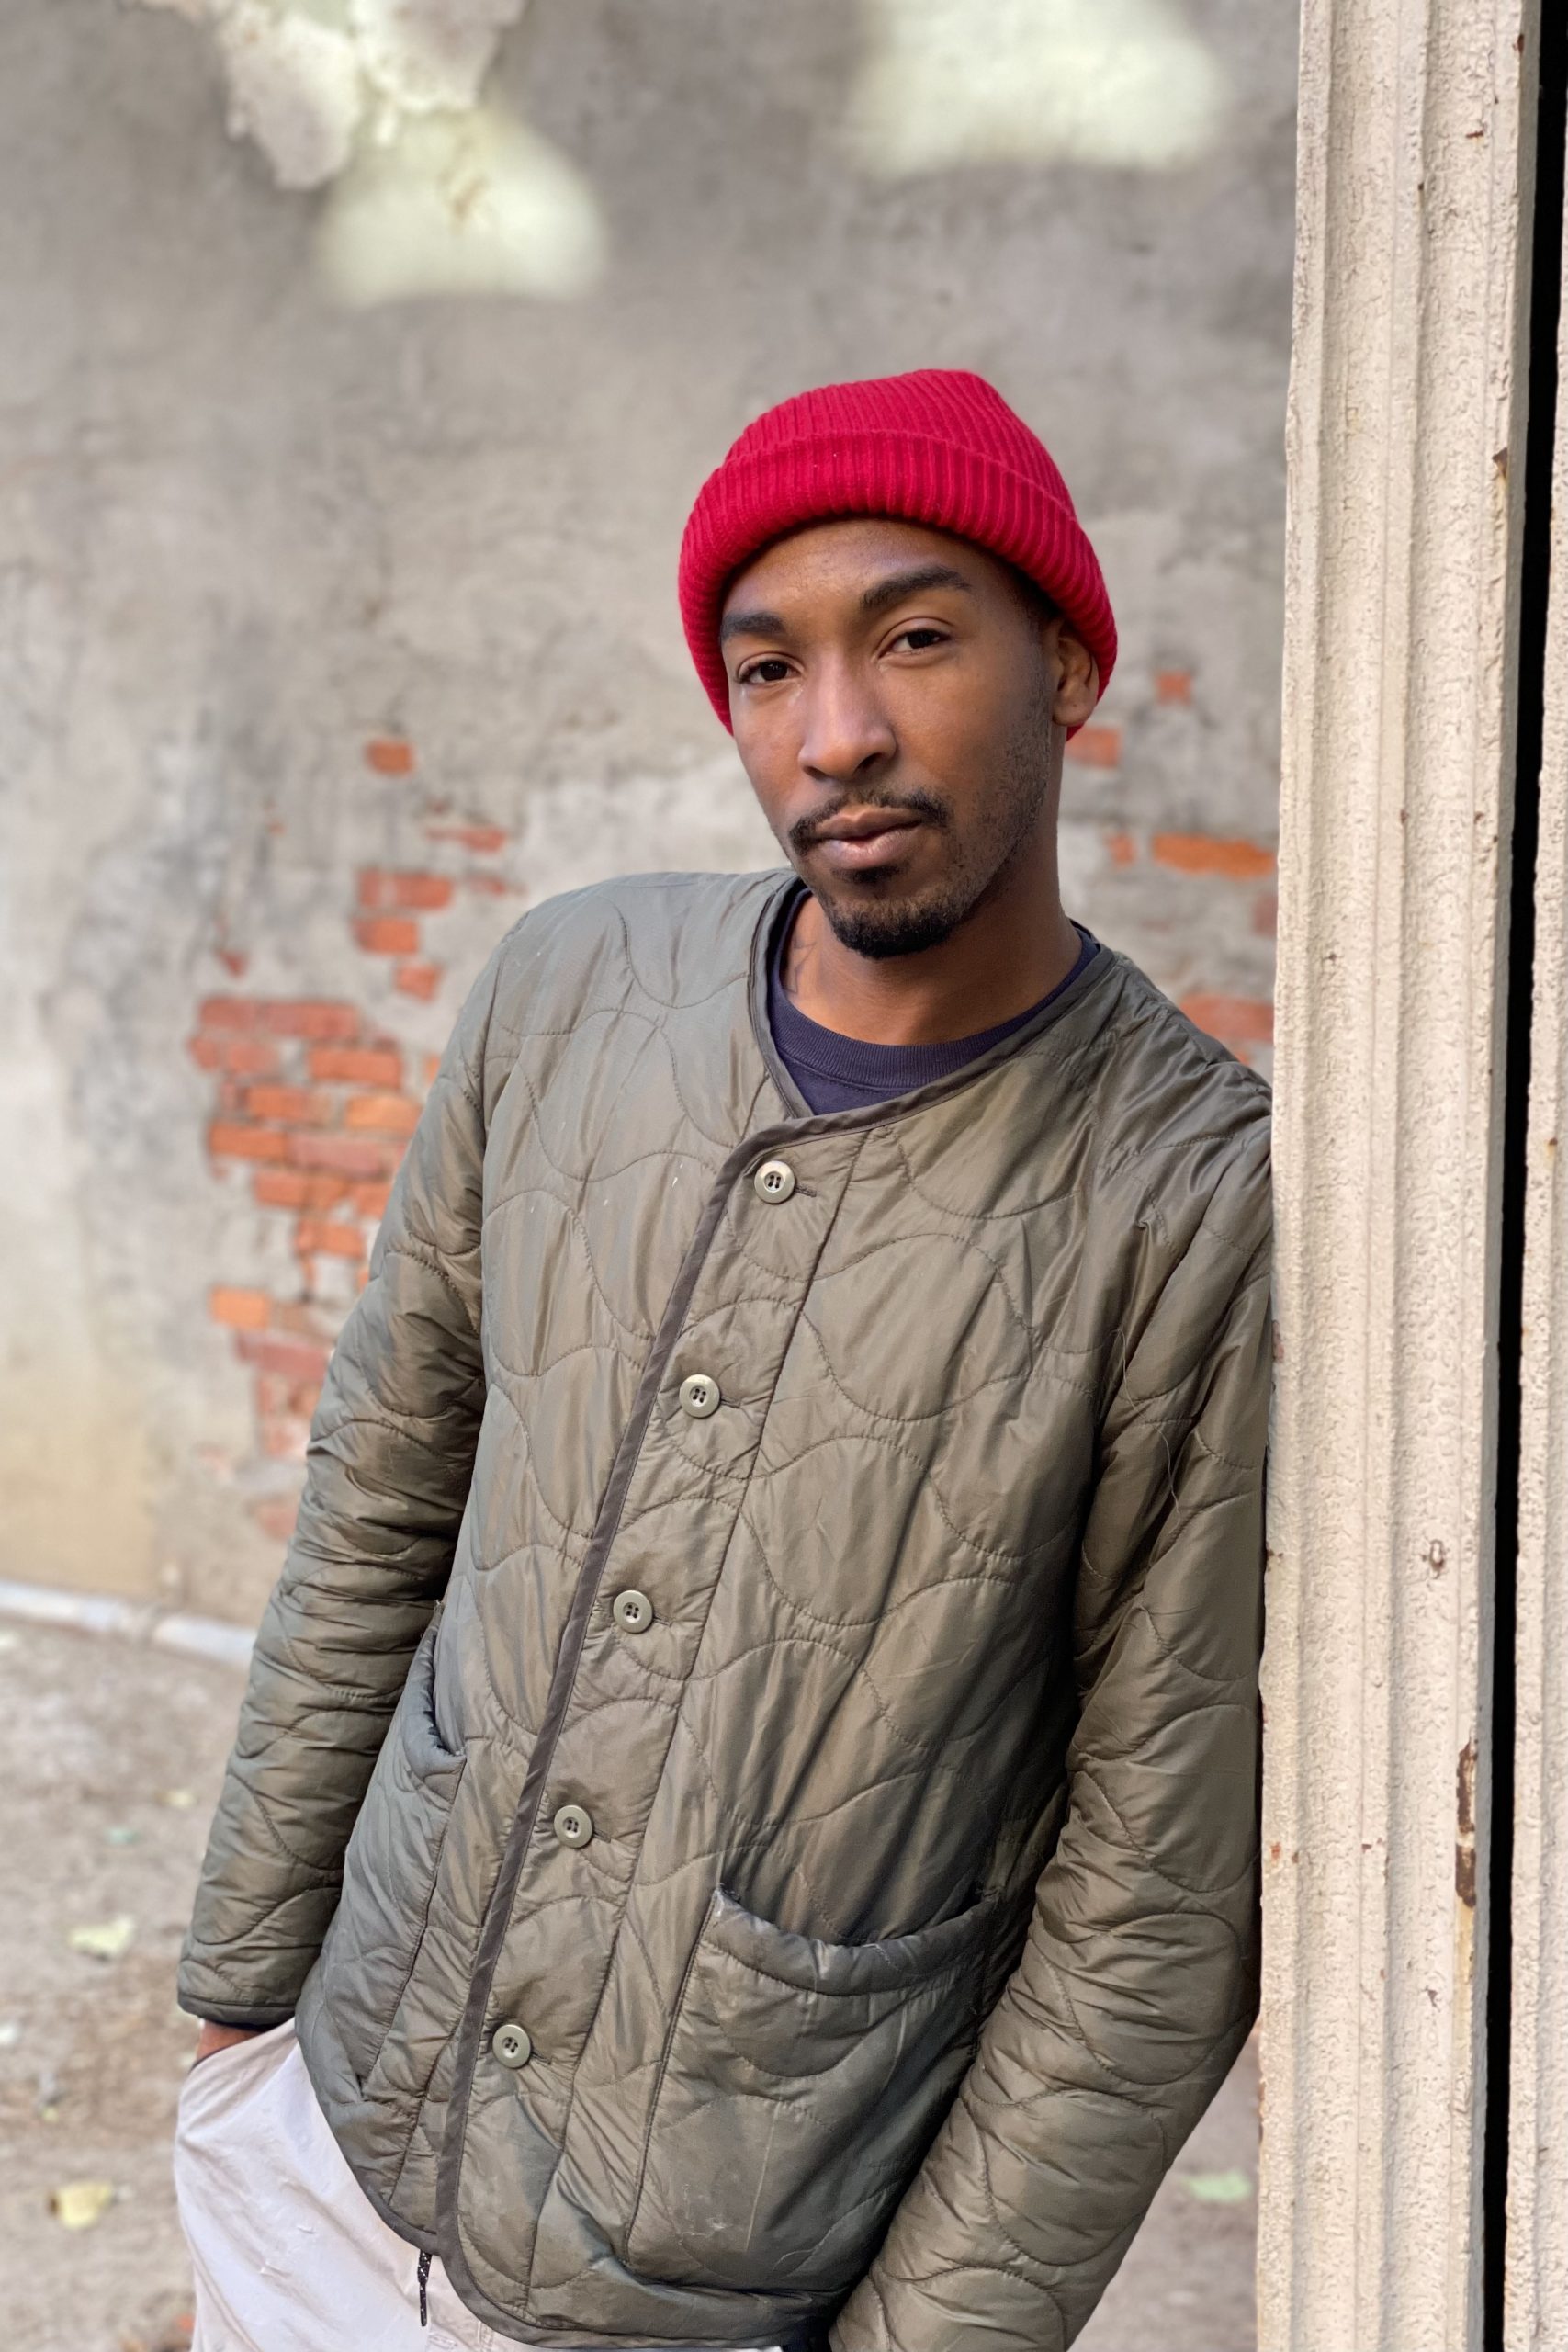
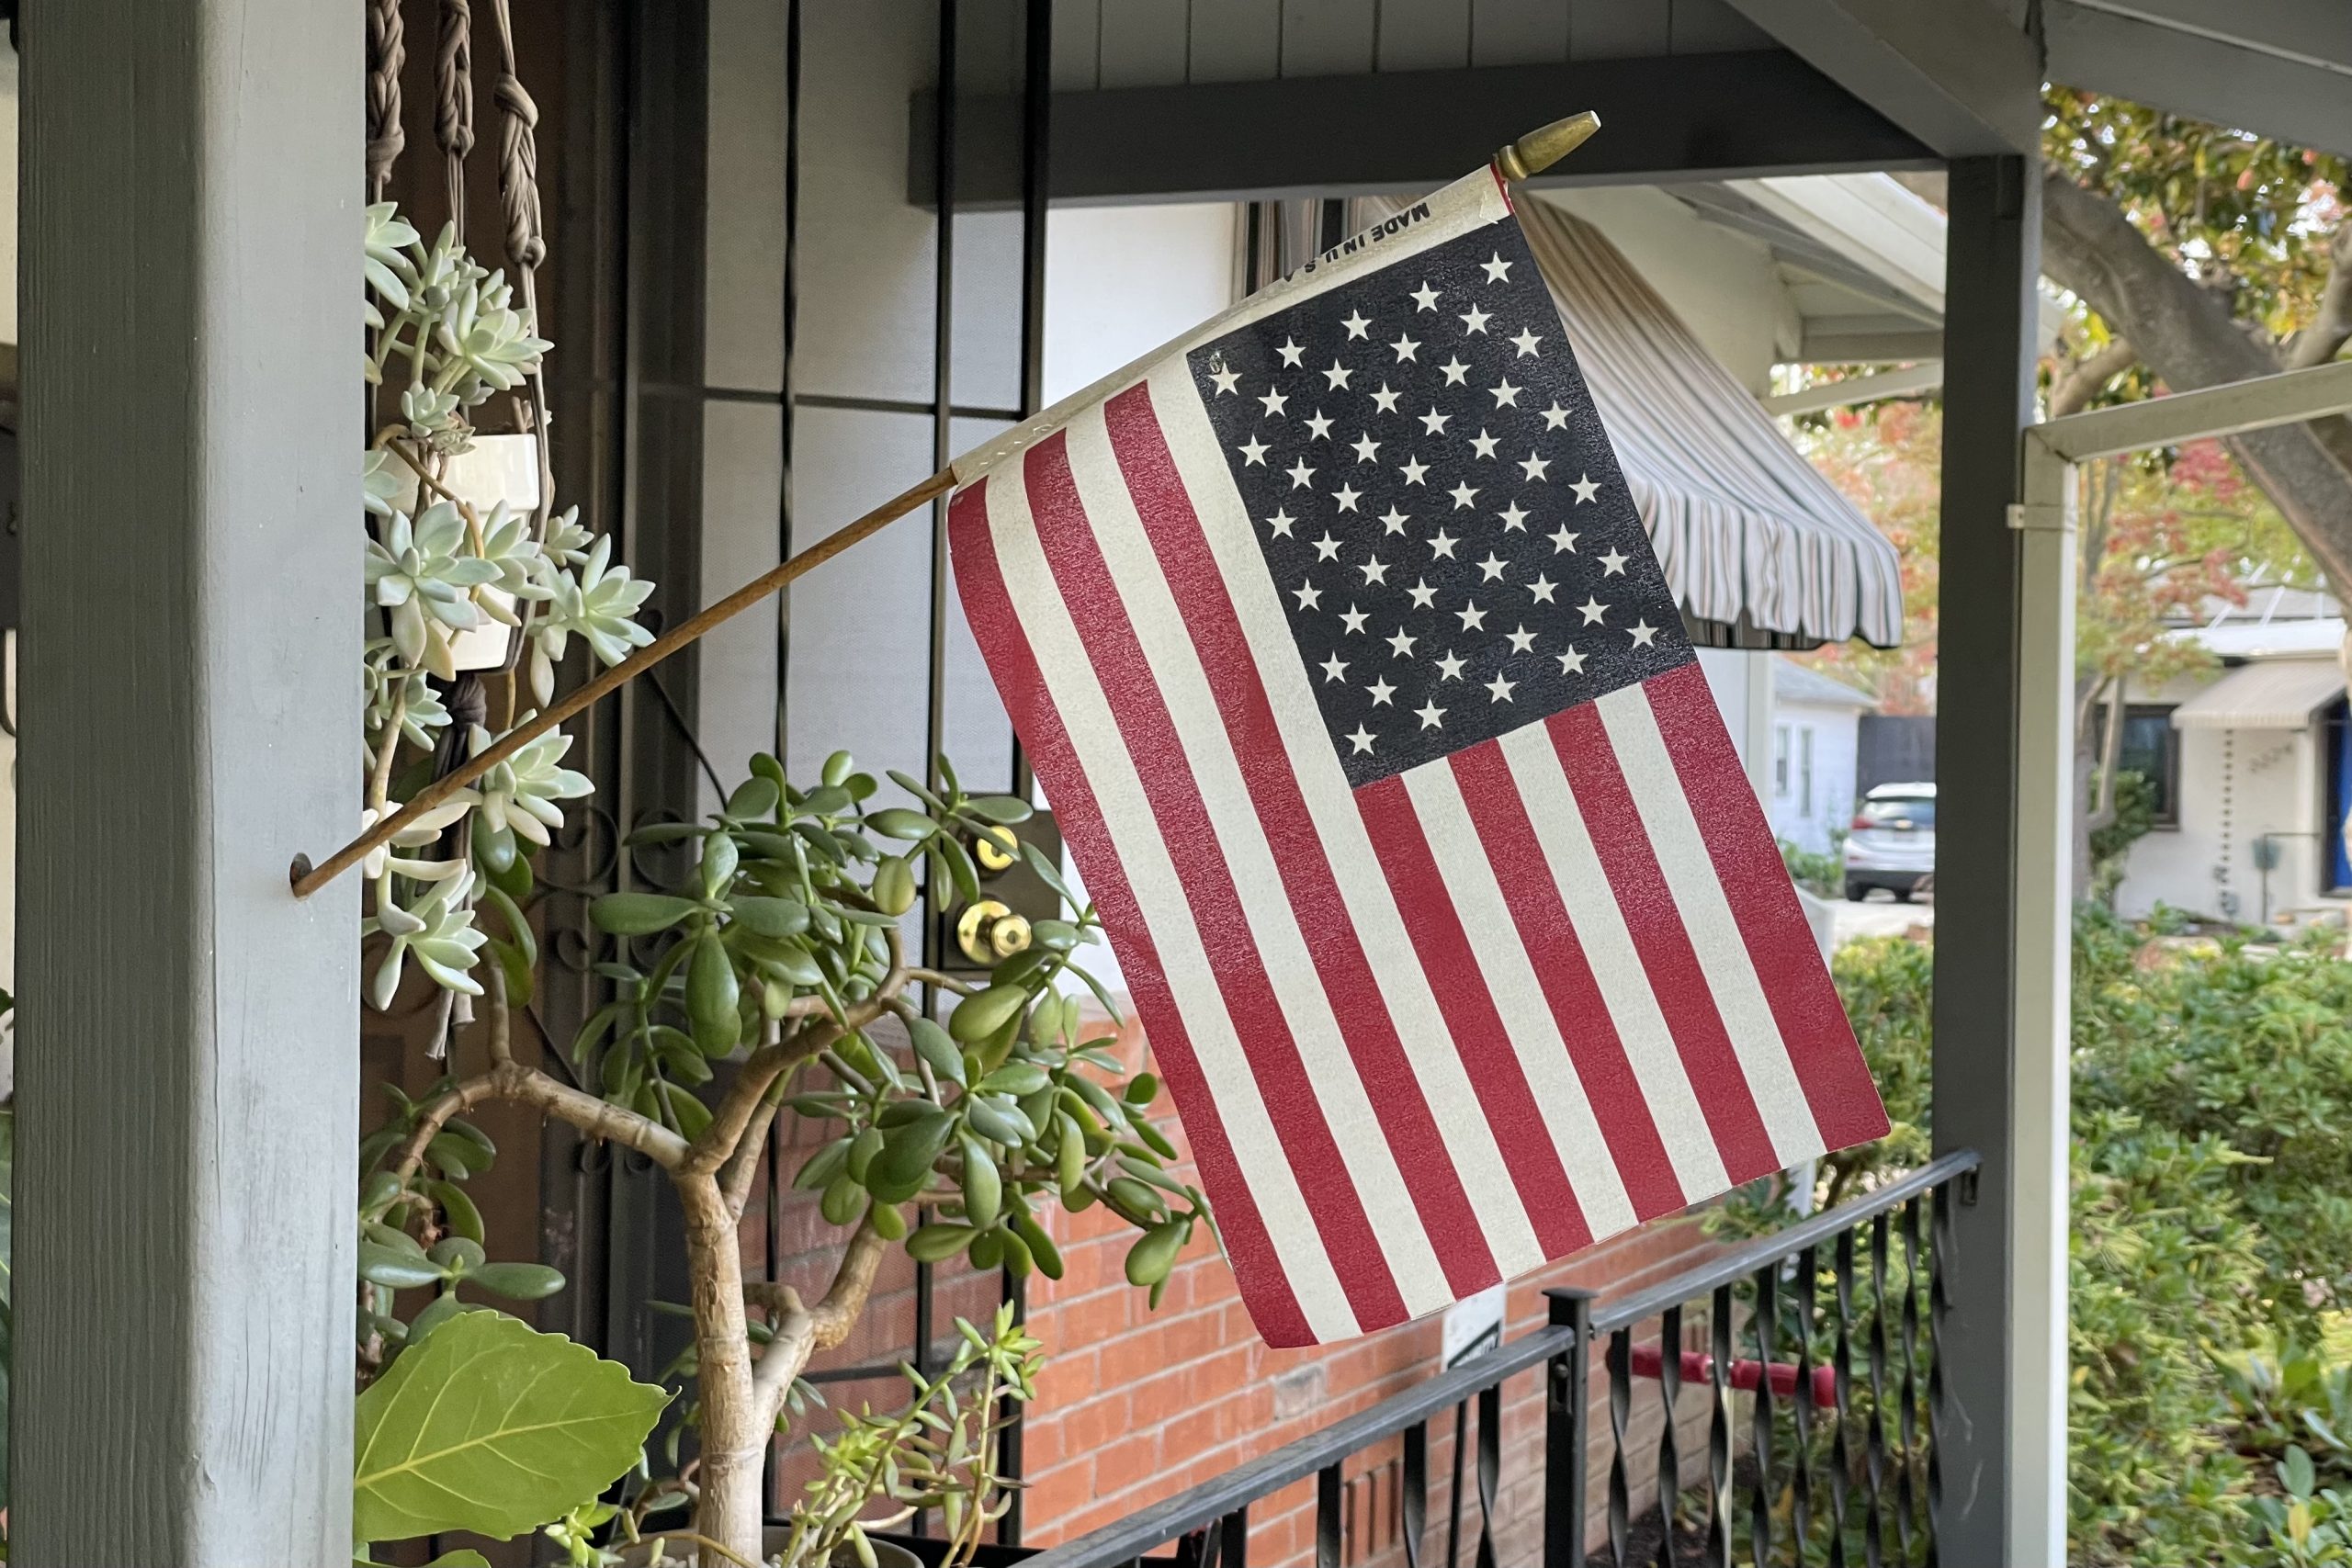
iPhone photo 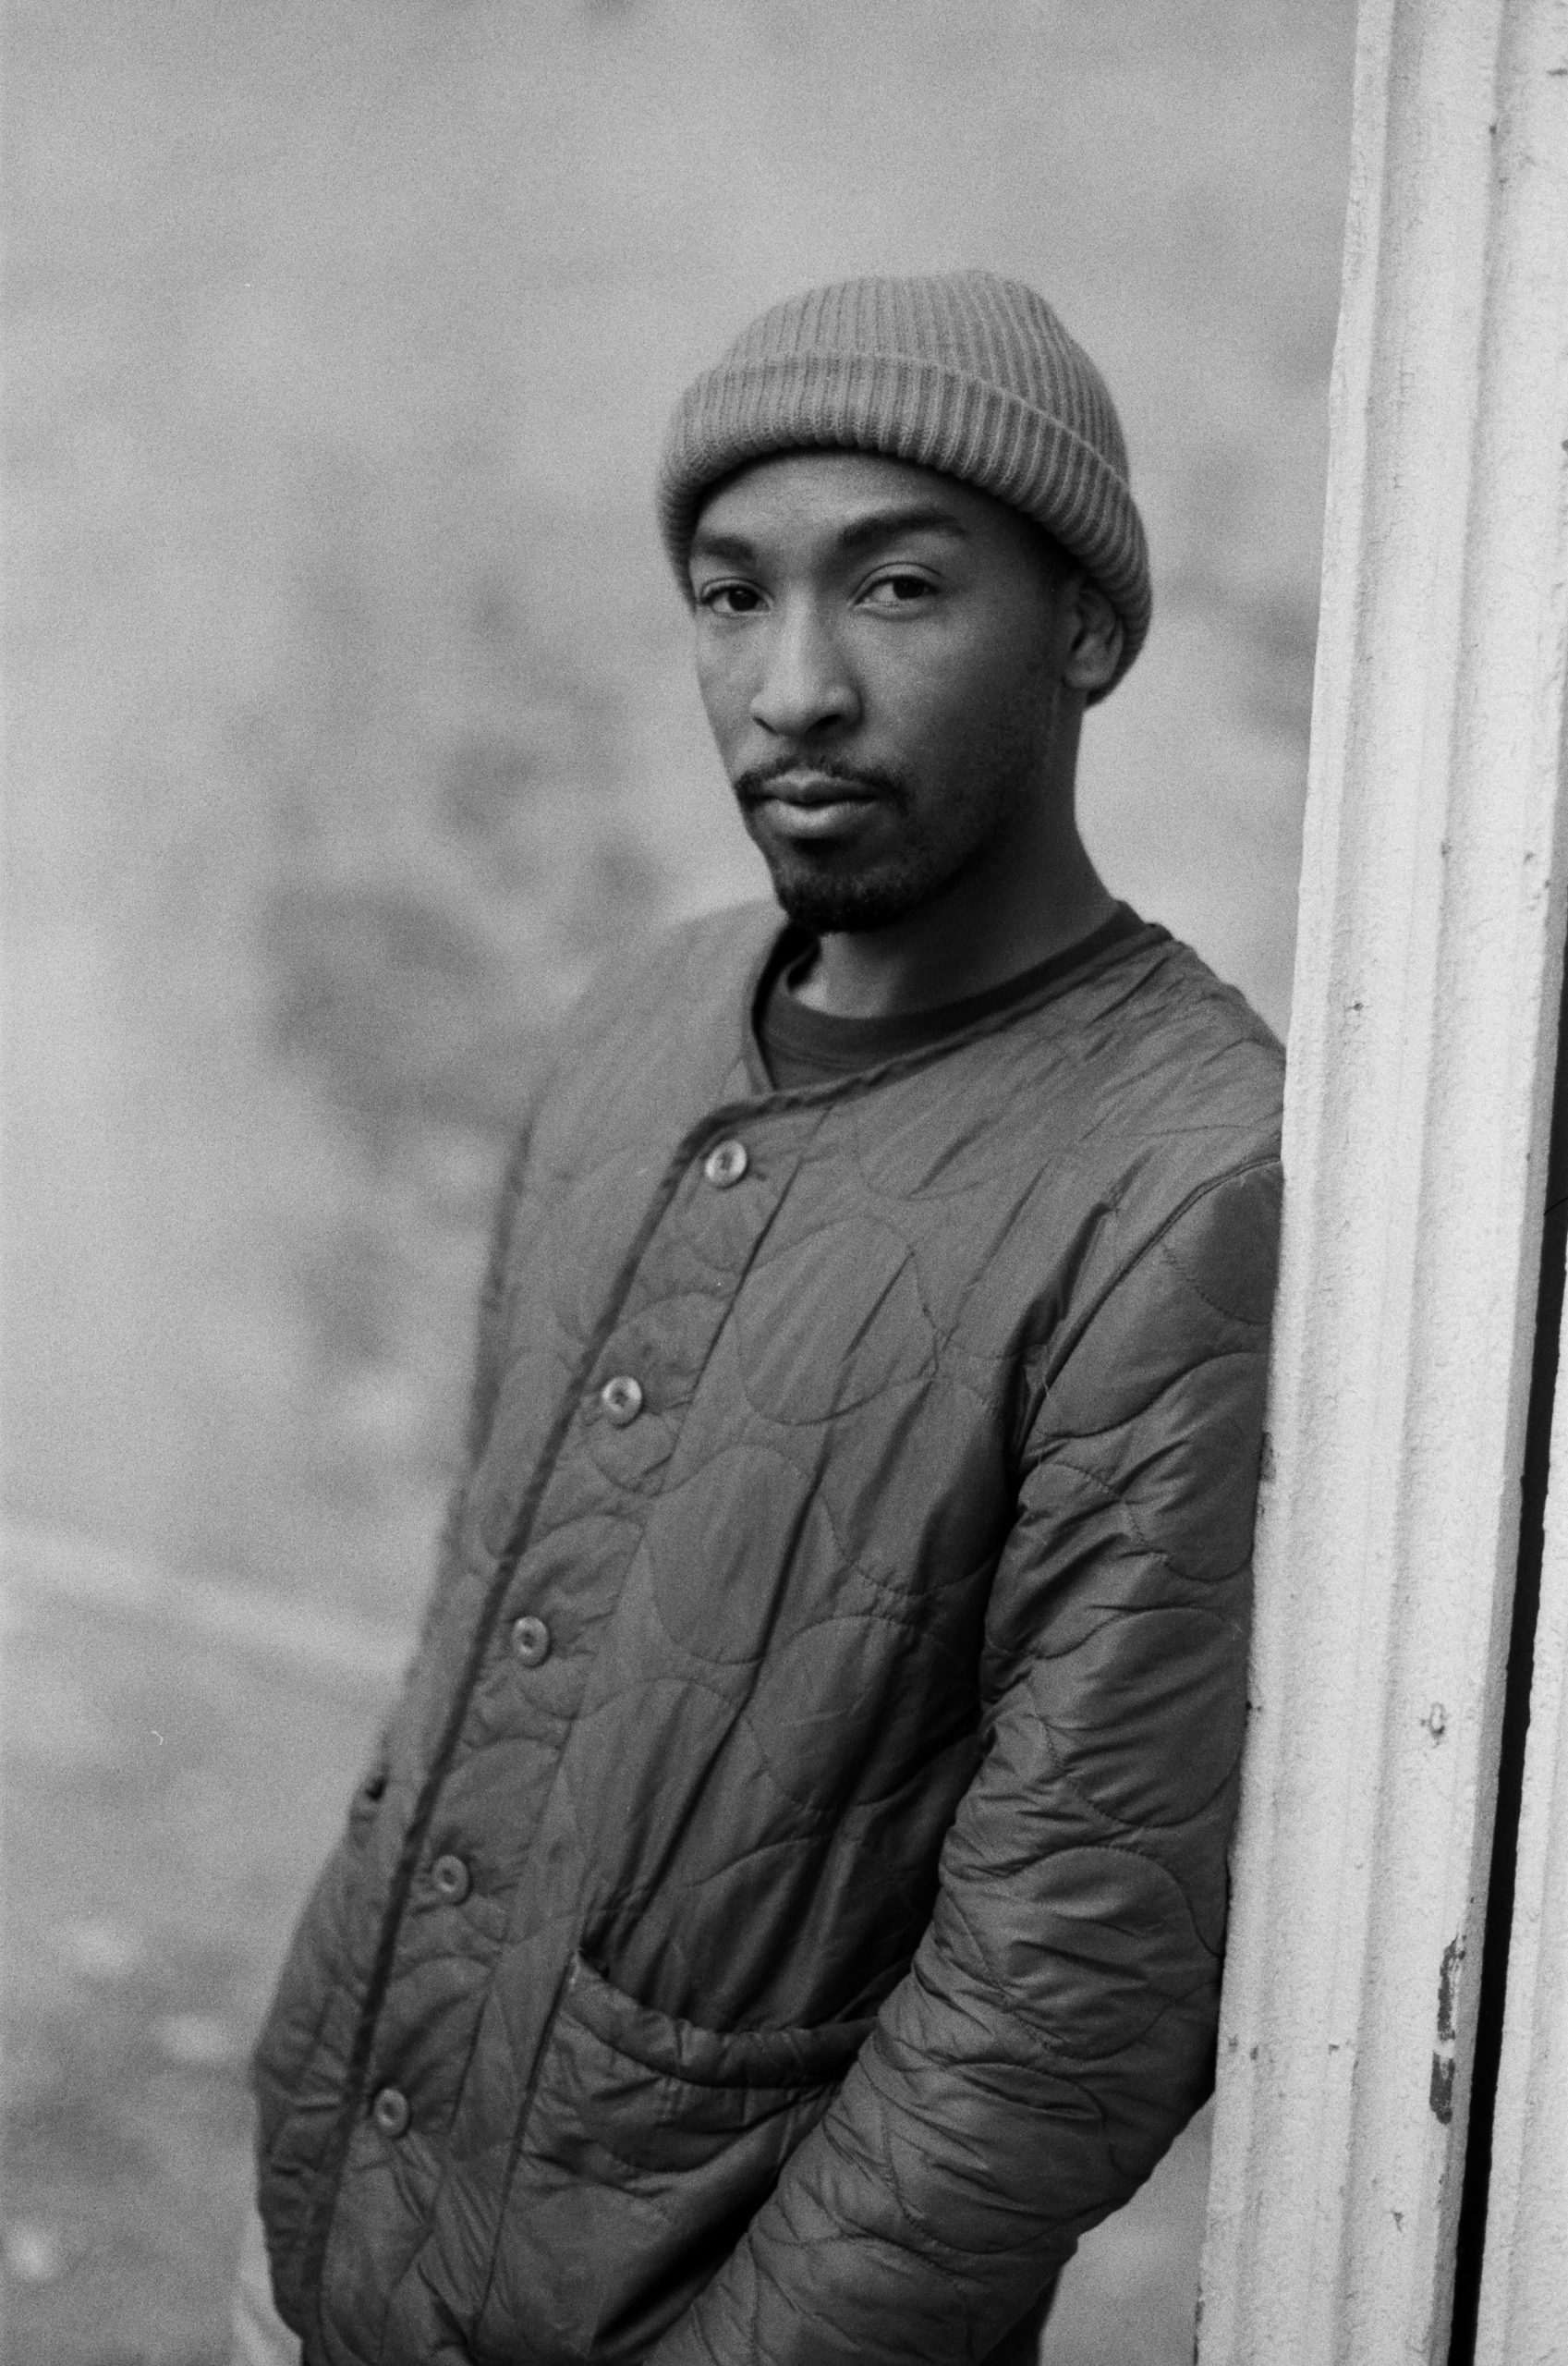
No Filter 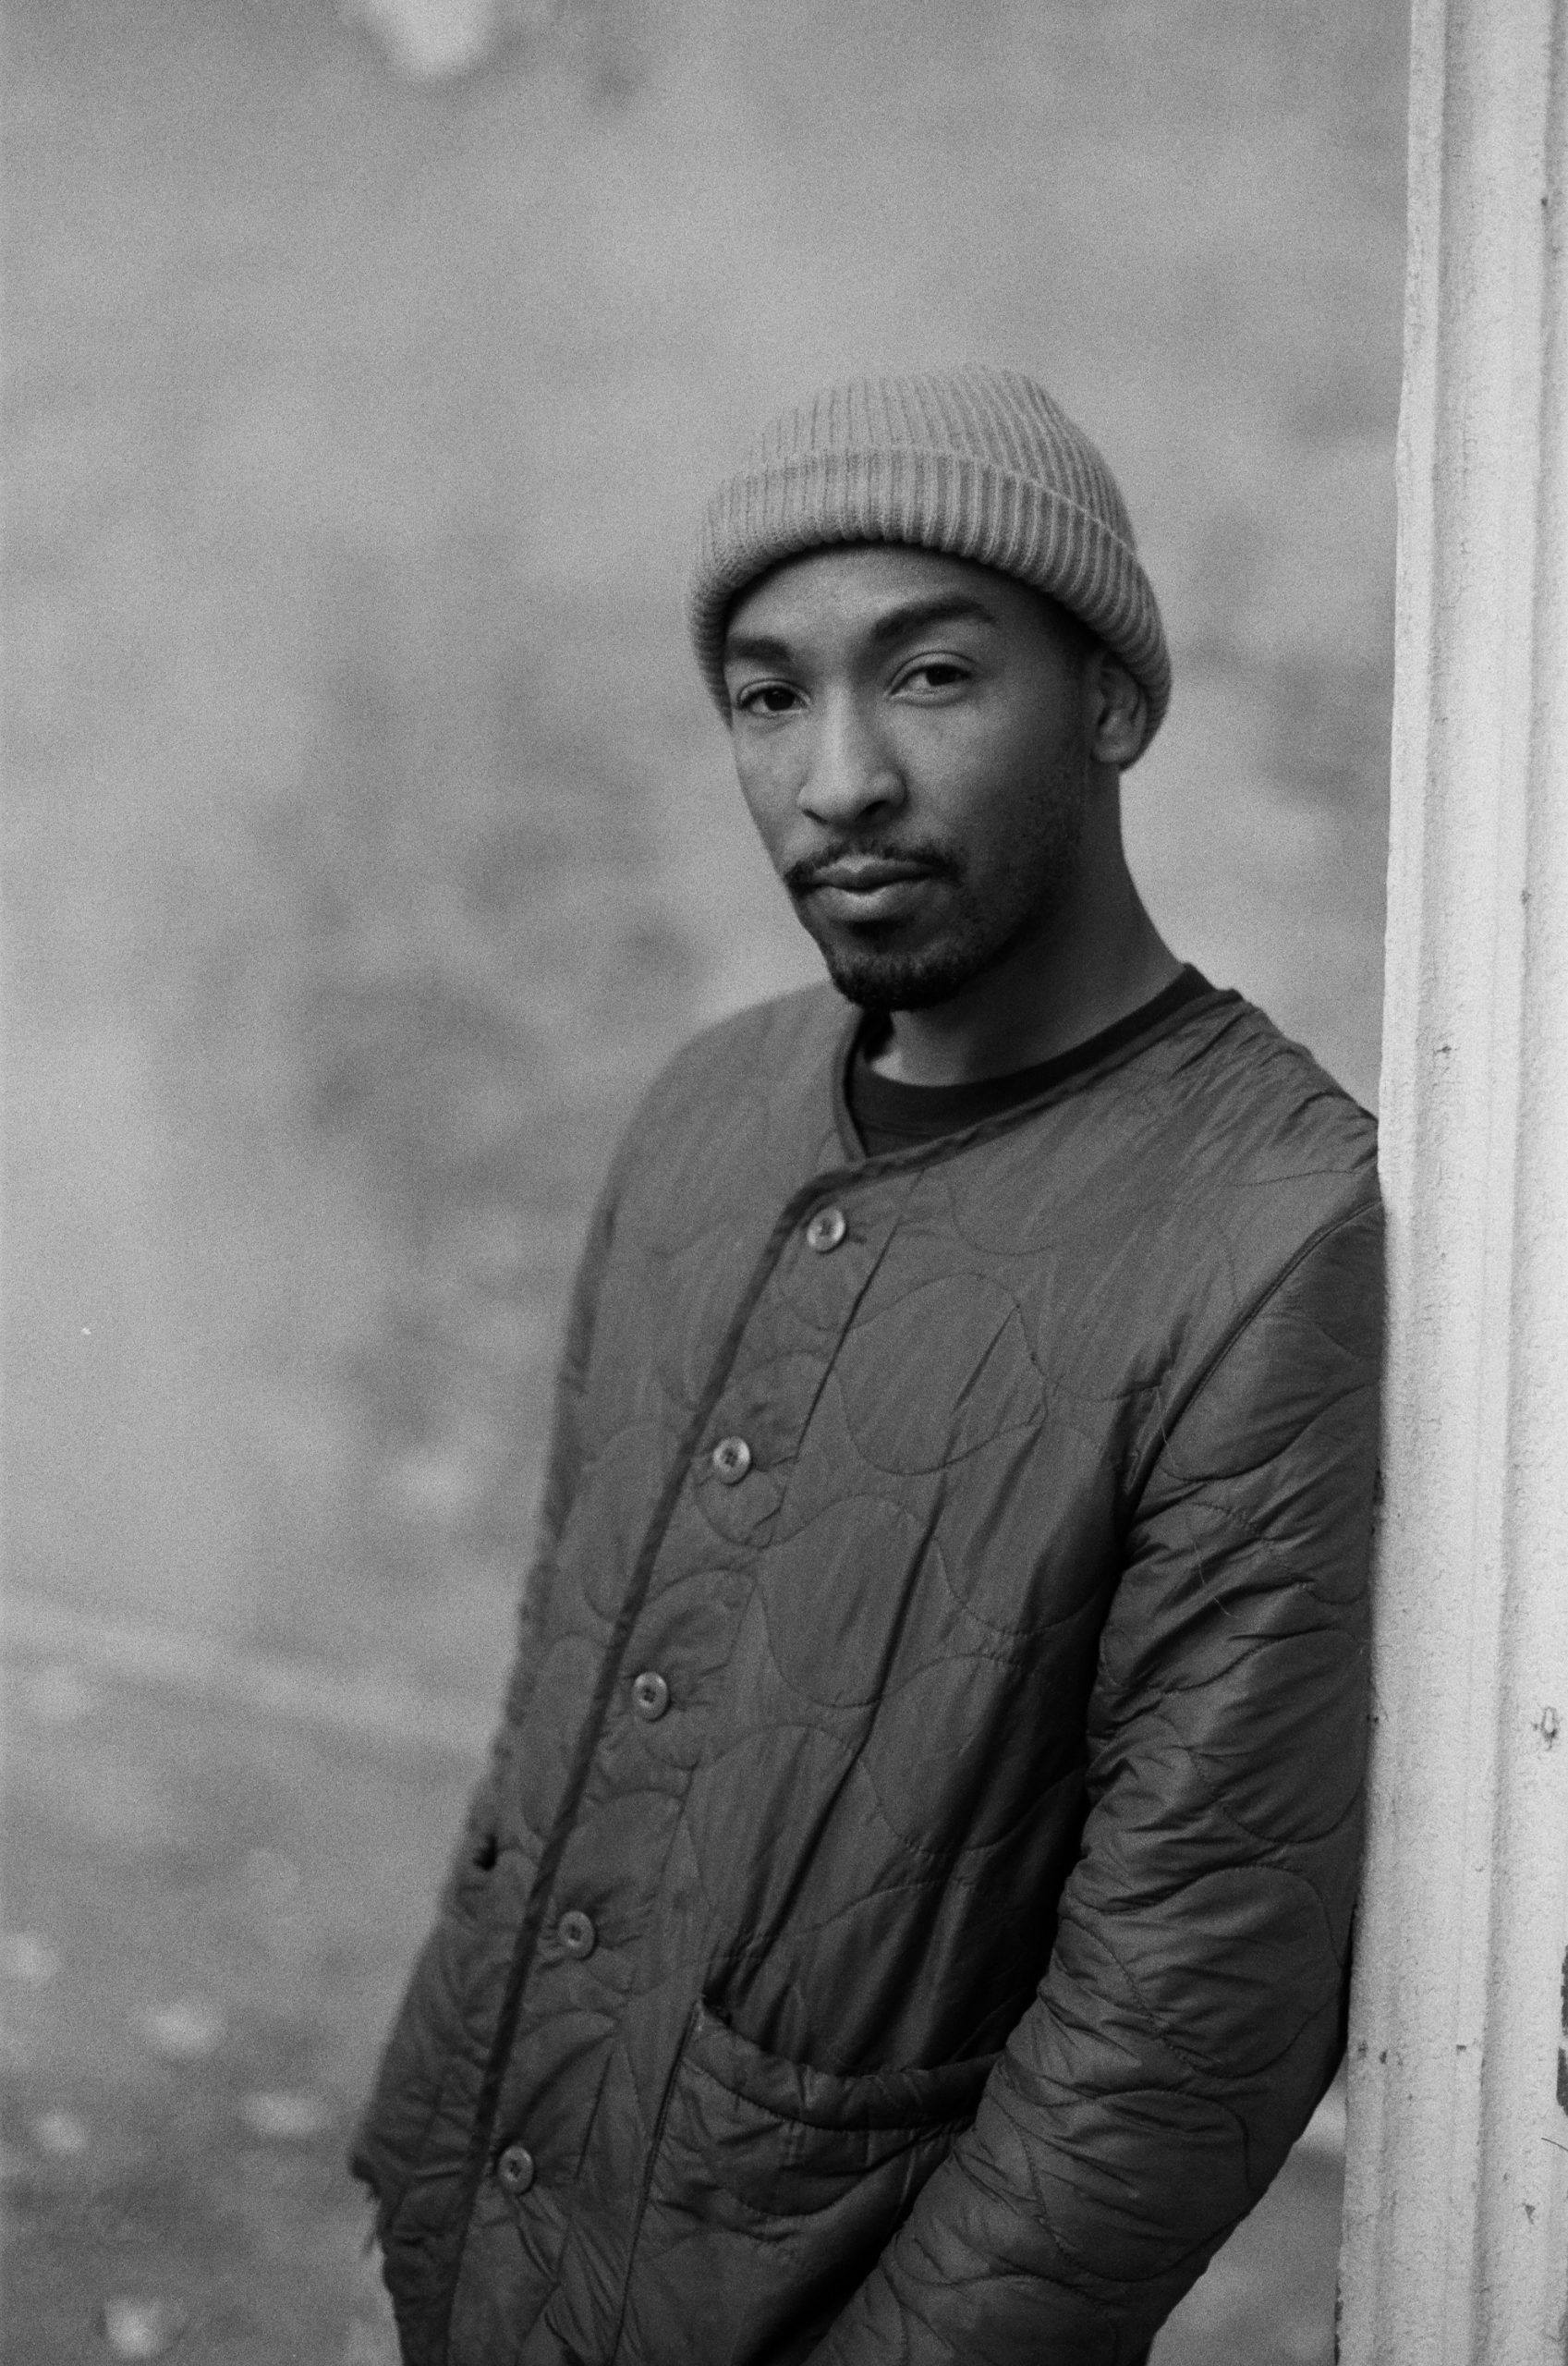
Yellow 12 Filter 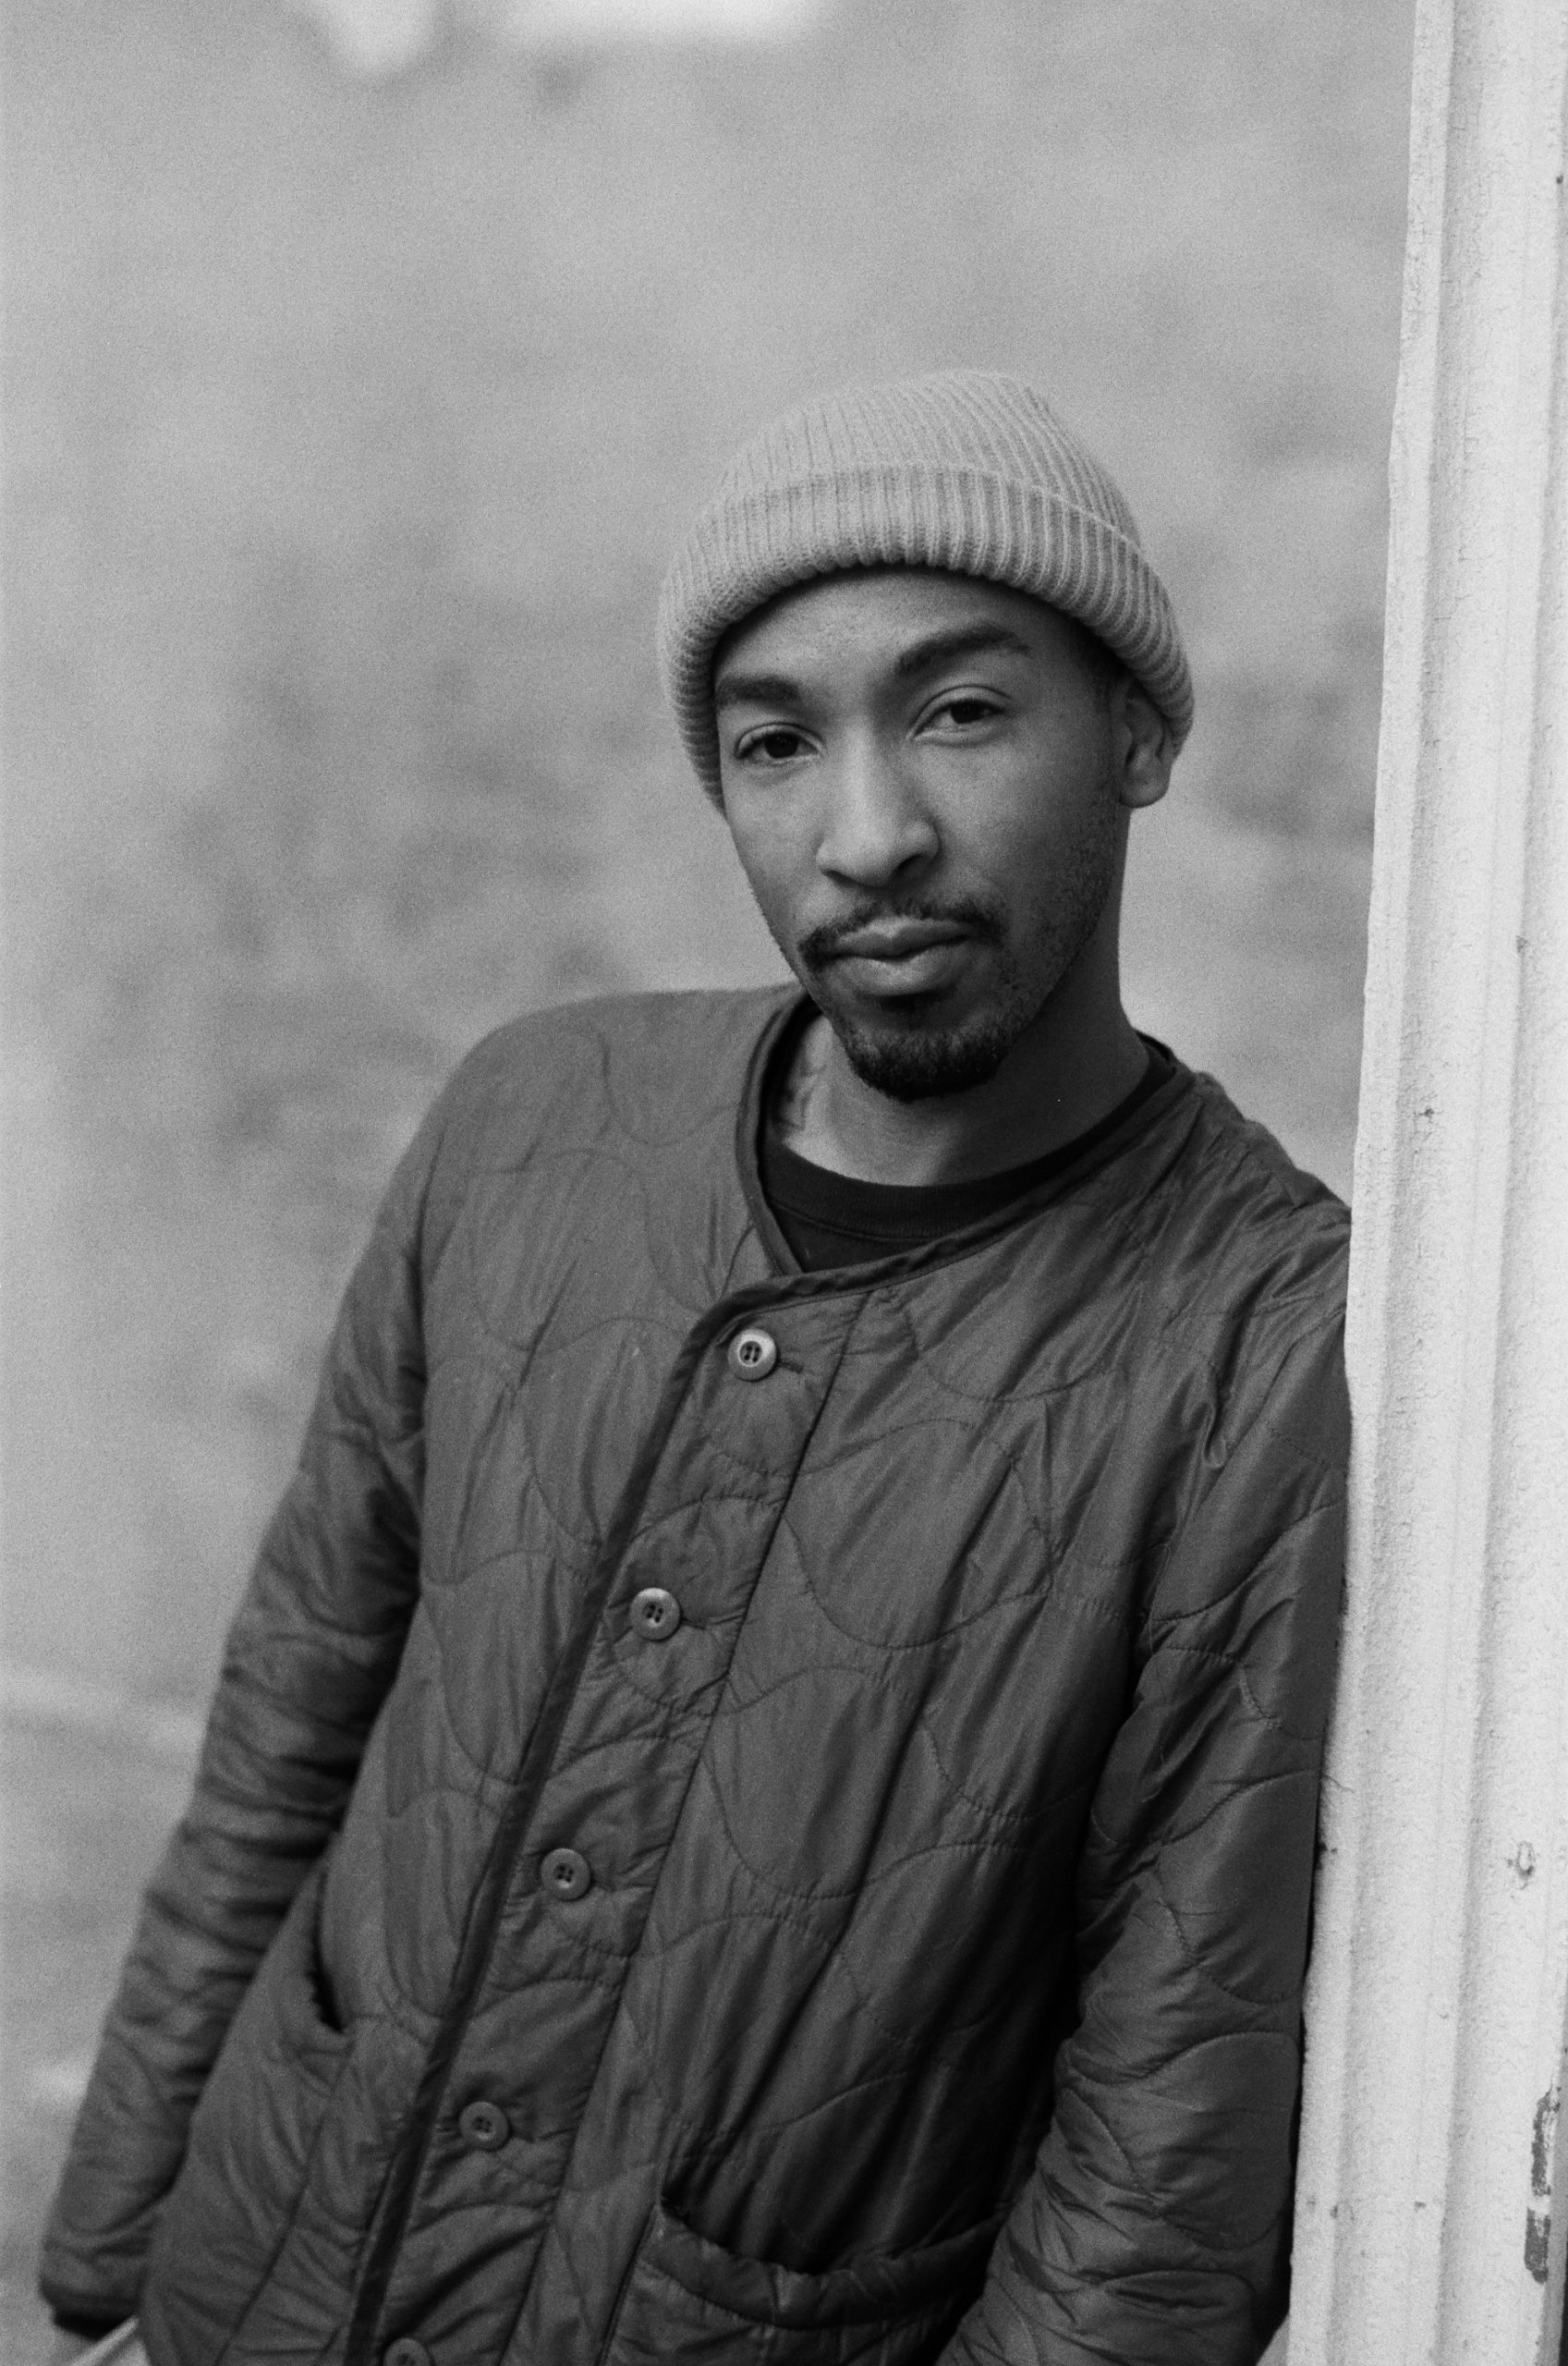
Orange 21 Filter 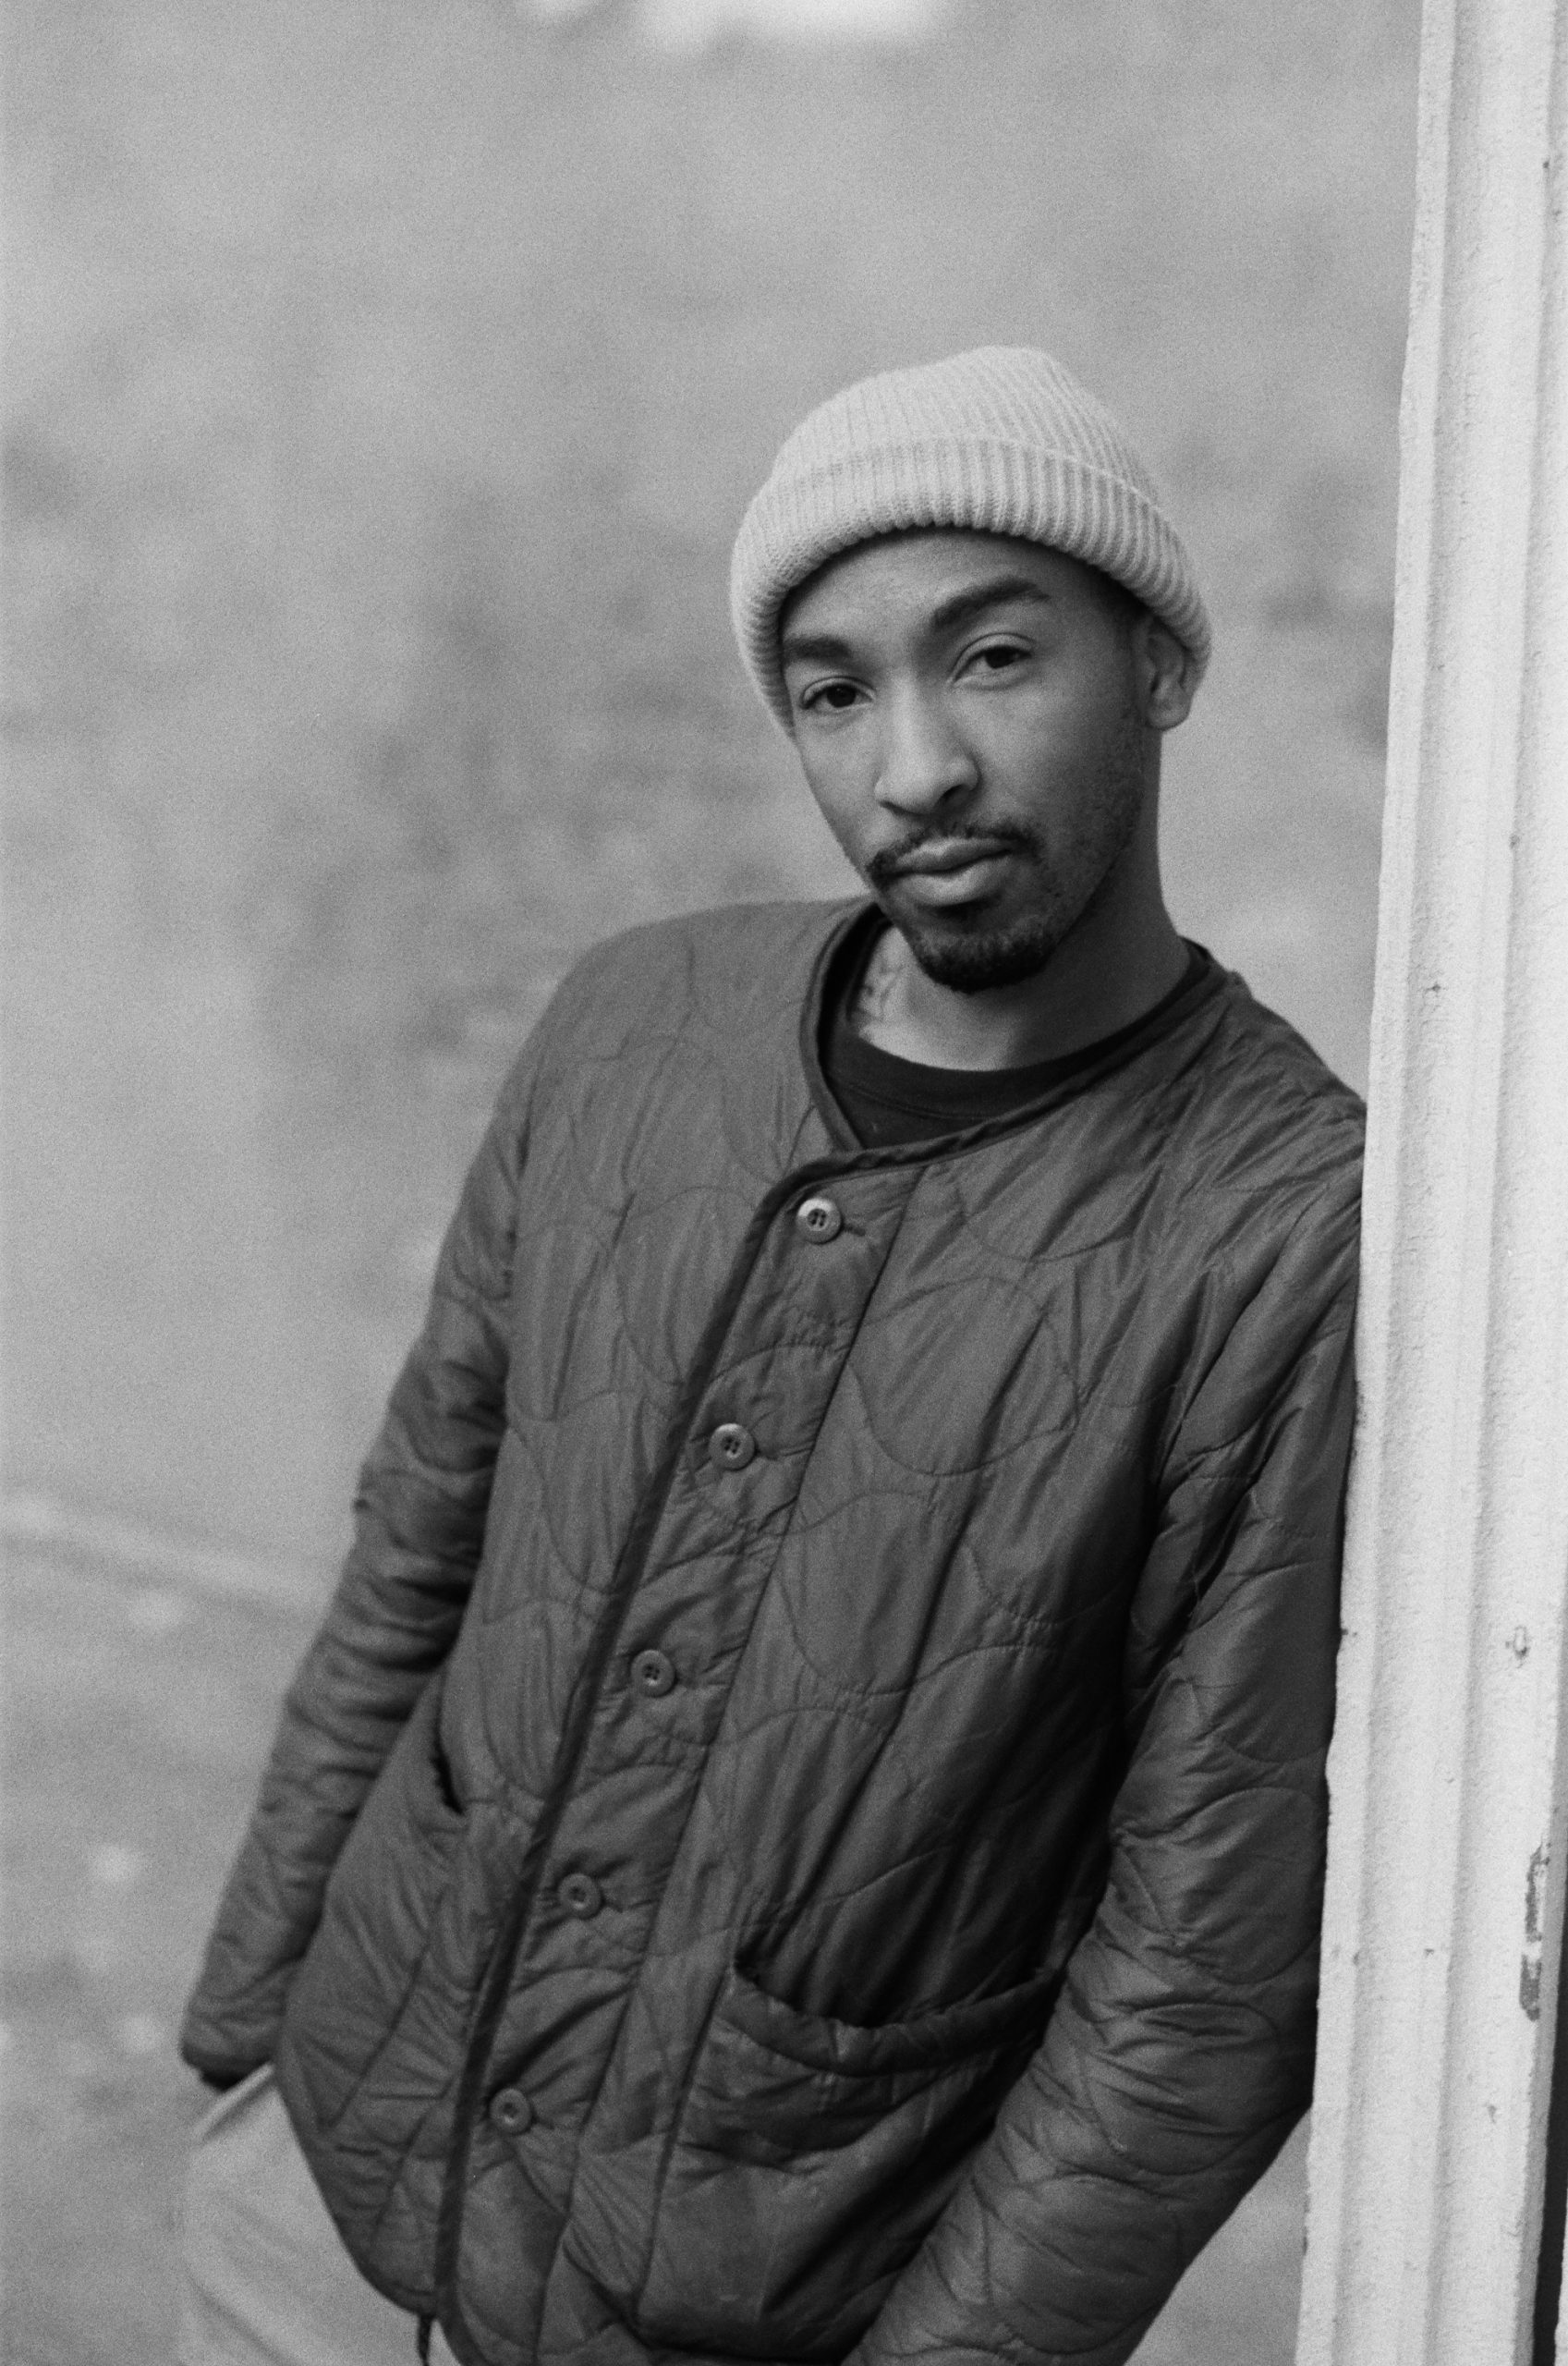
Red 25 Filter 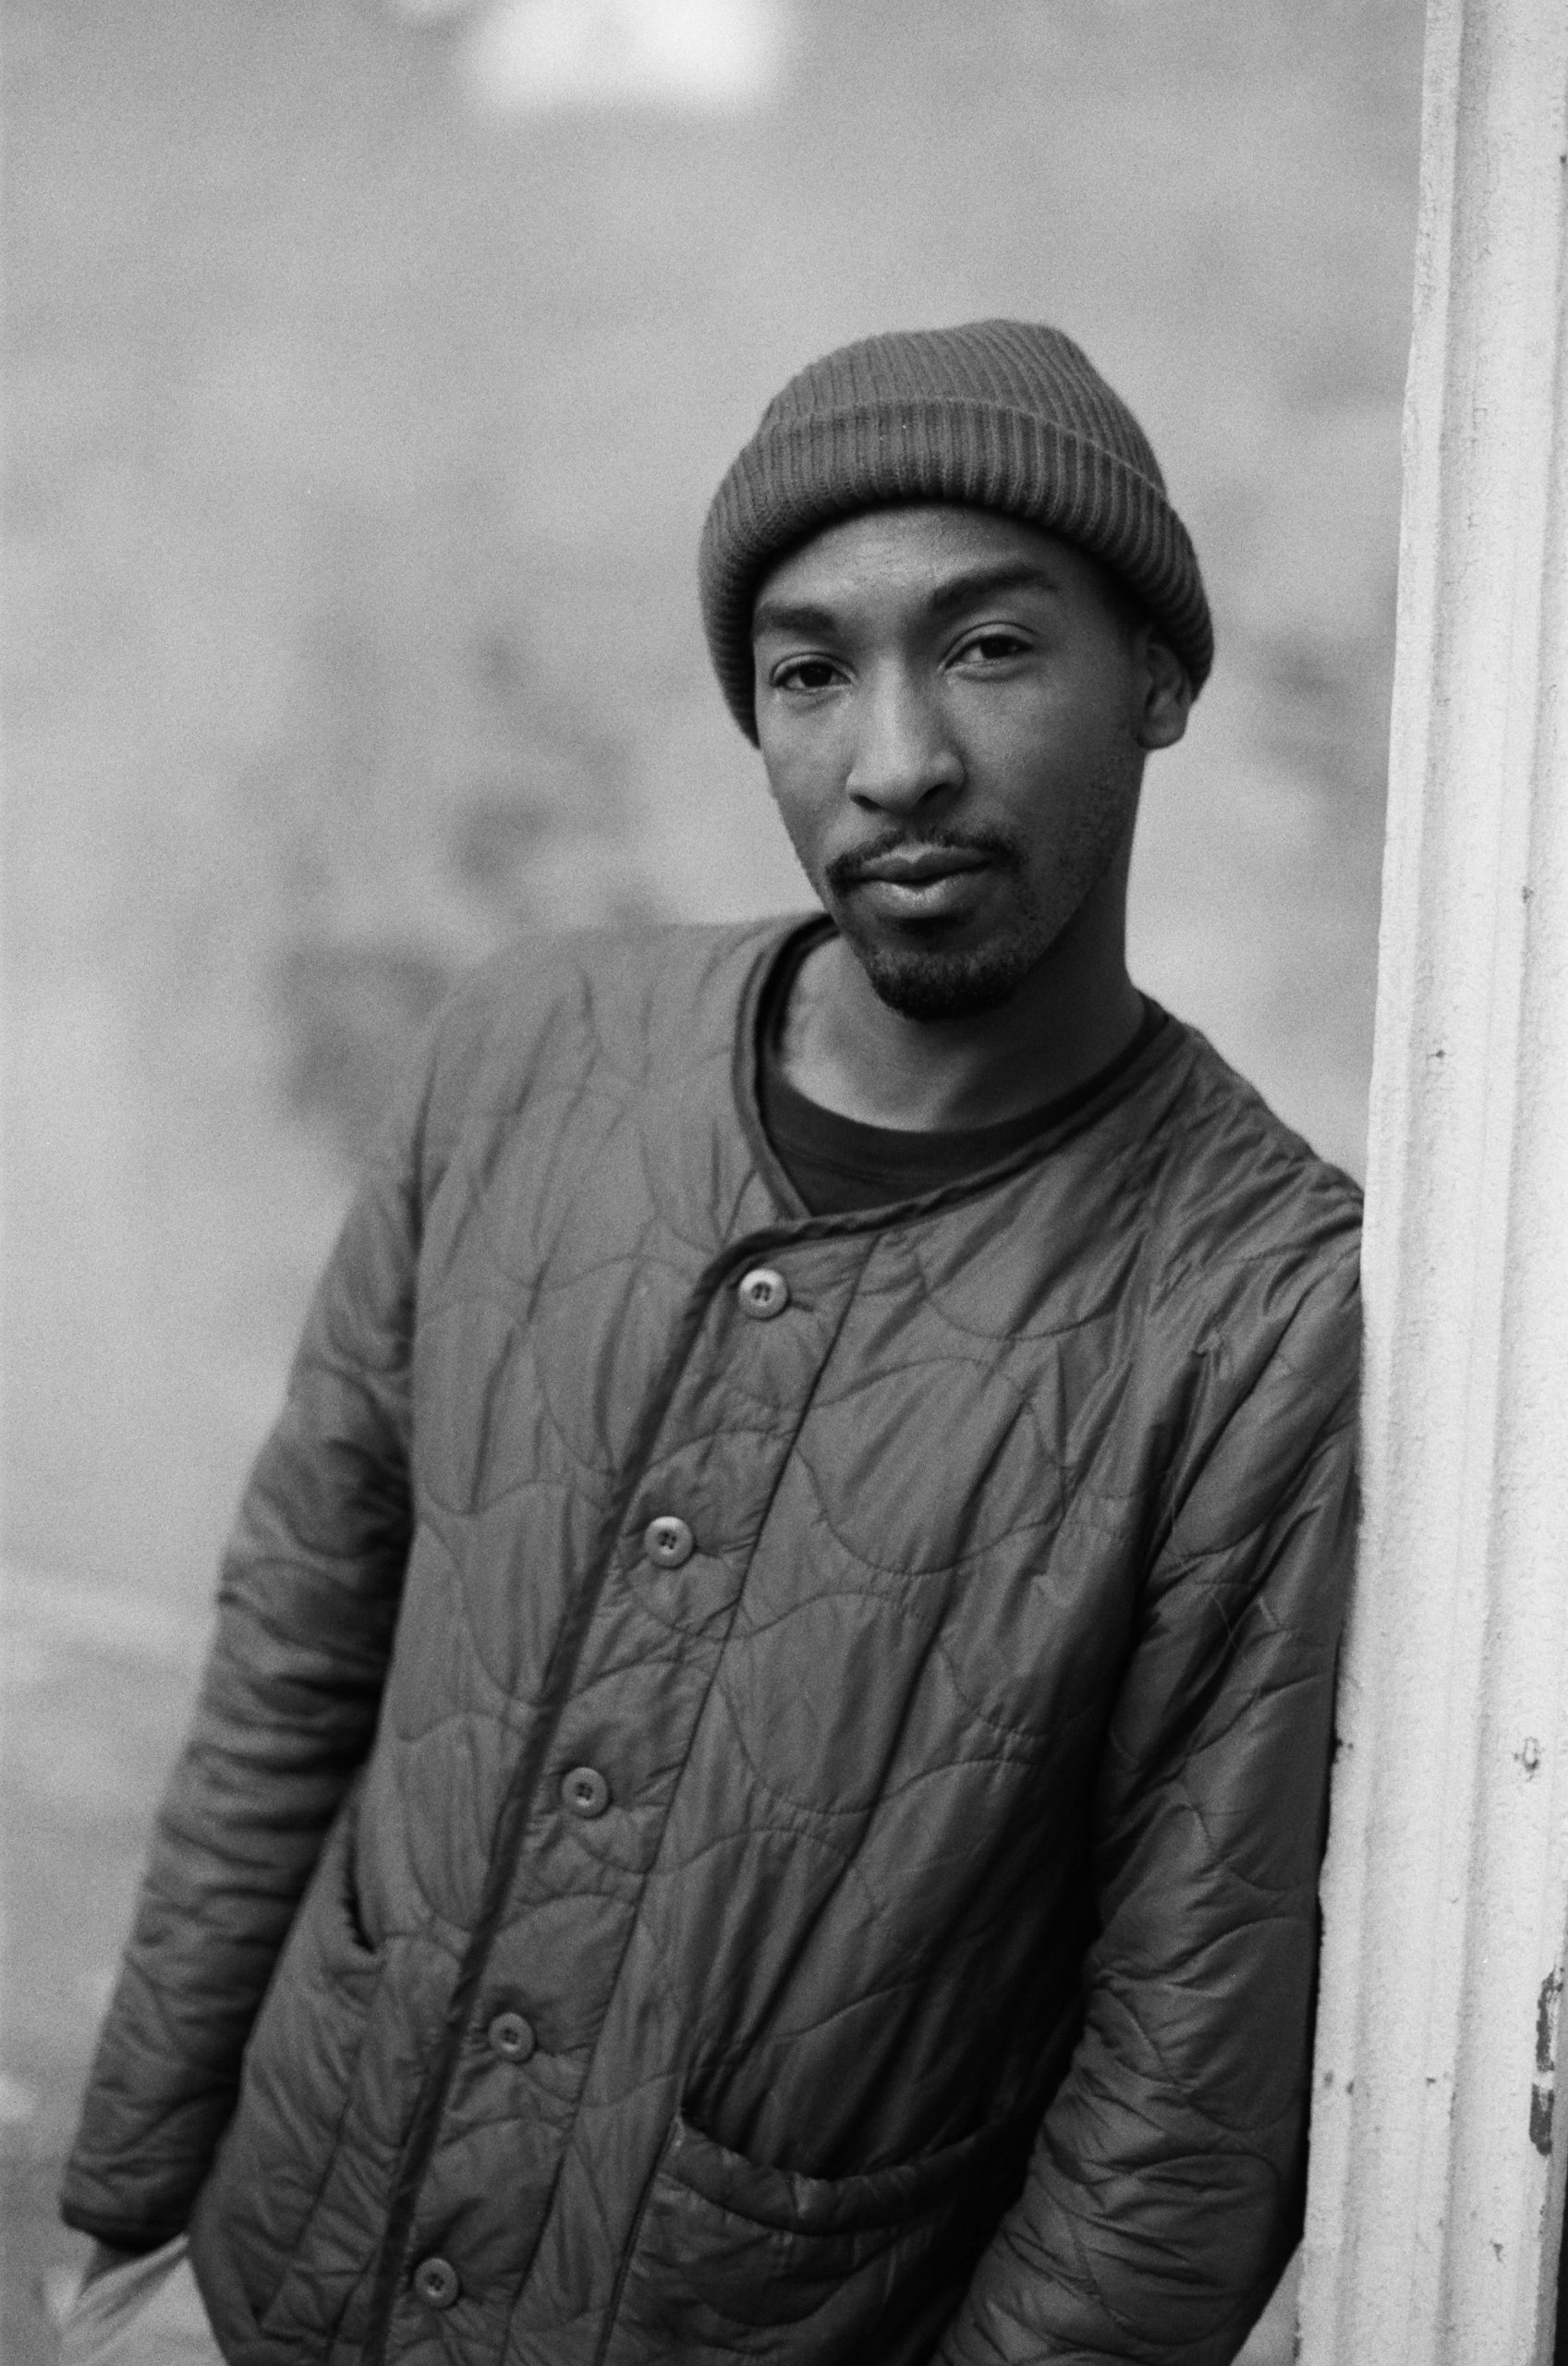
Green 11 Filter
Cityscape on Ilford Delta 100
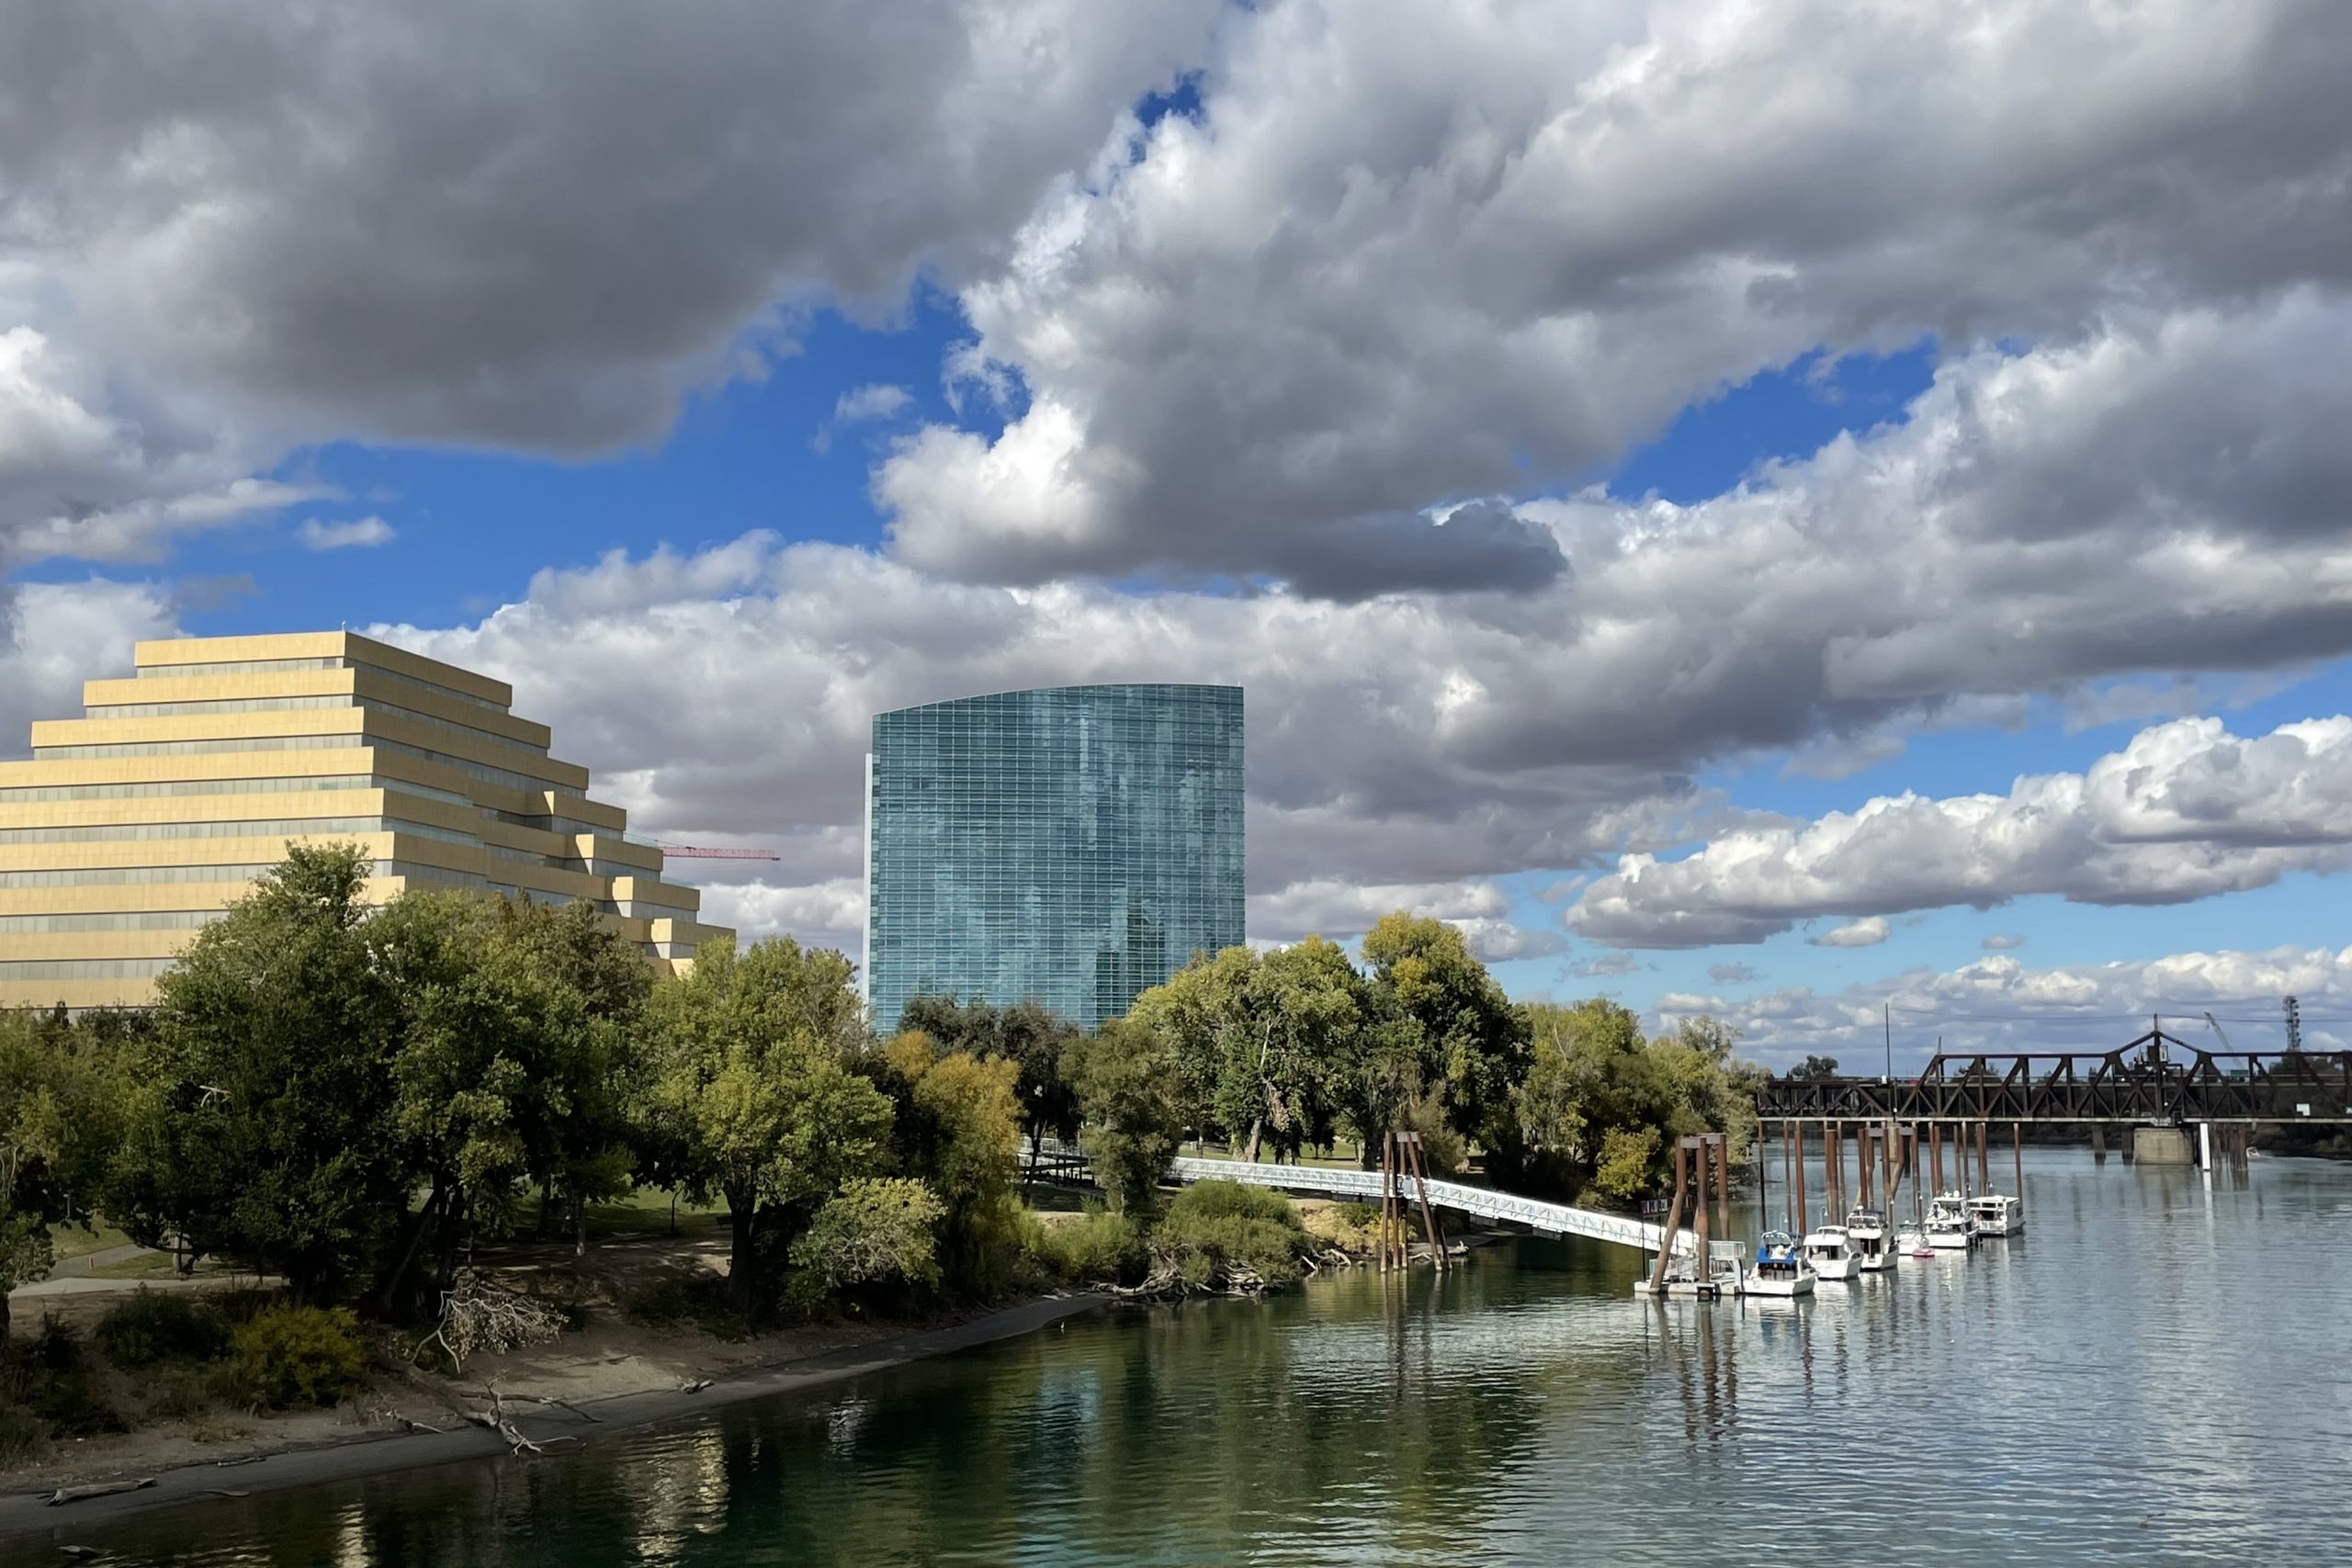
iPhone photo 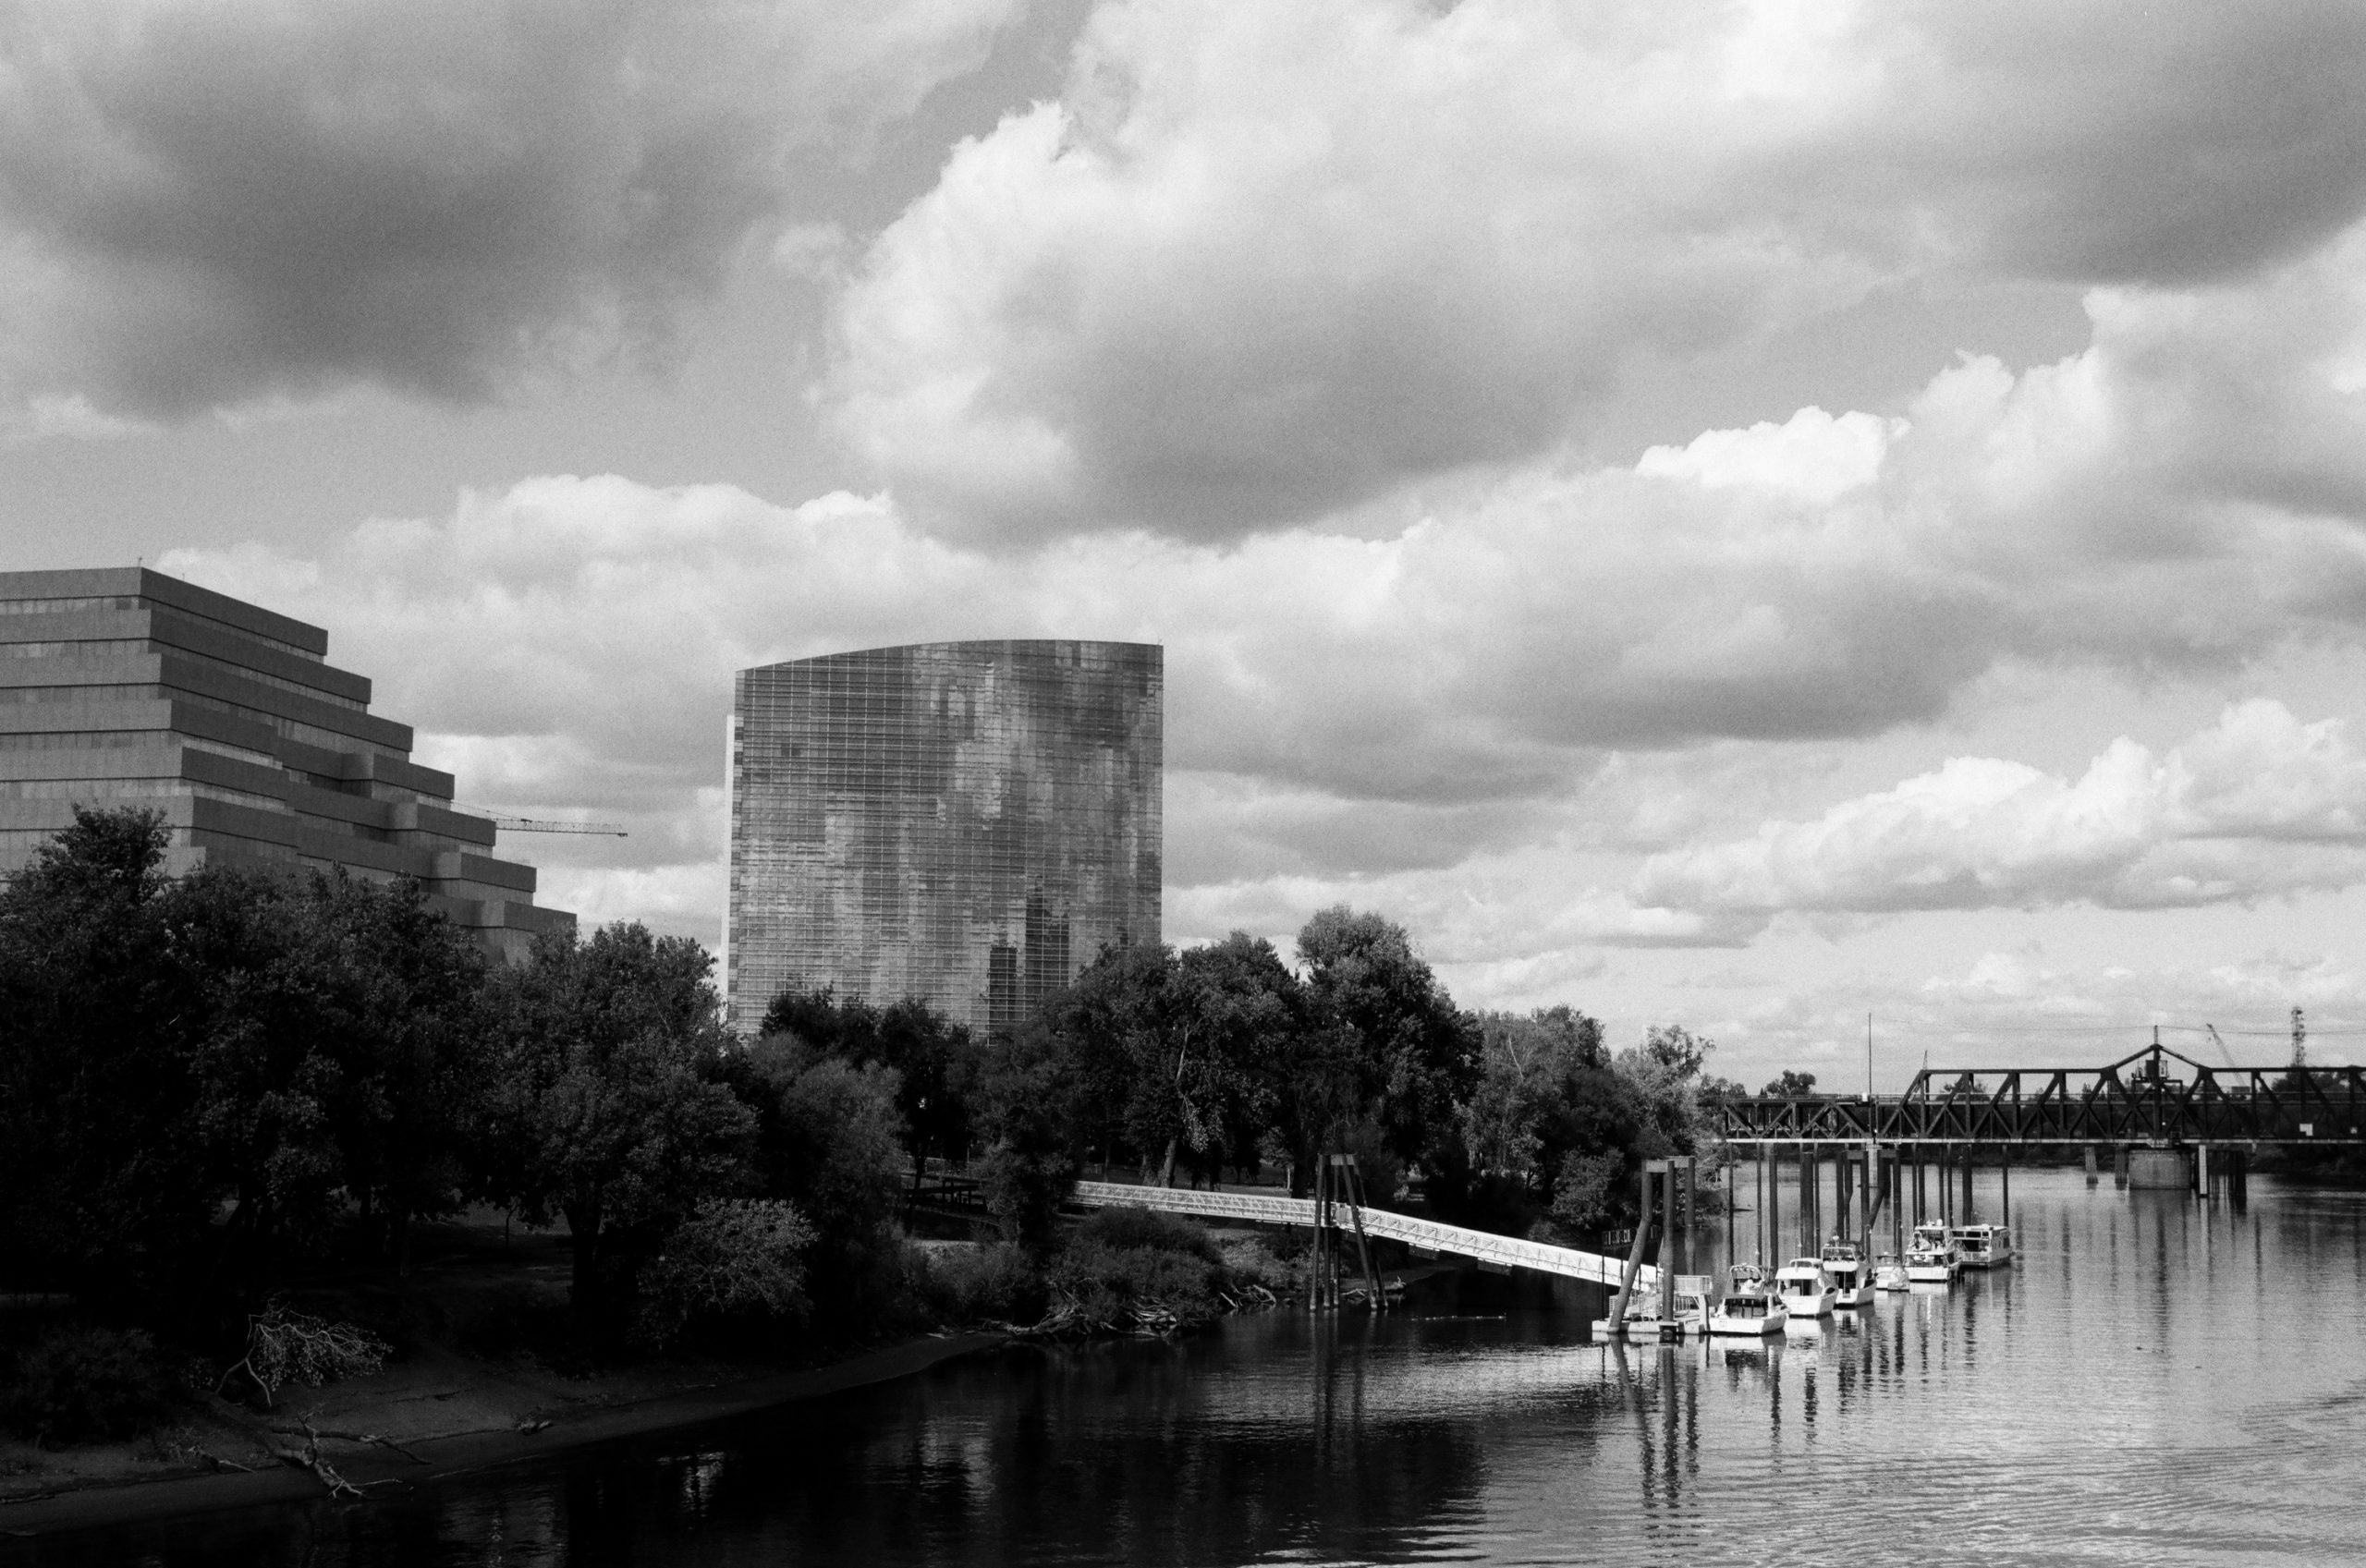
No Filter 
Yellow 12 Filter 
Orange 21 Filter 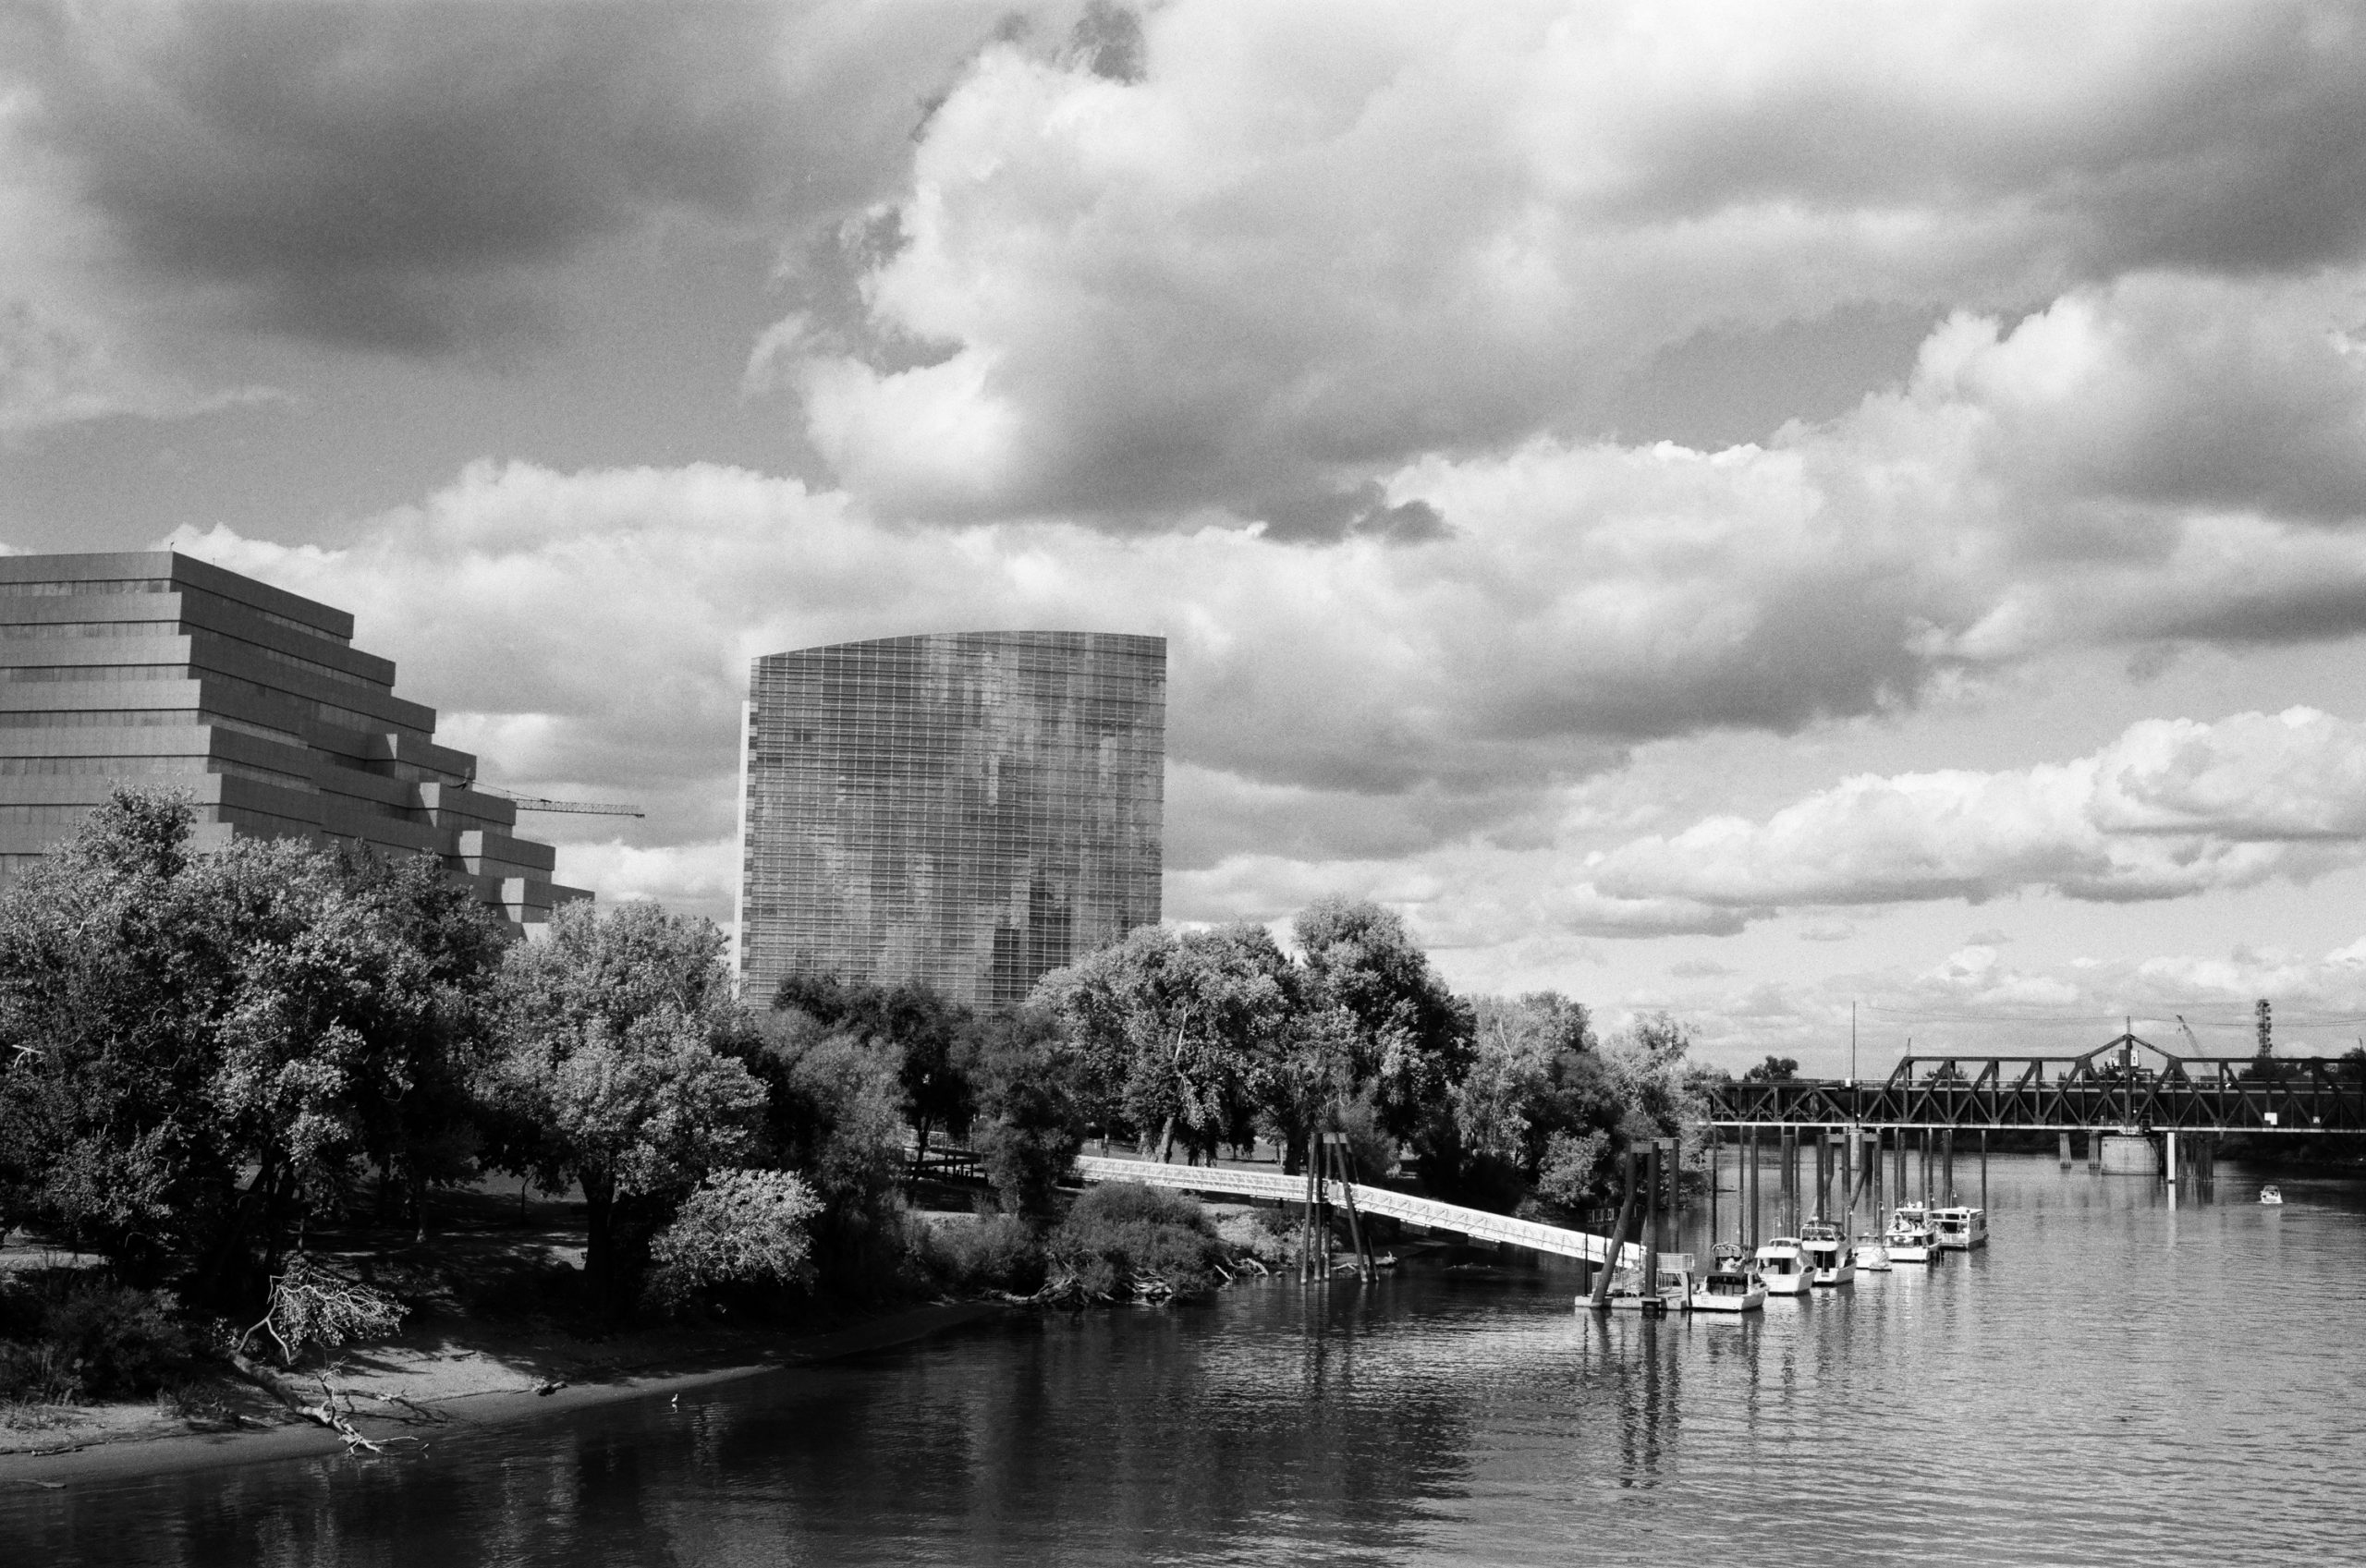
Red 25 Filter 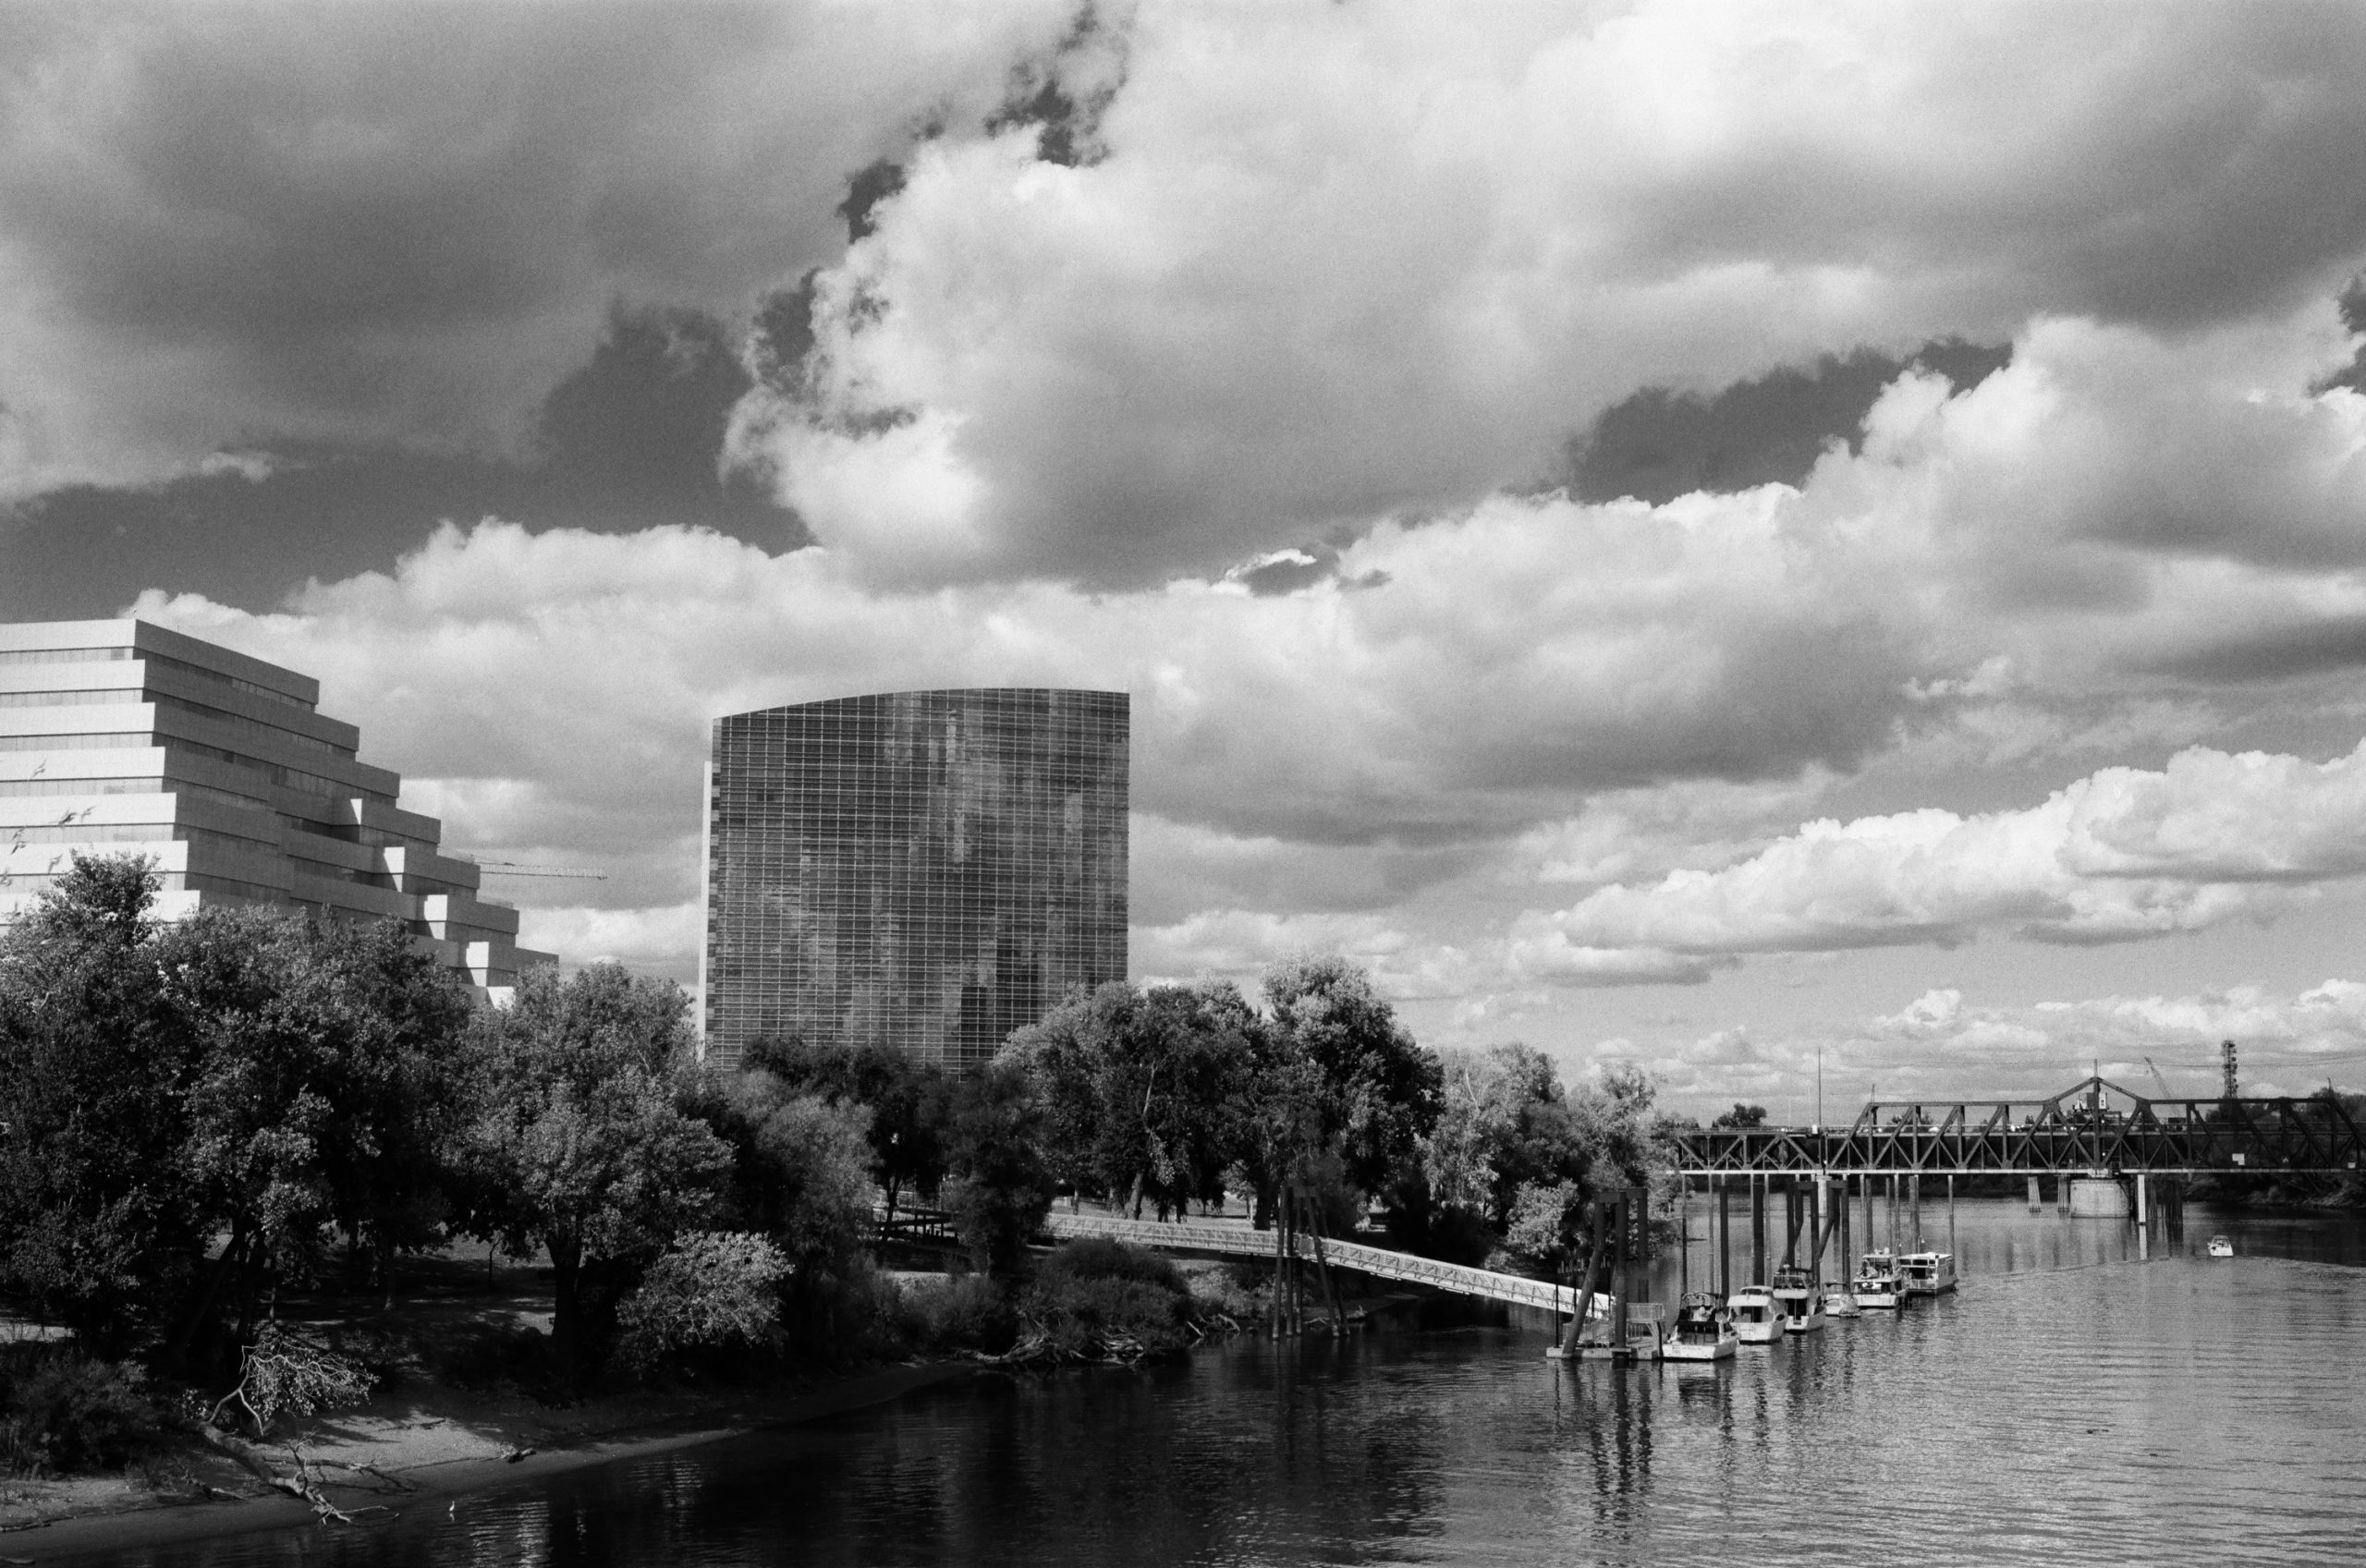
Green 11 Filter
Still Life on Tri-X 400
iPhone photo 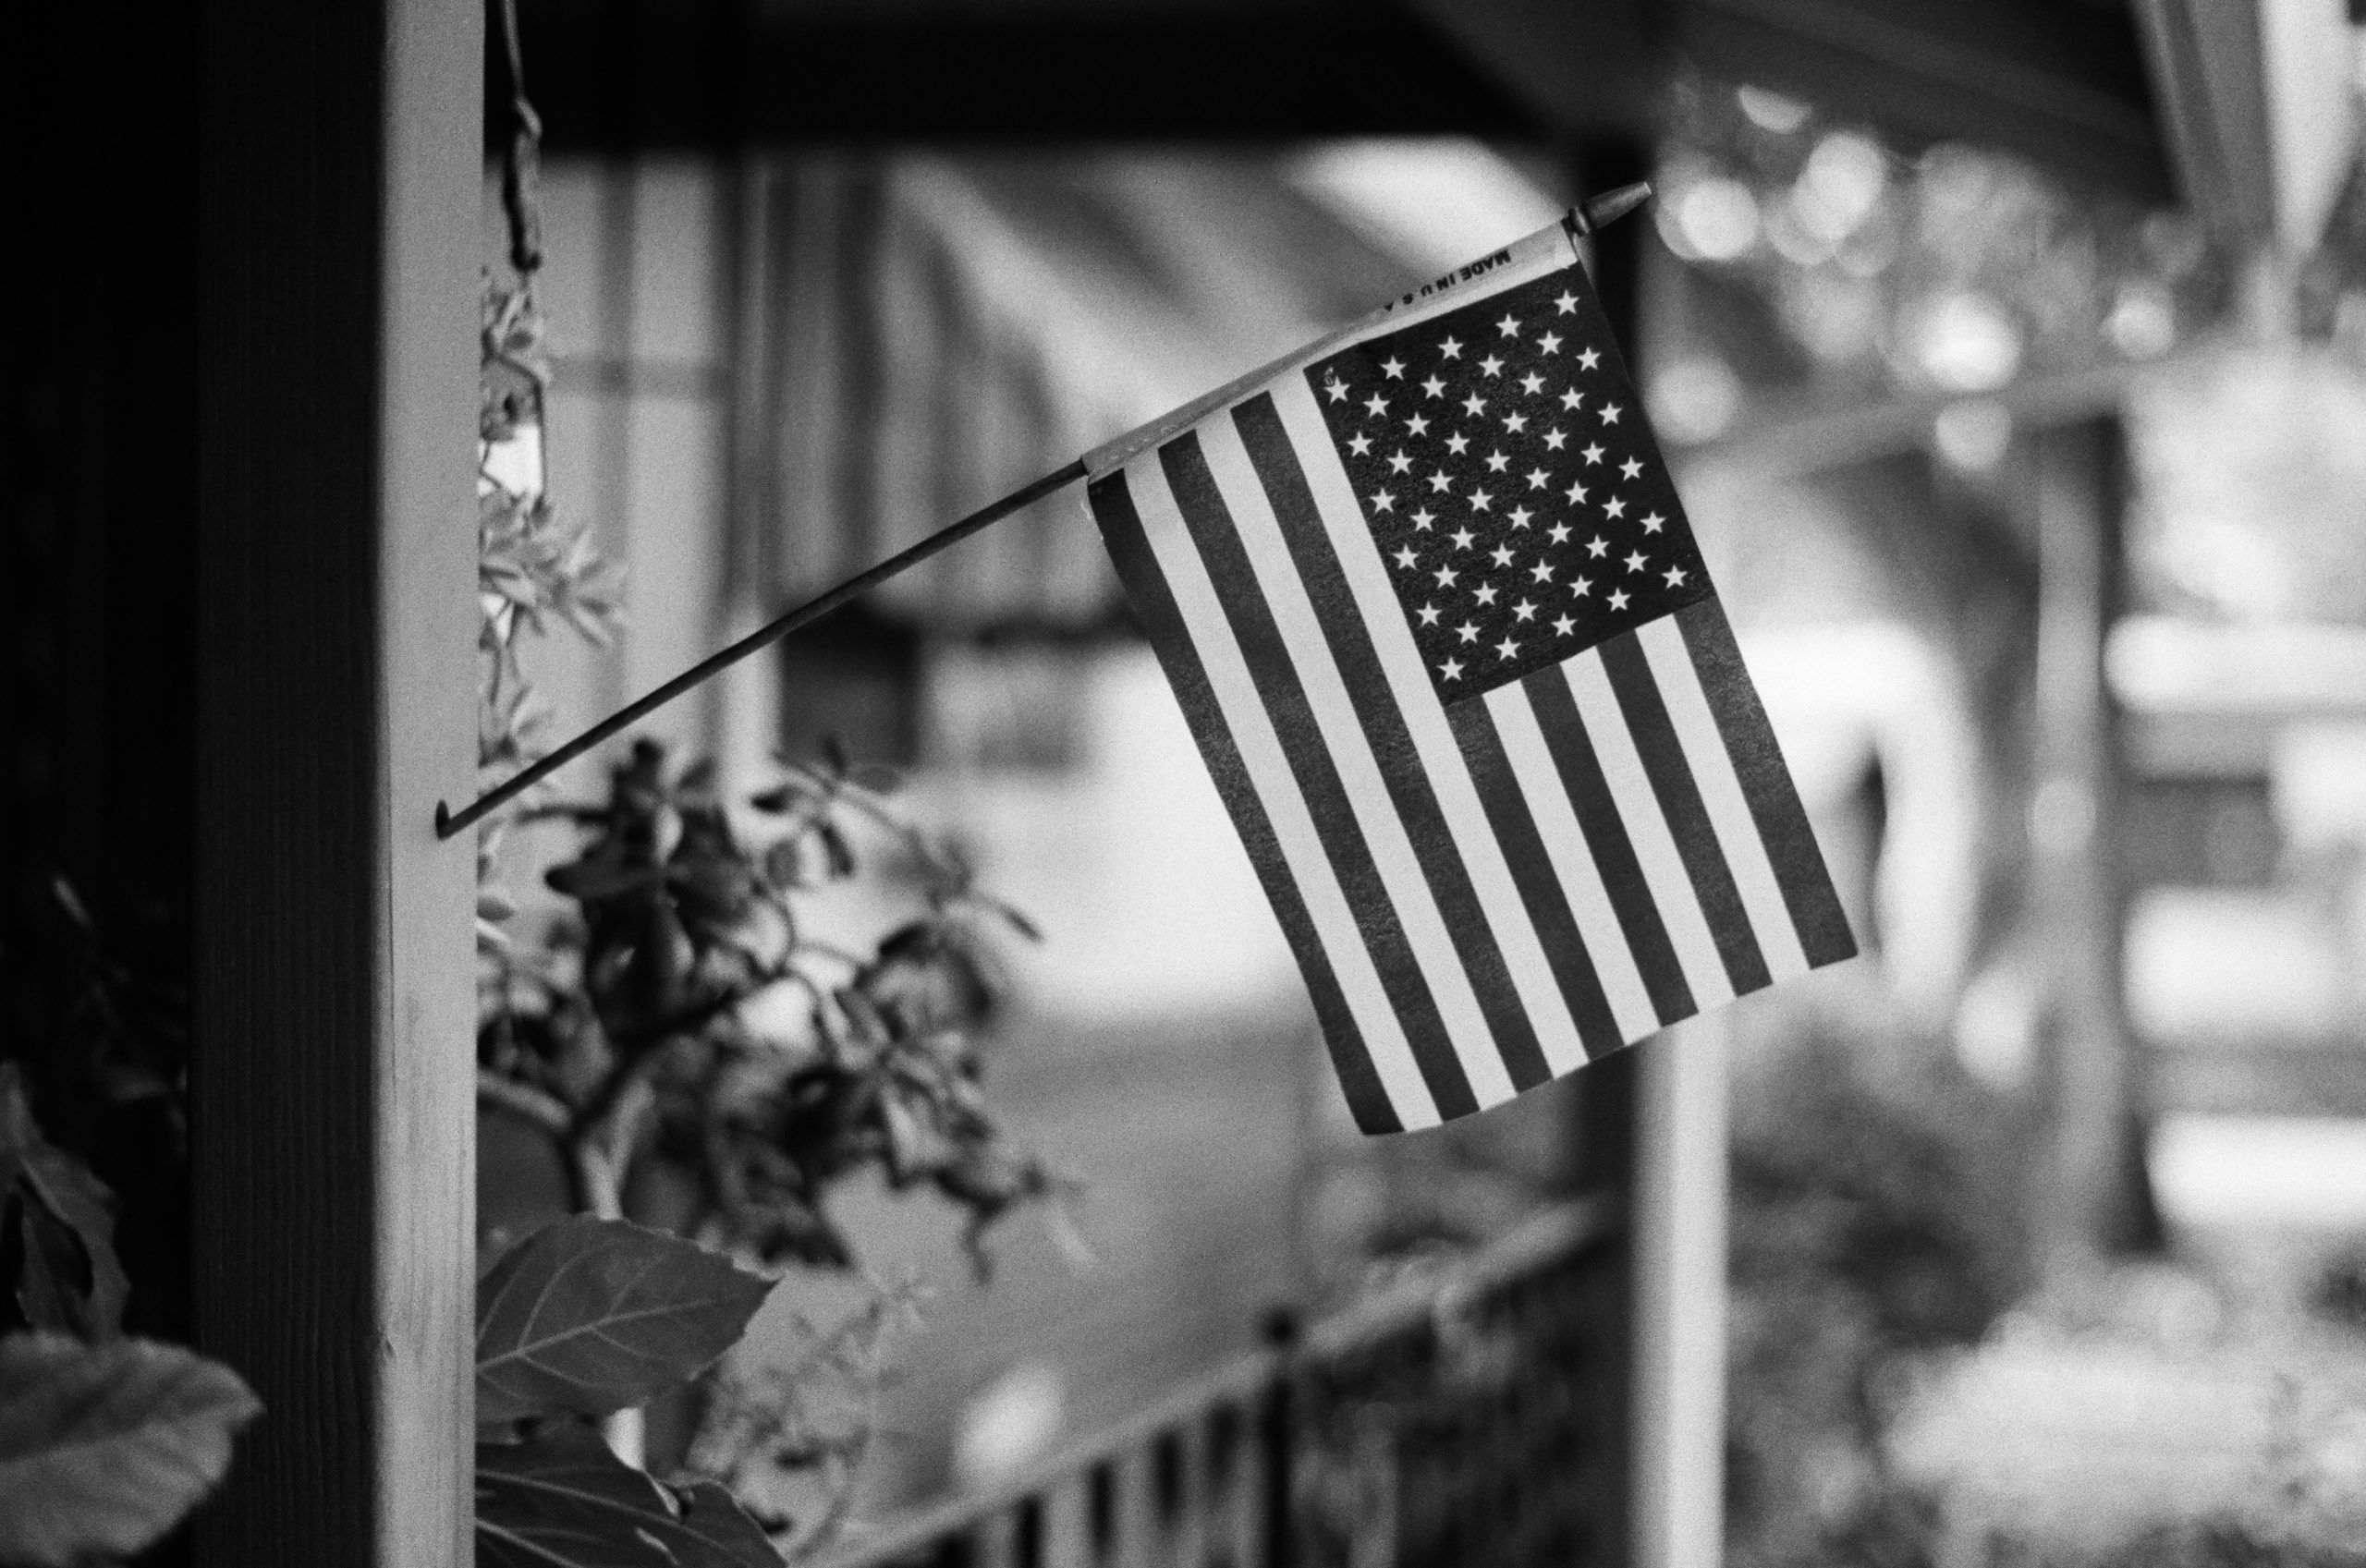
No Filter 
Yellow 12 Filter 
Orange 21 Filter 
Red 25 Filter 
Green 11 Filter
Daylight scene on Ilford Delta 400
iPhone photo 
No Filter 
Yellow 12 Filter 
Orange 21 Filter 
Red 25 Filter 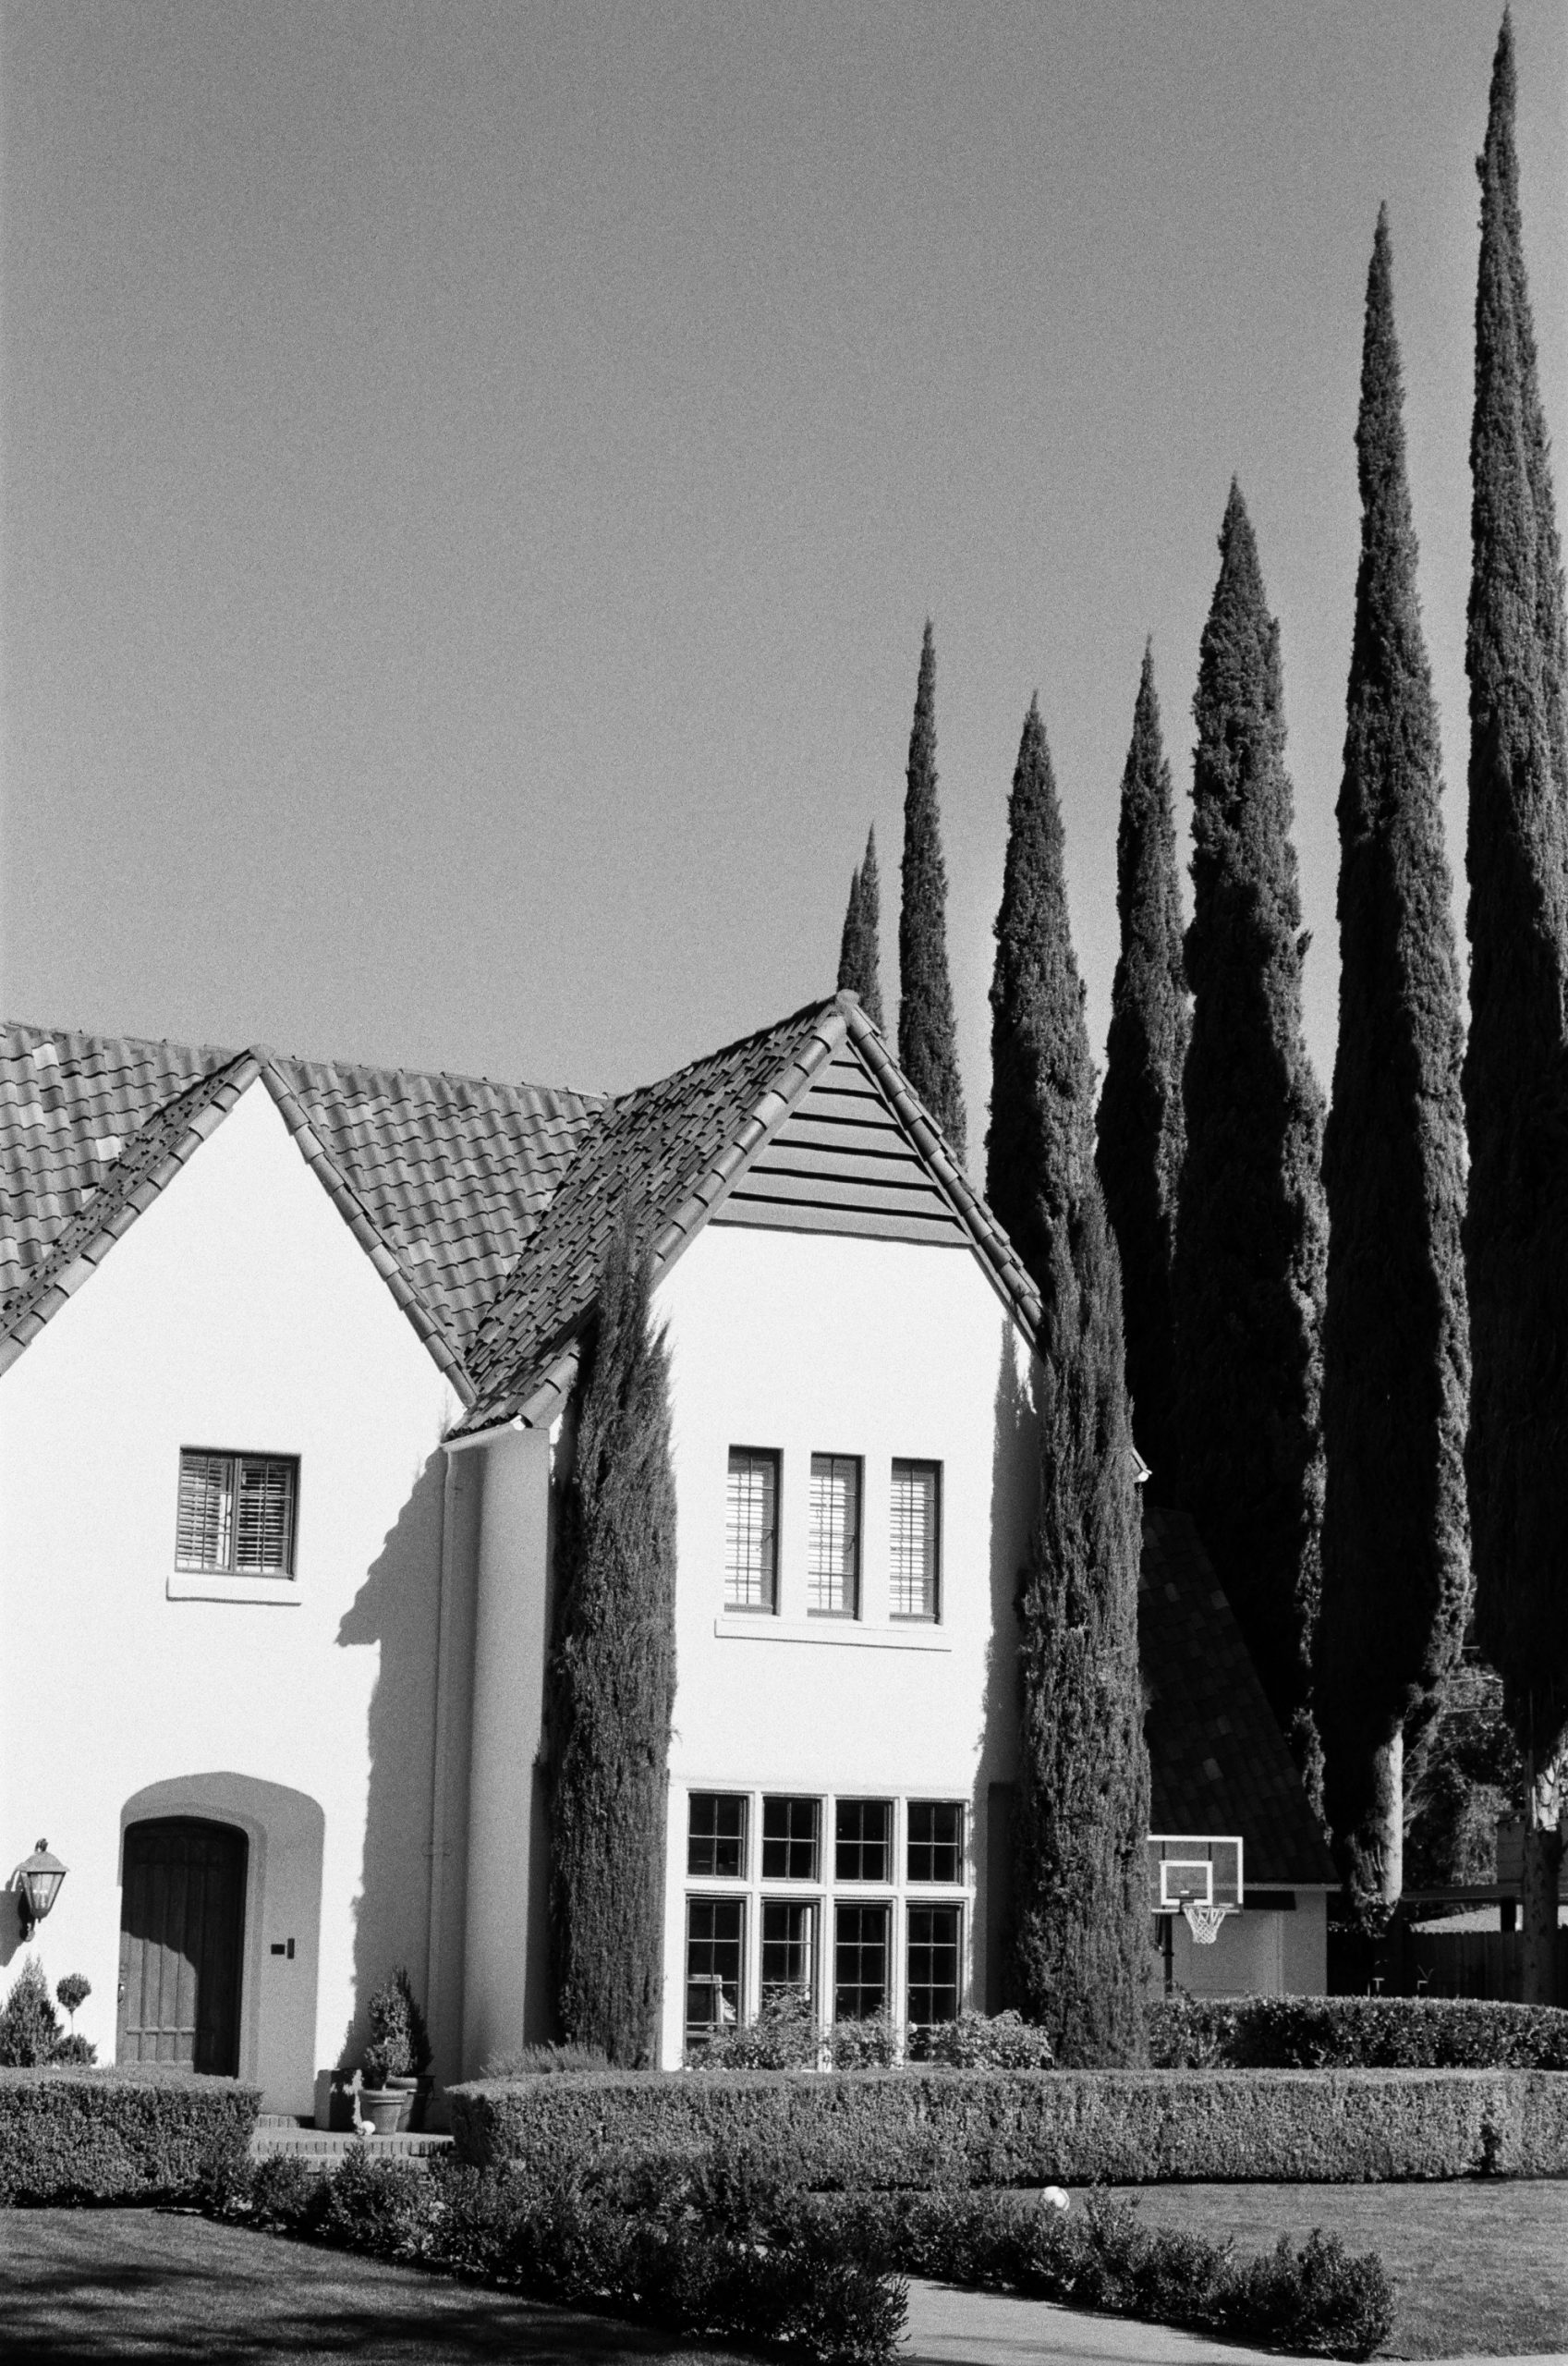
Green 11 Filter
Portrait on Kodak Tri-X 400
iPhone photo 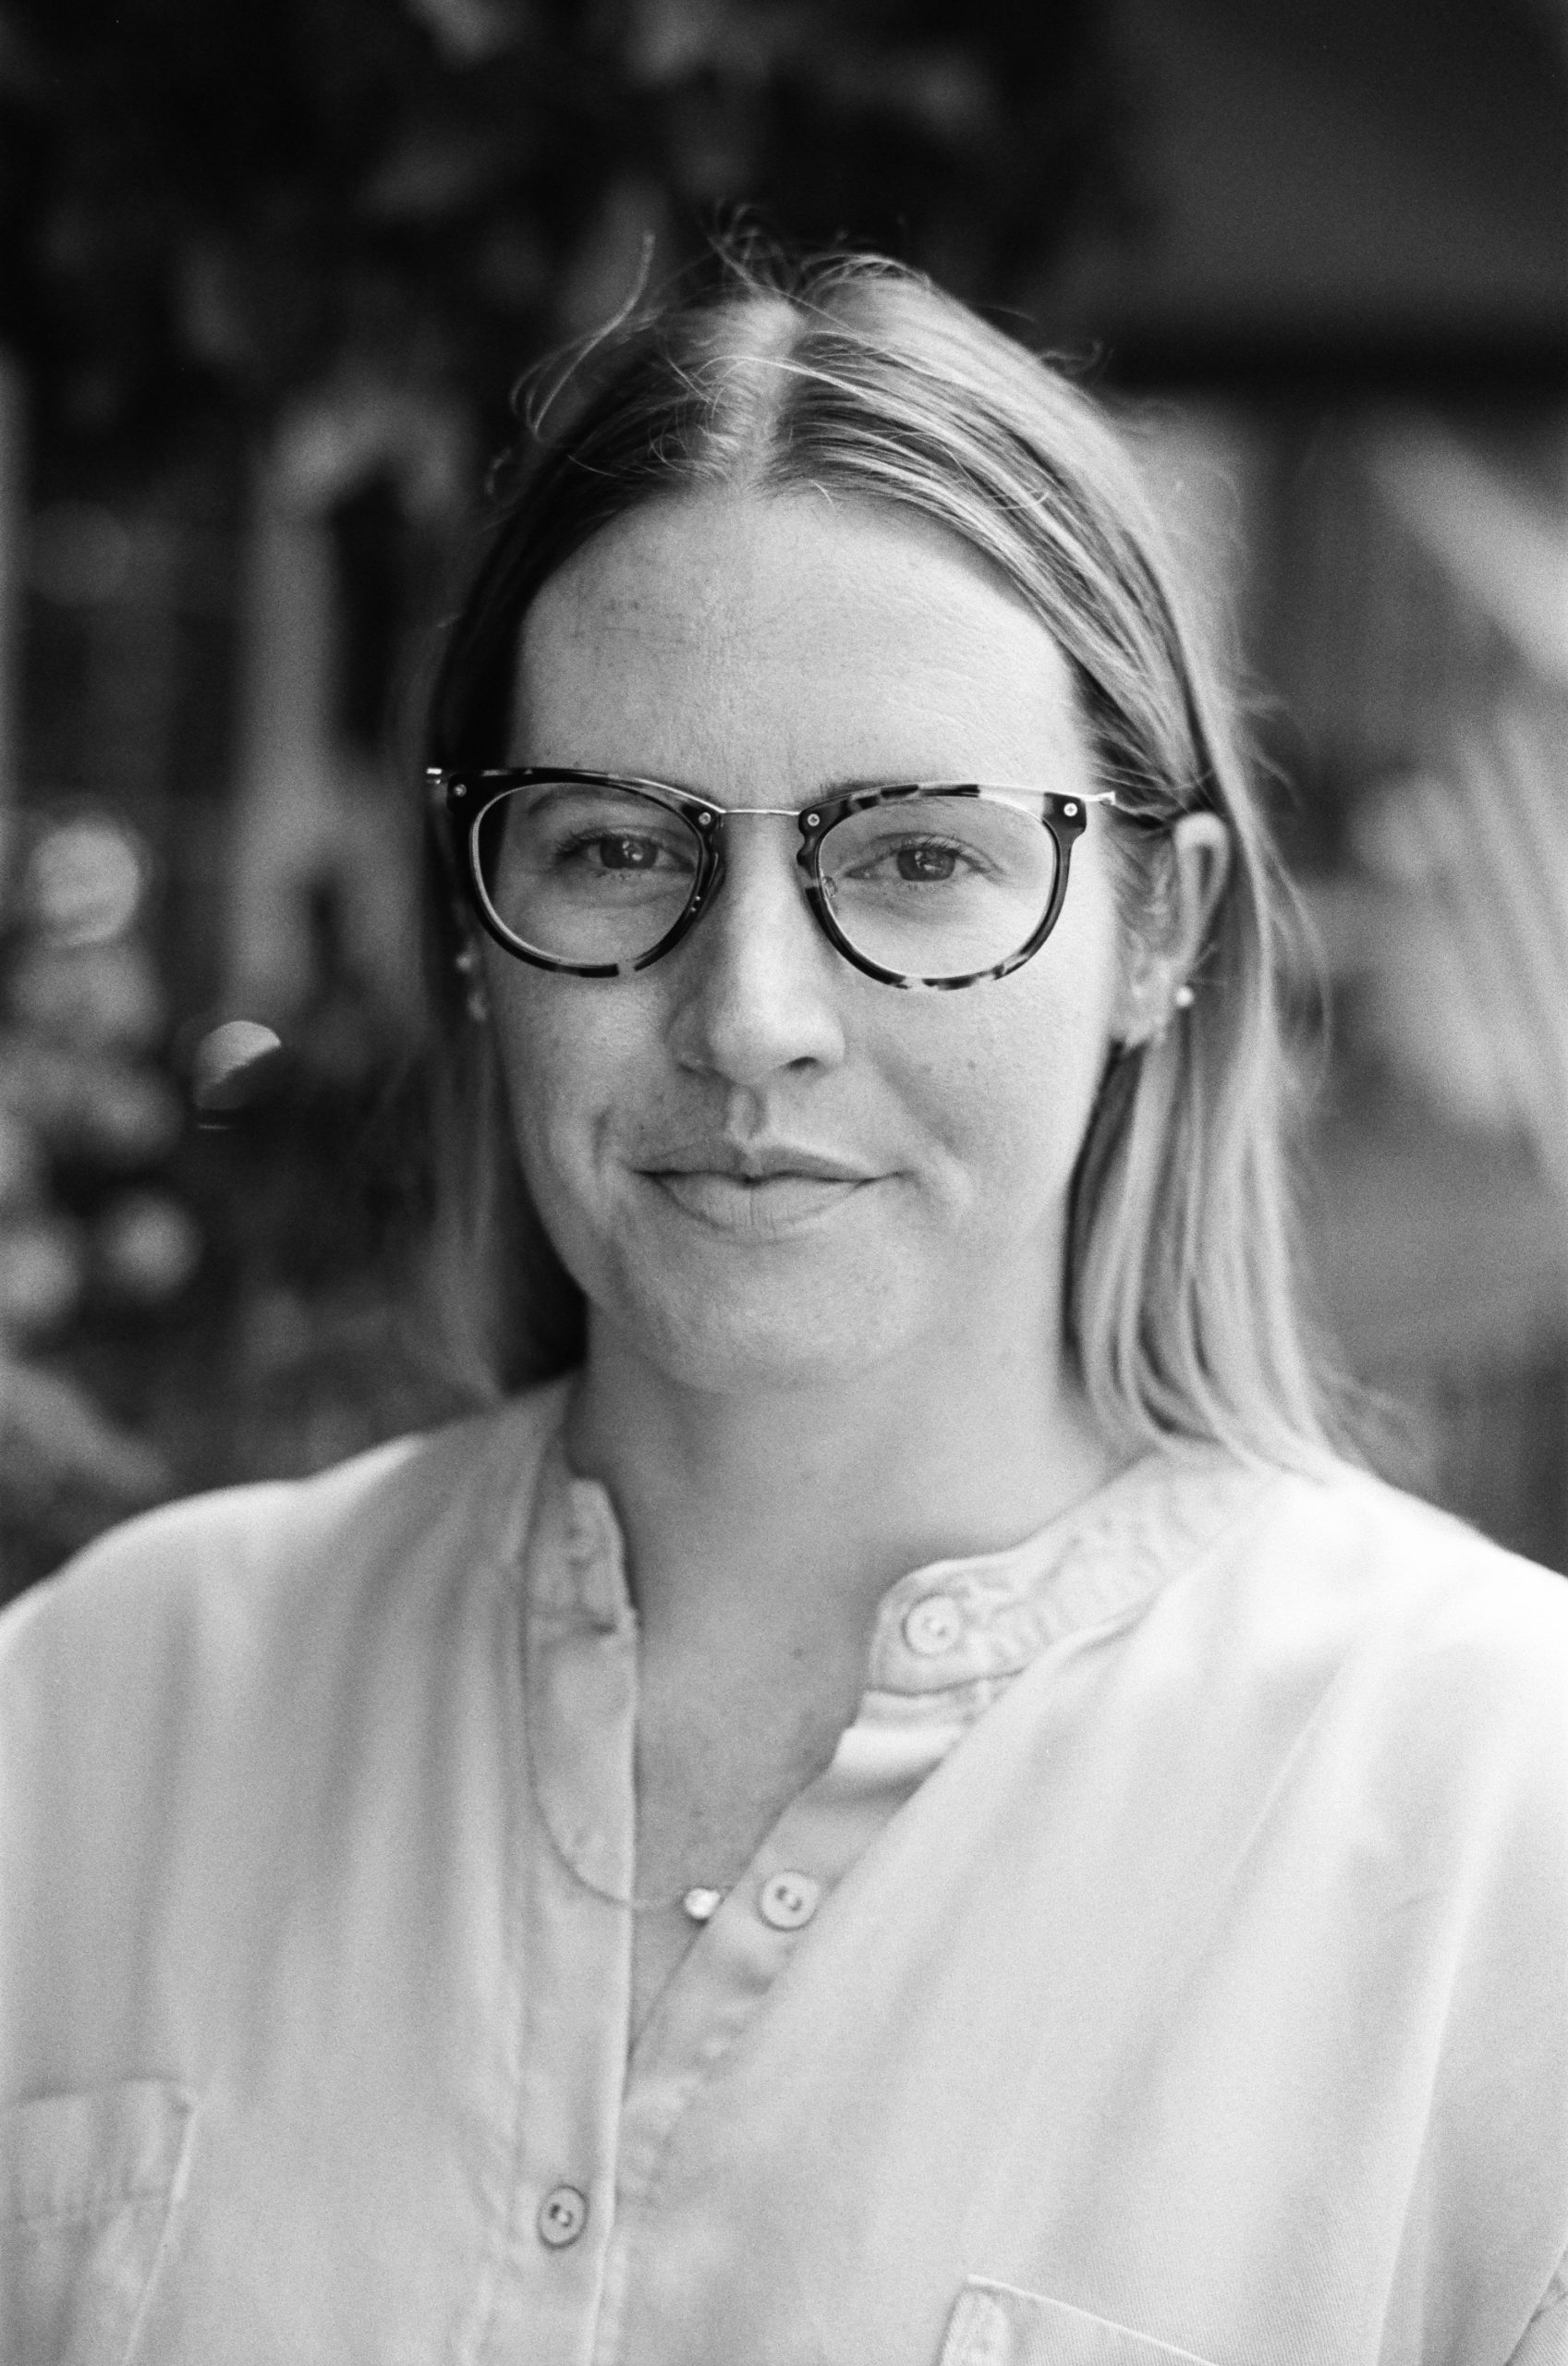
No Filter 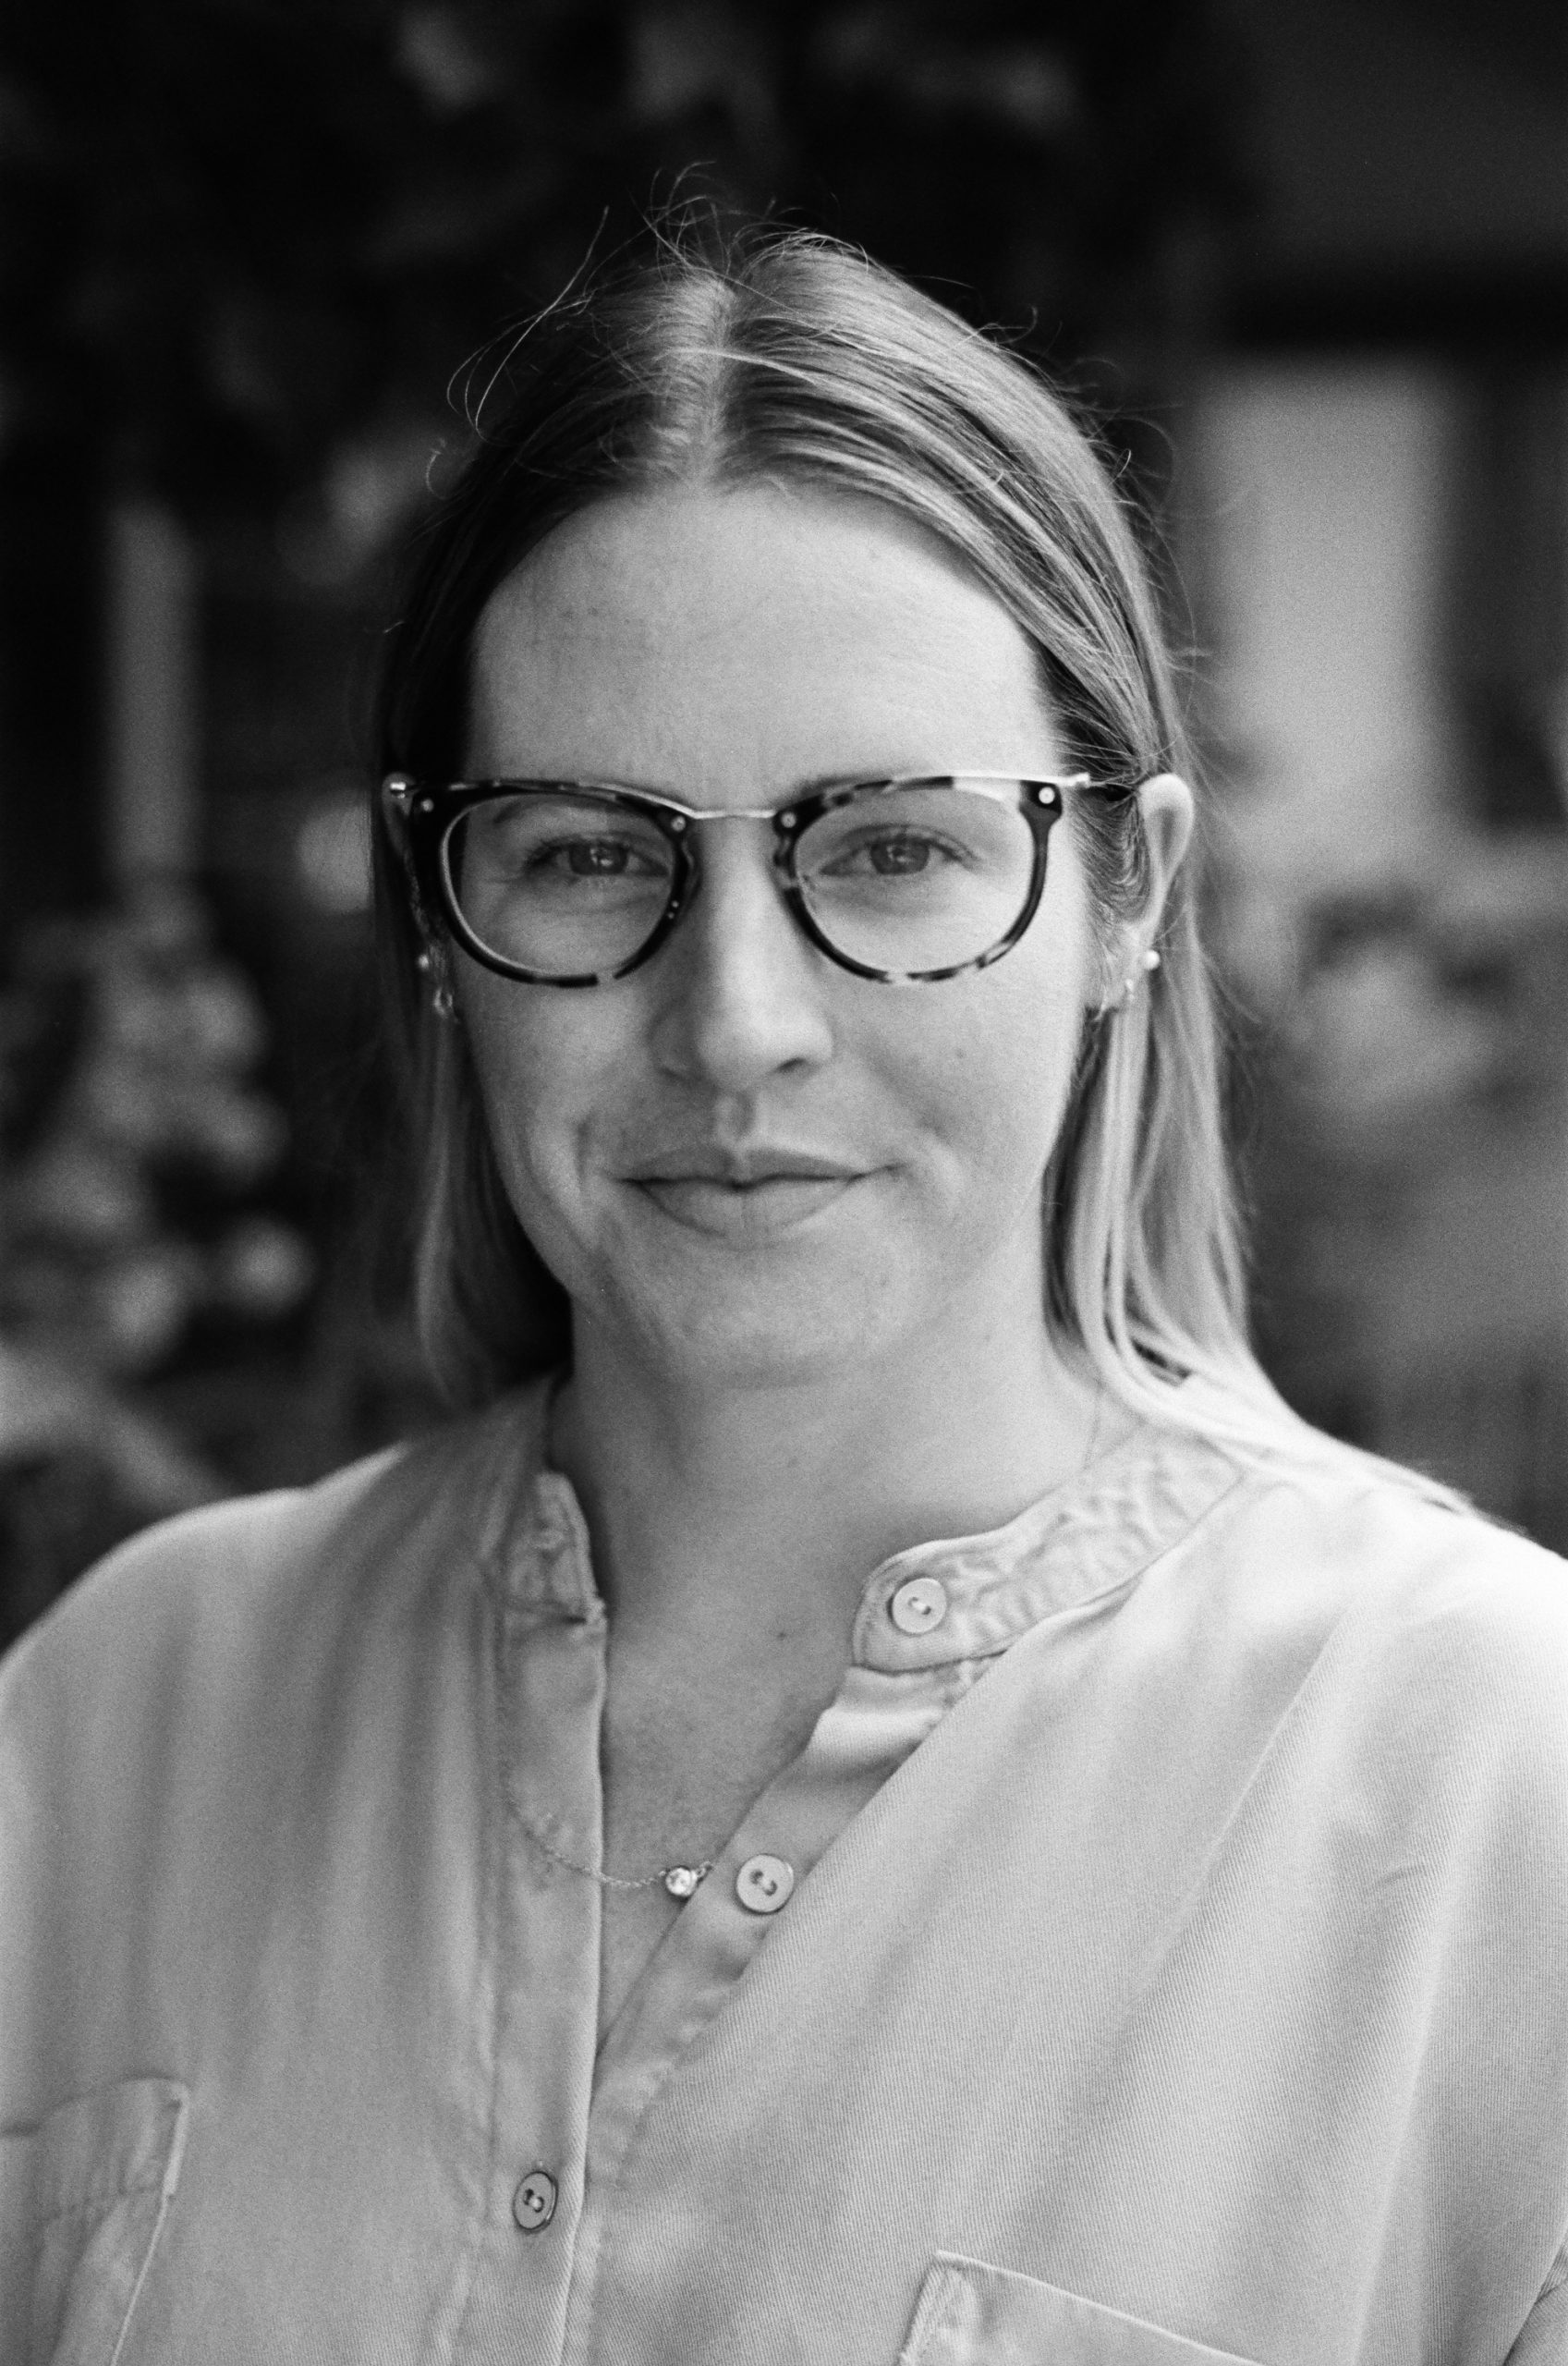
Yellow 12 Filter 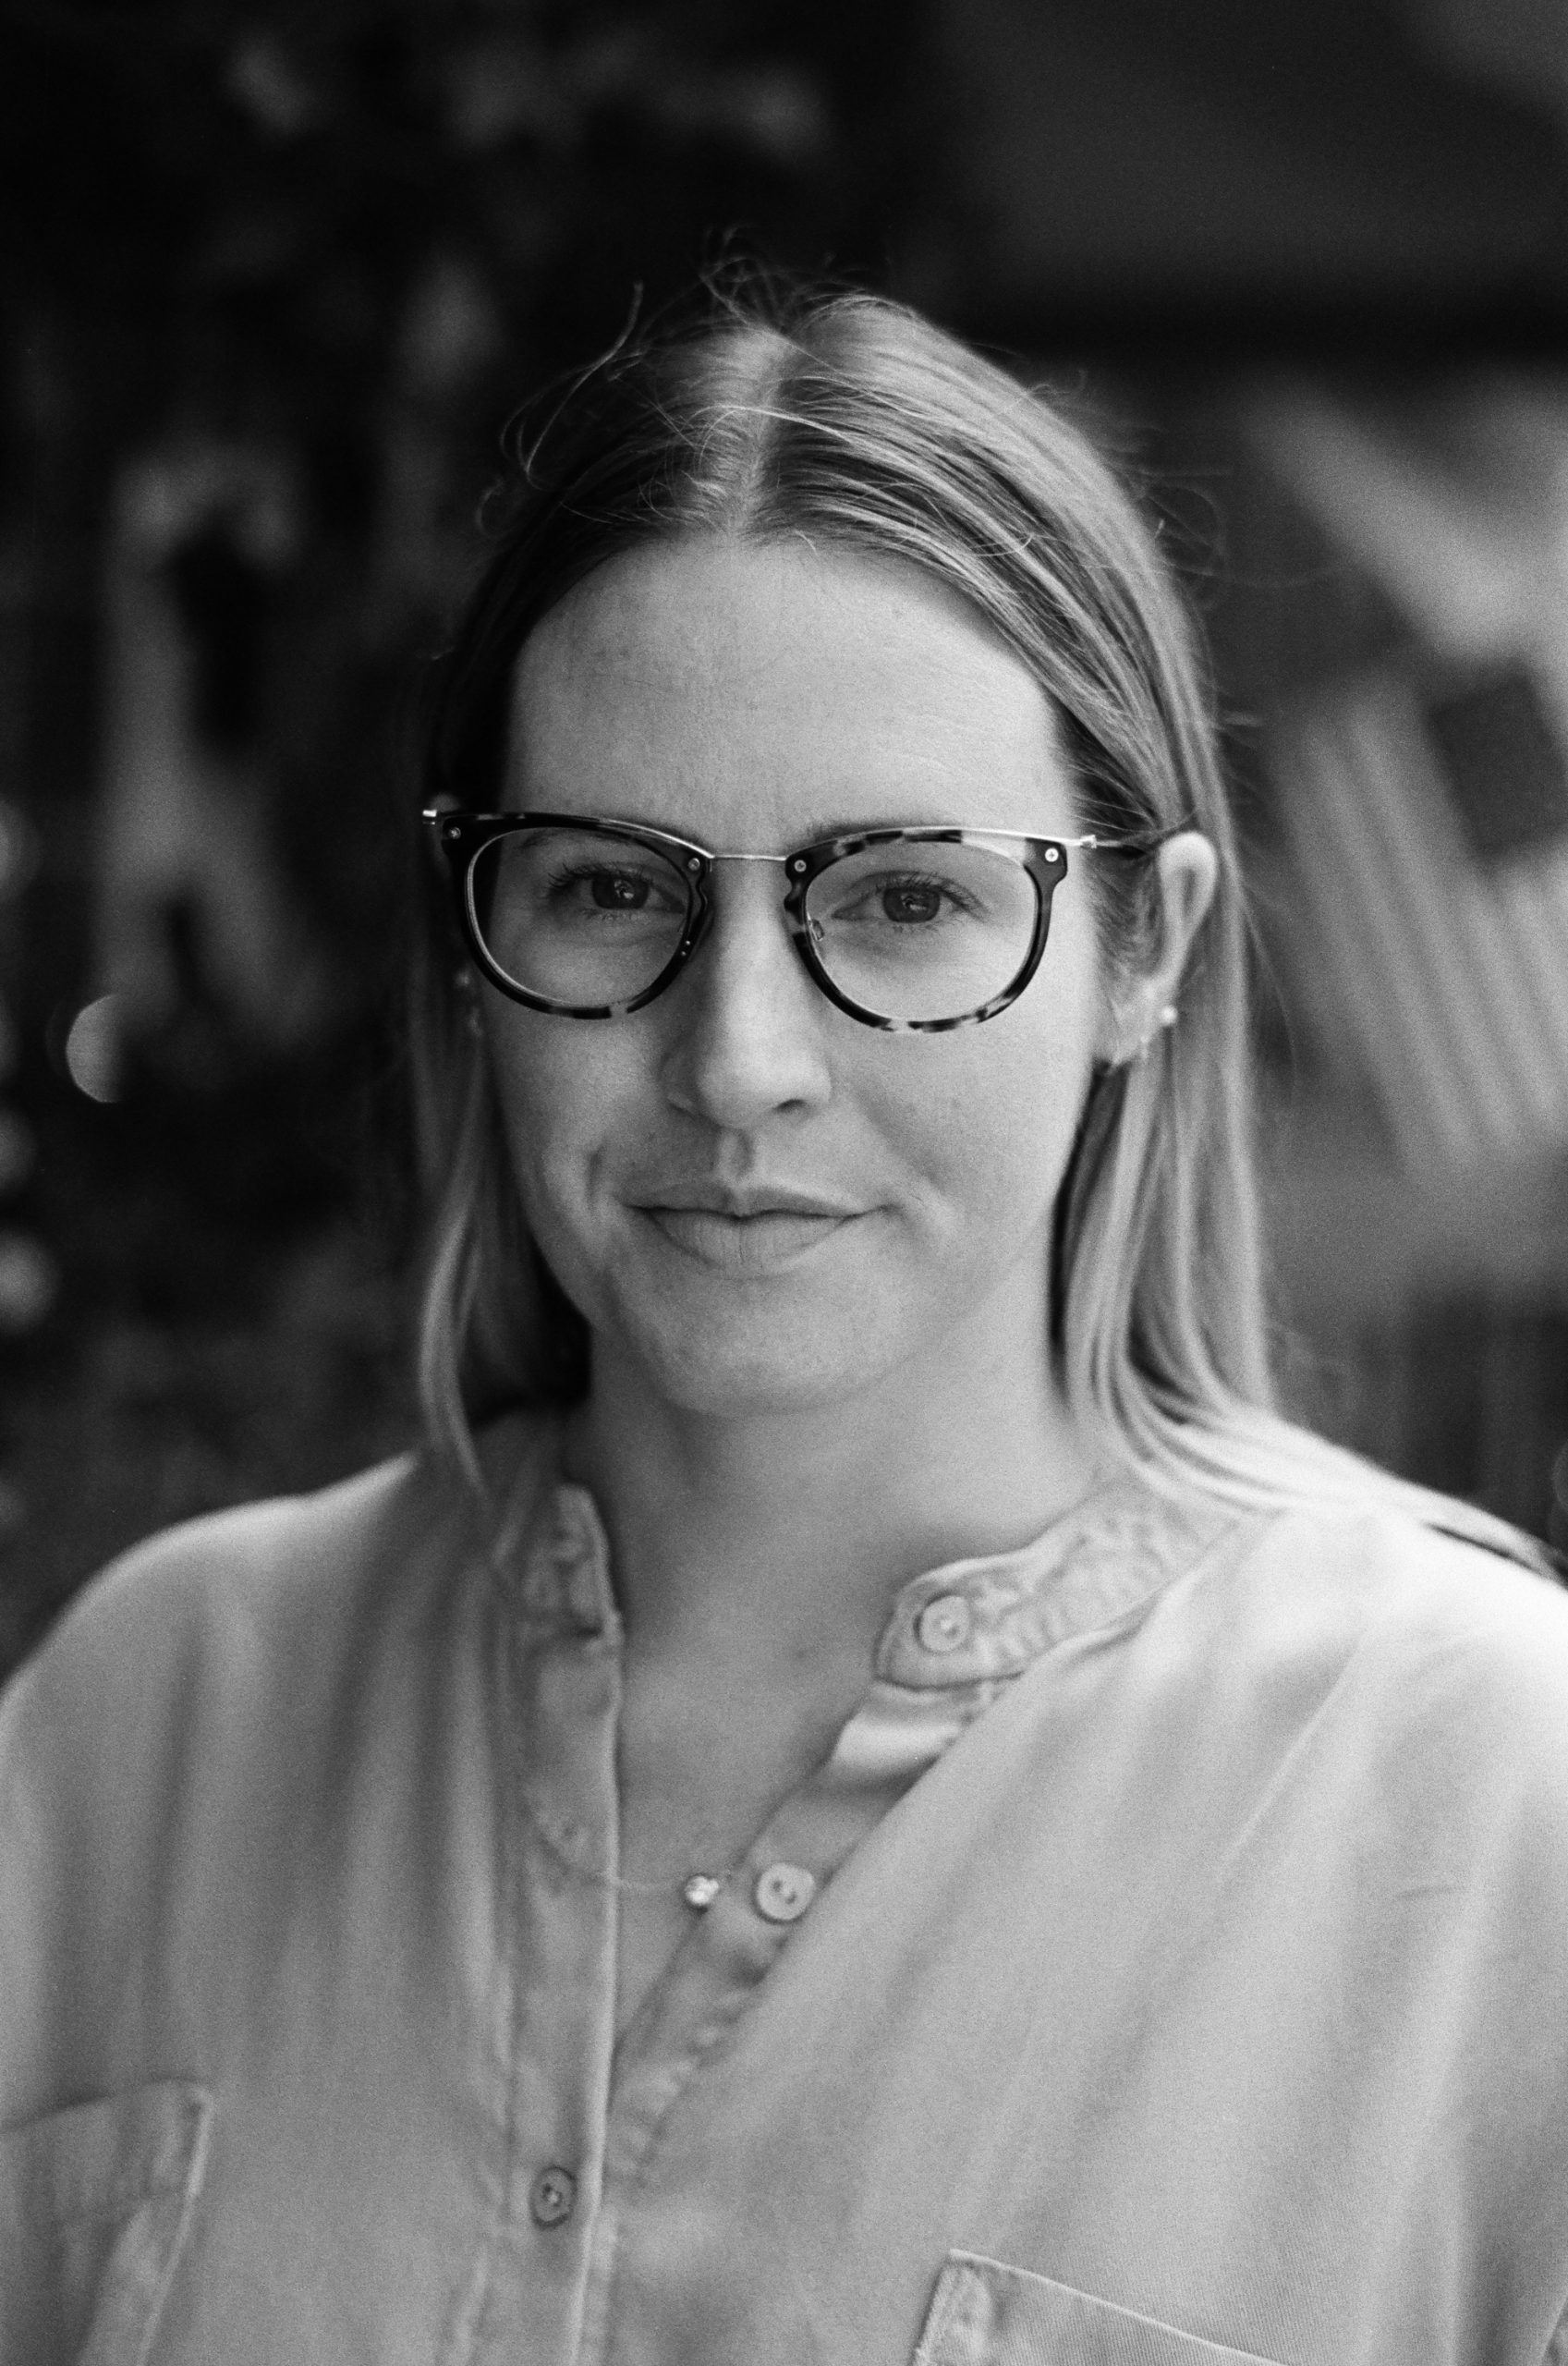
)range 21 Filter 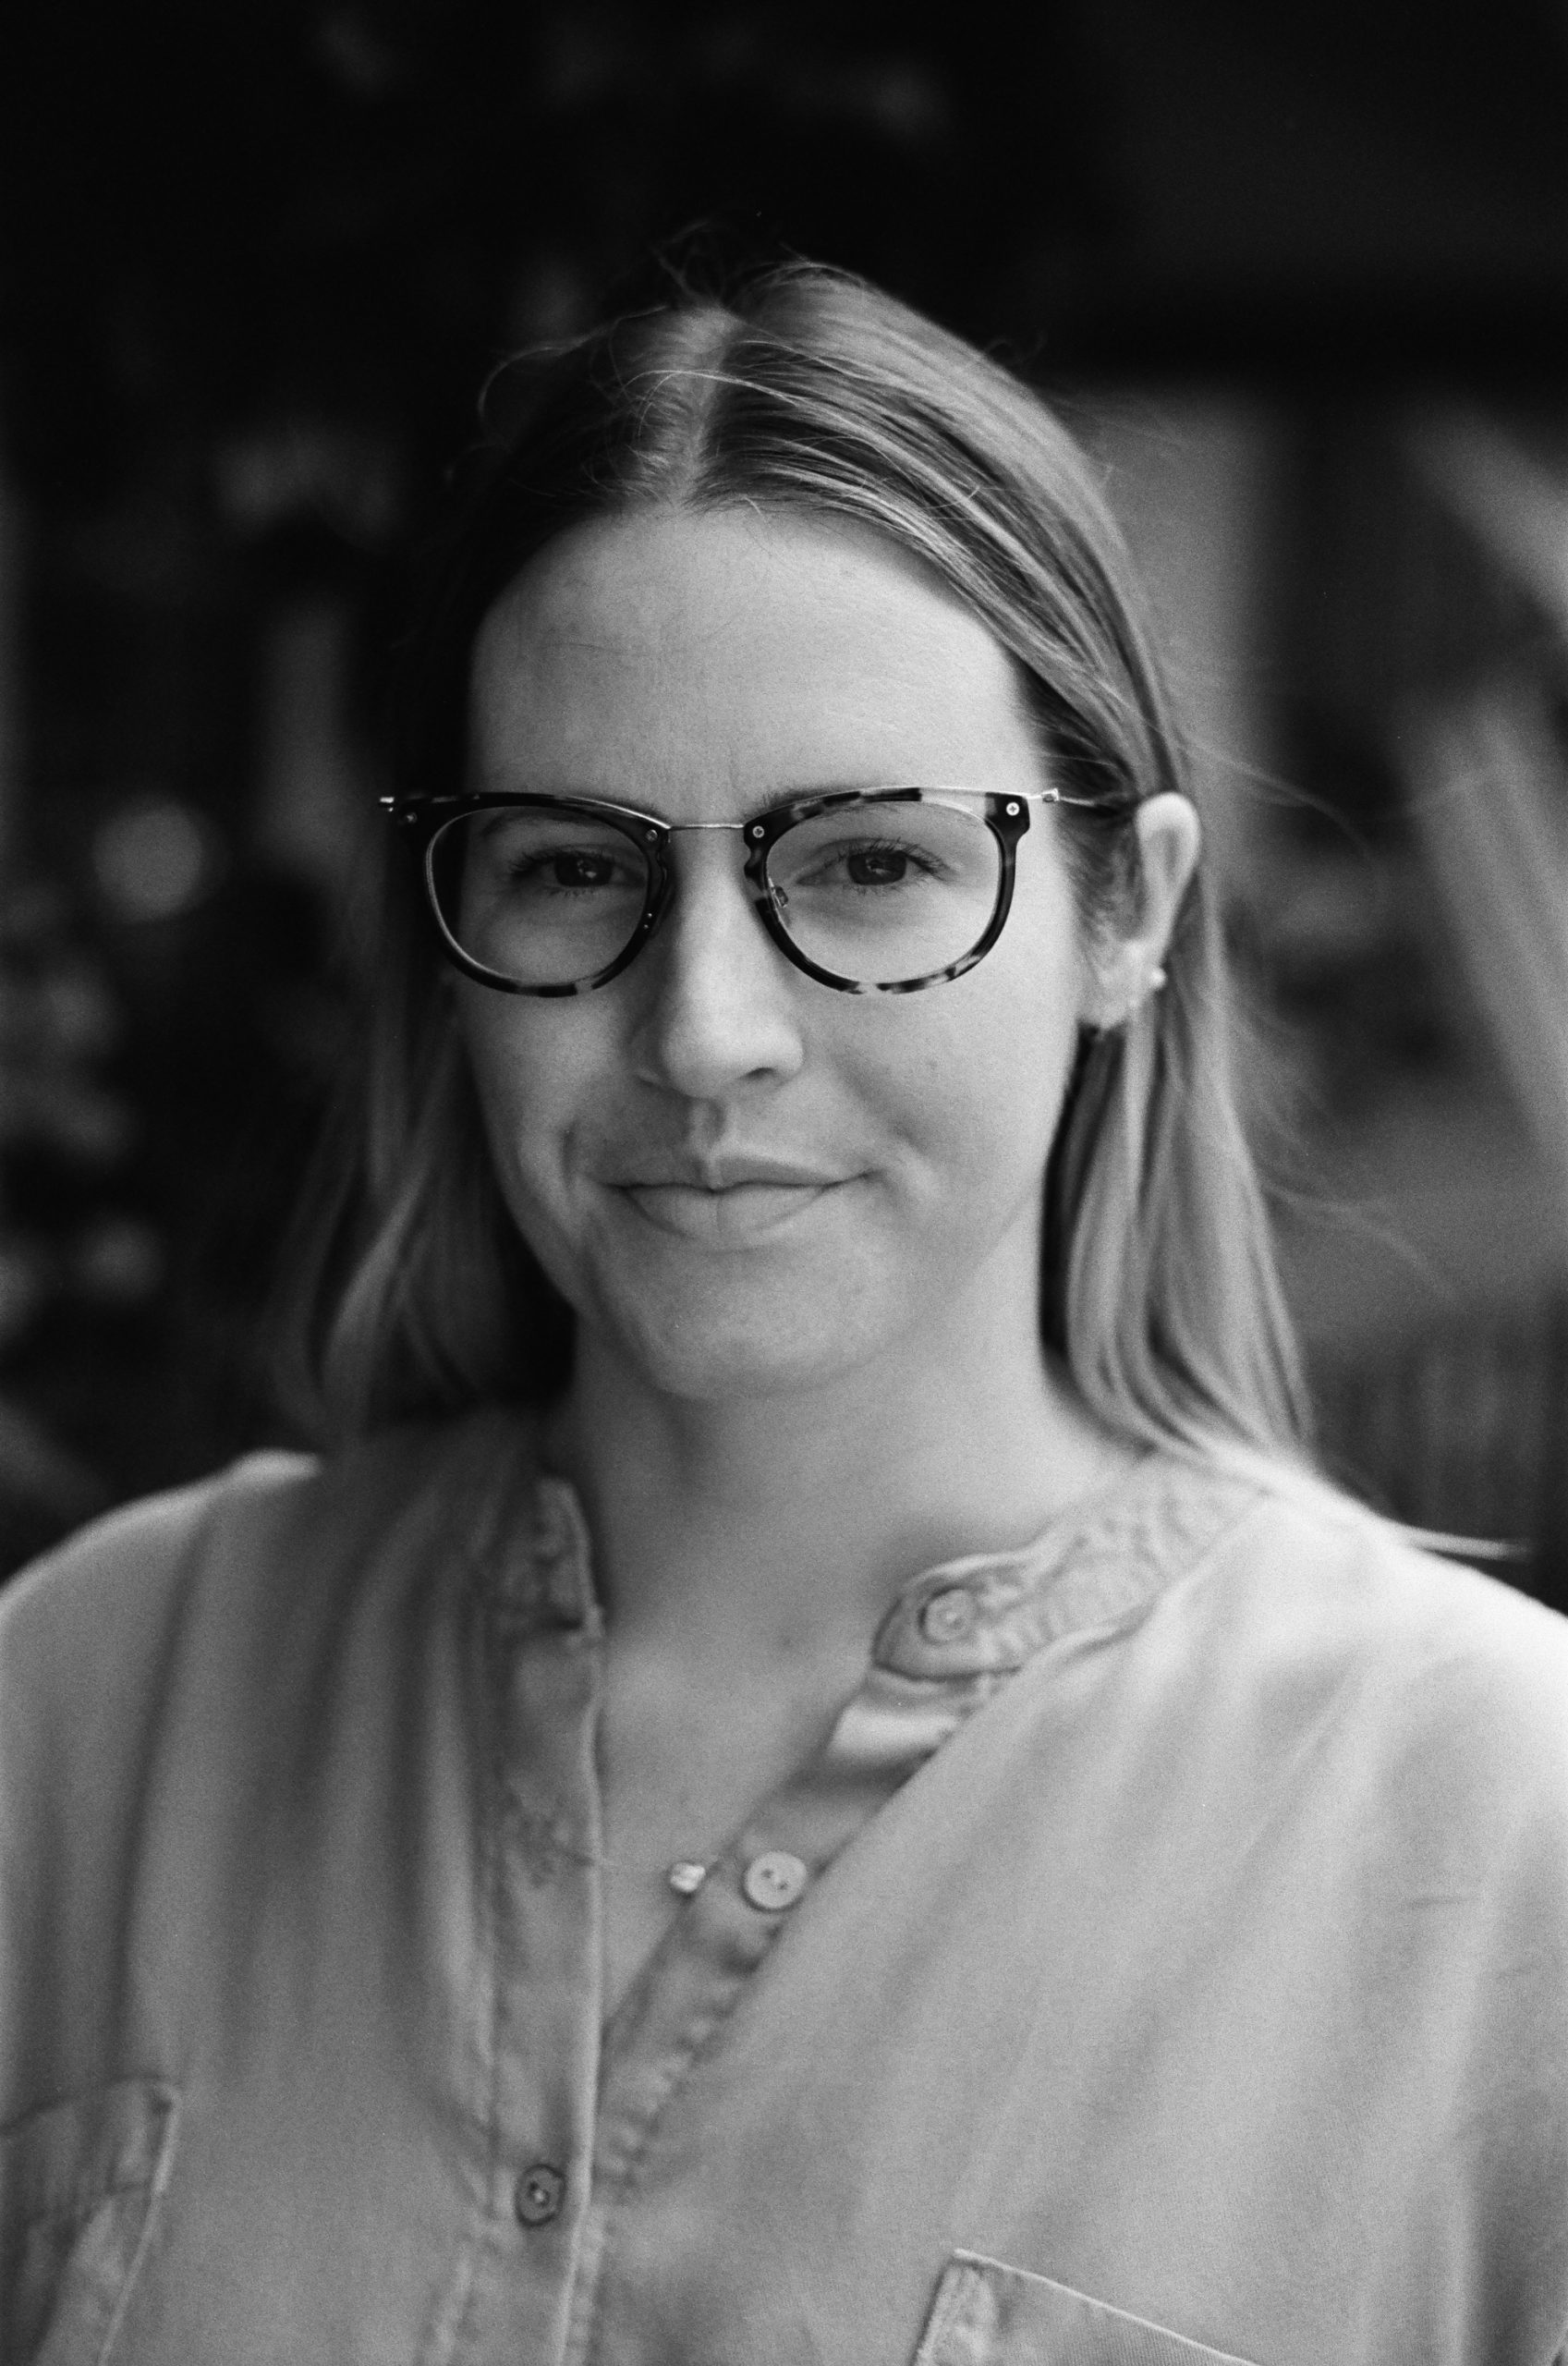
Red 25 Filter 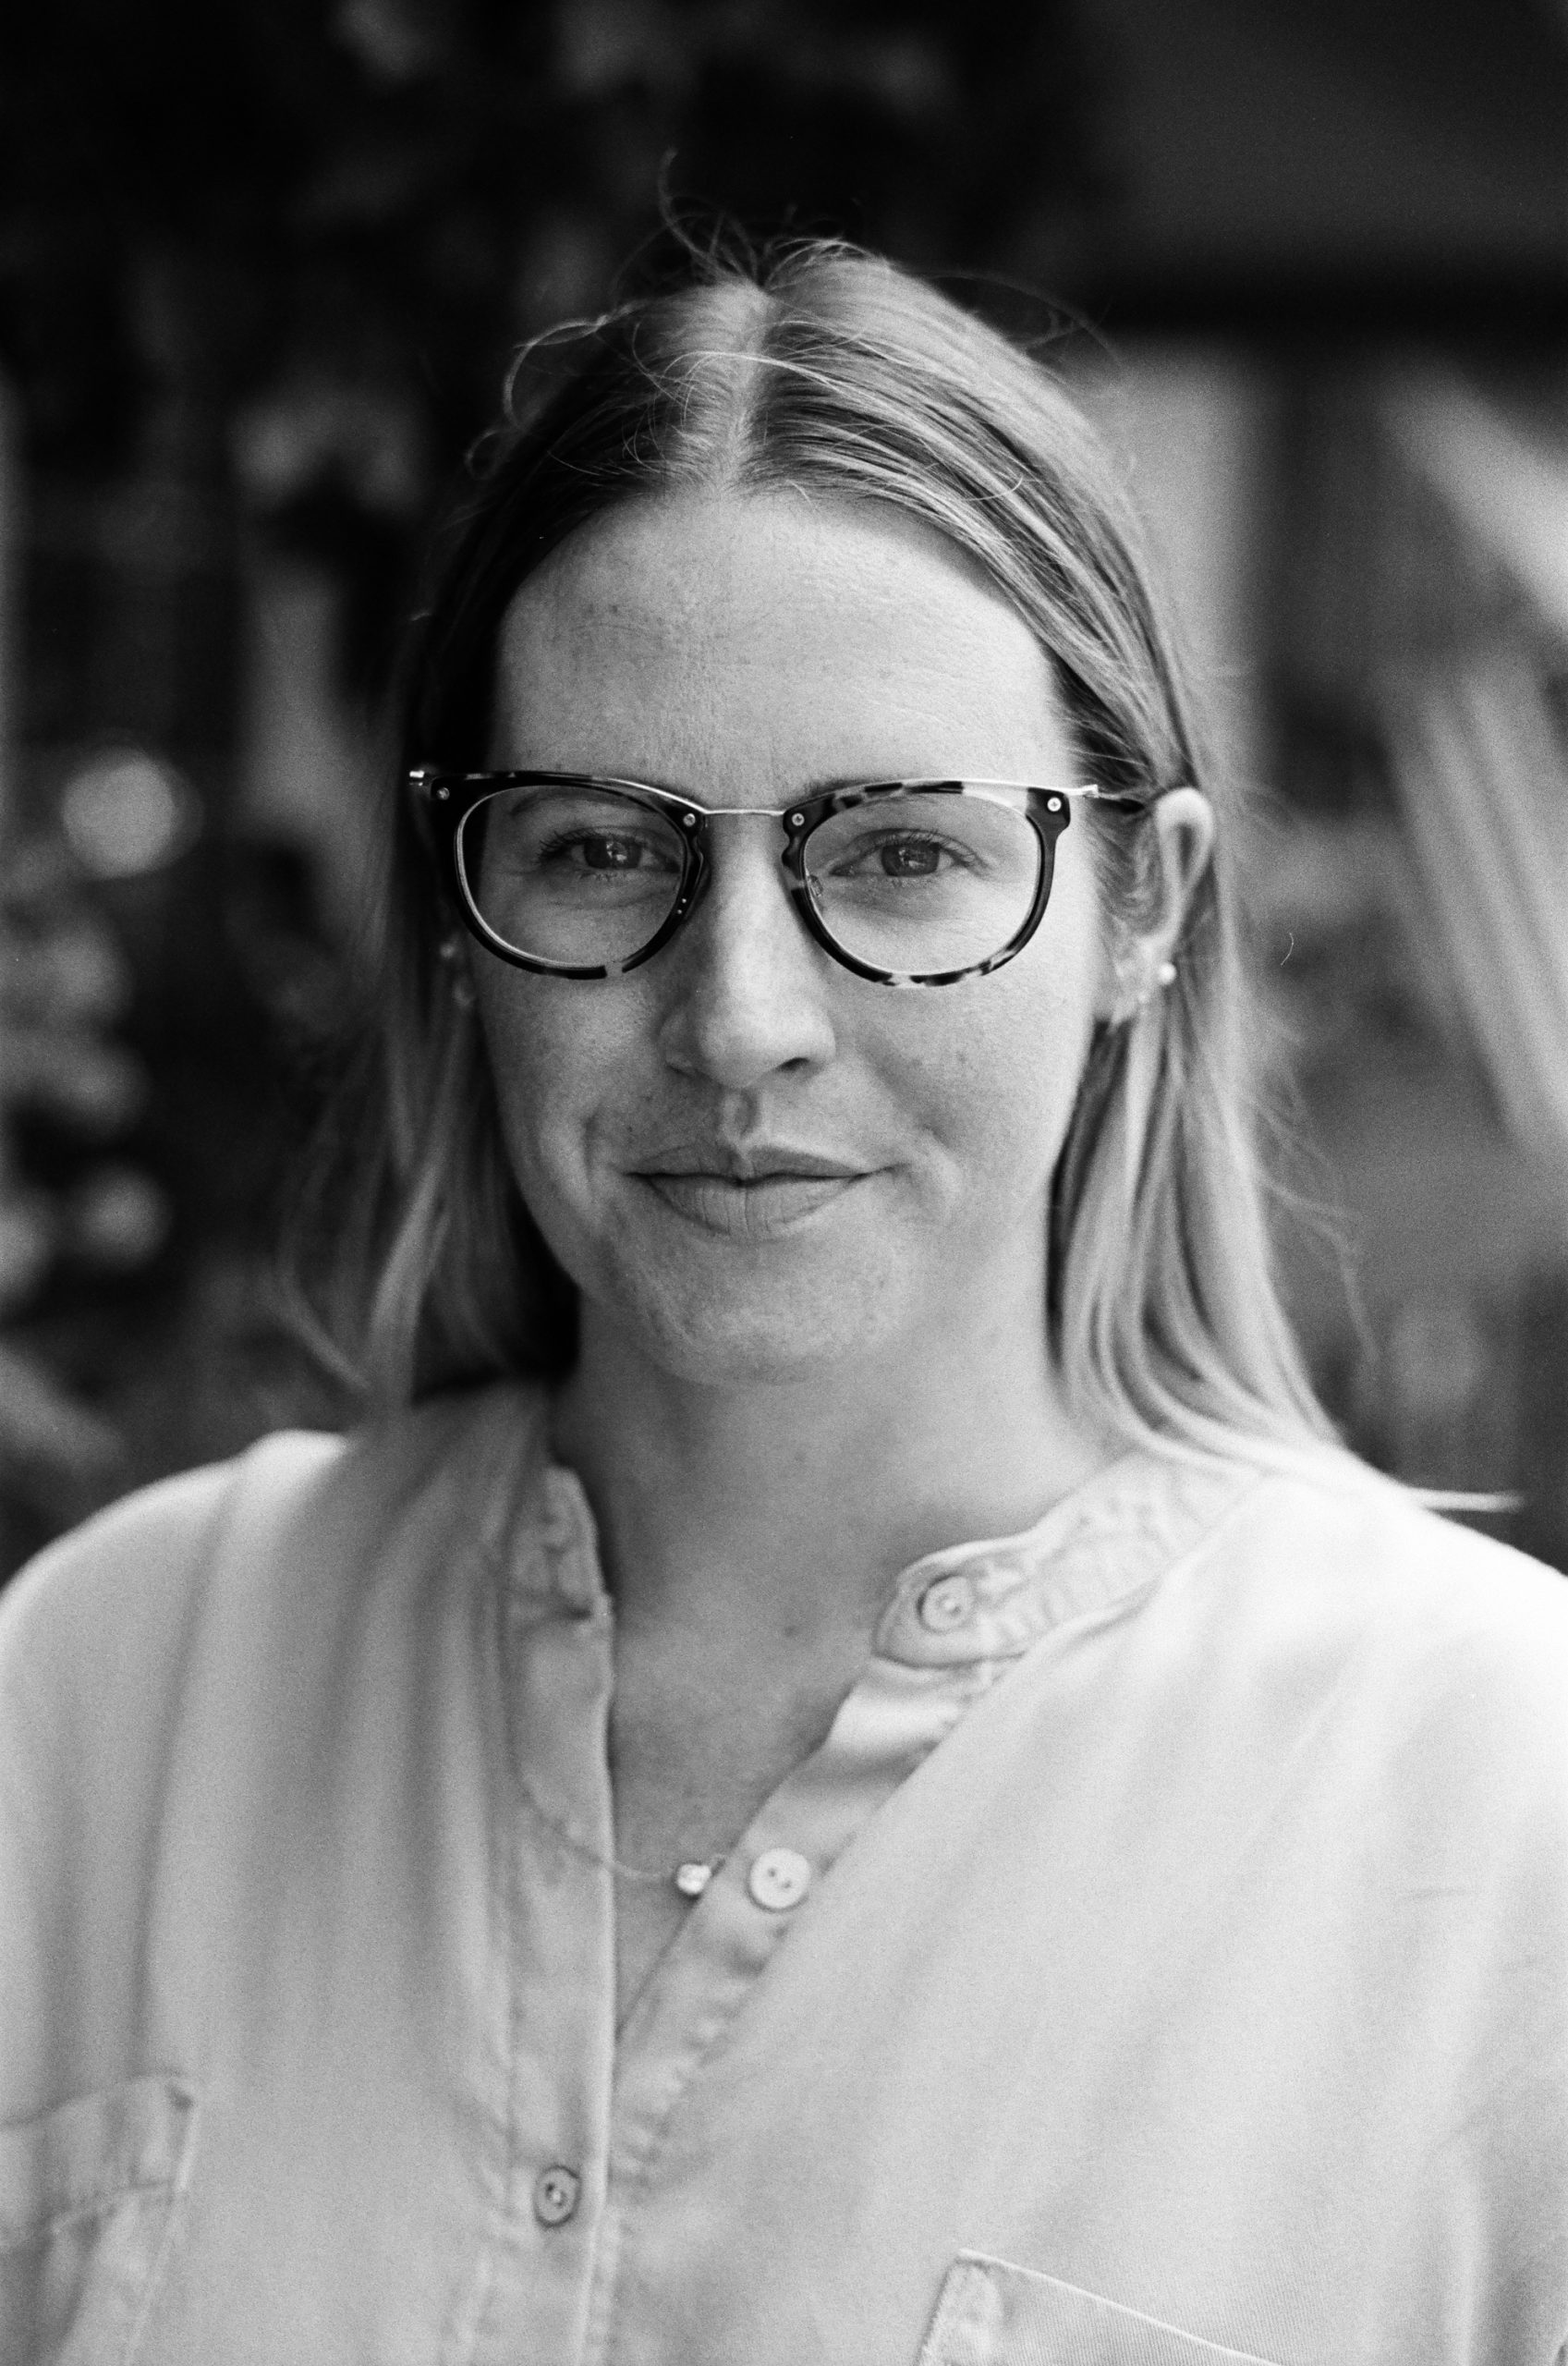
Green 11 Filter
Daylight nature scene on Ilford Delta 400
iPhone Photo 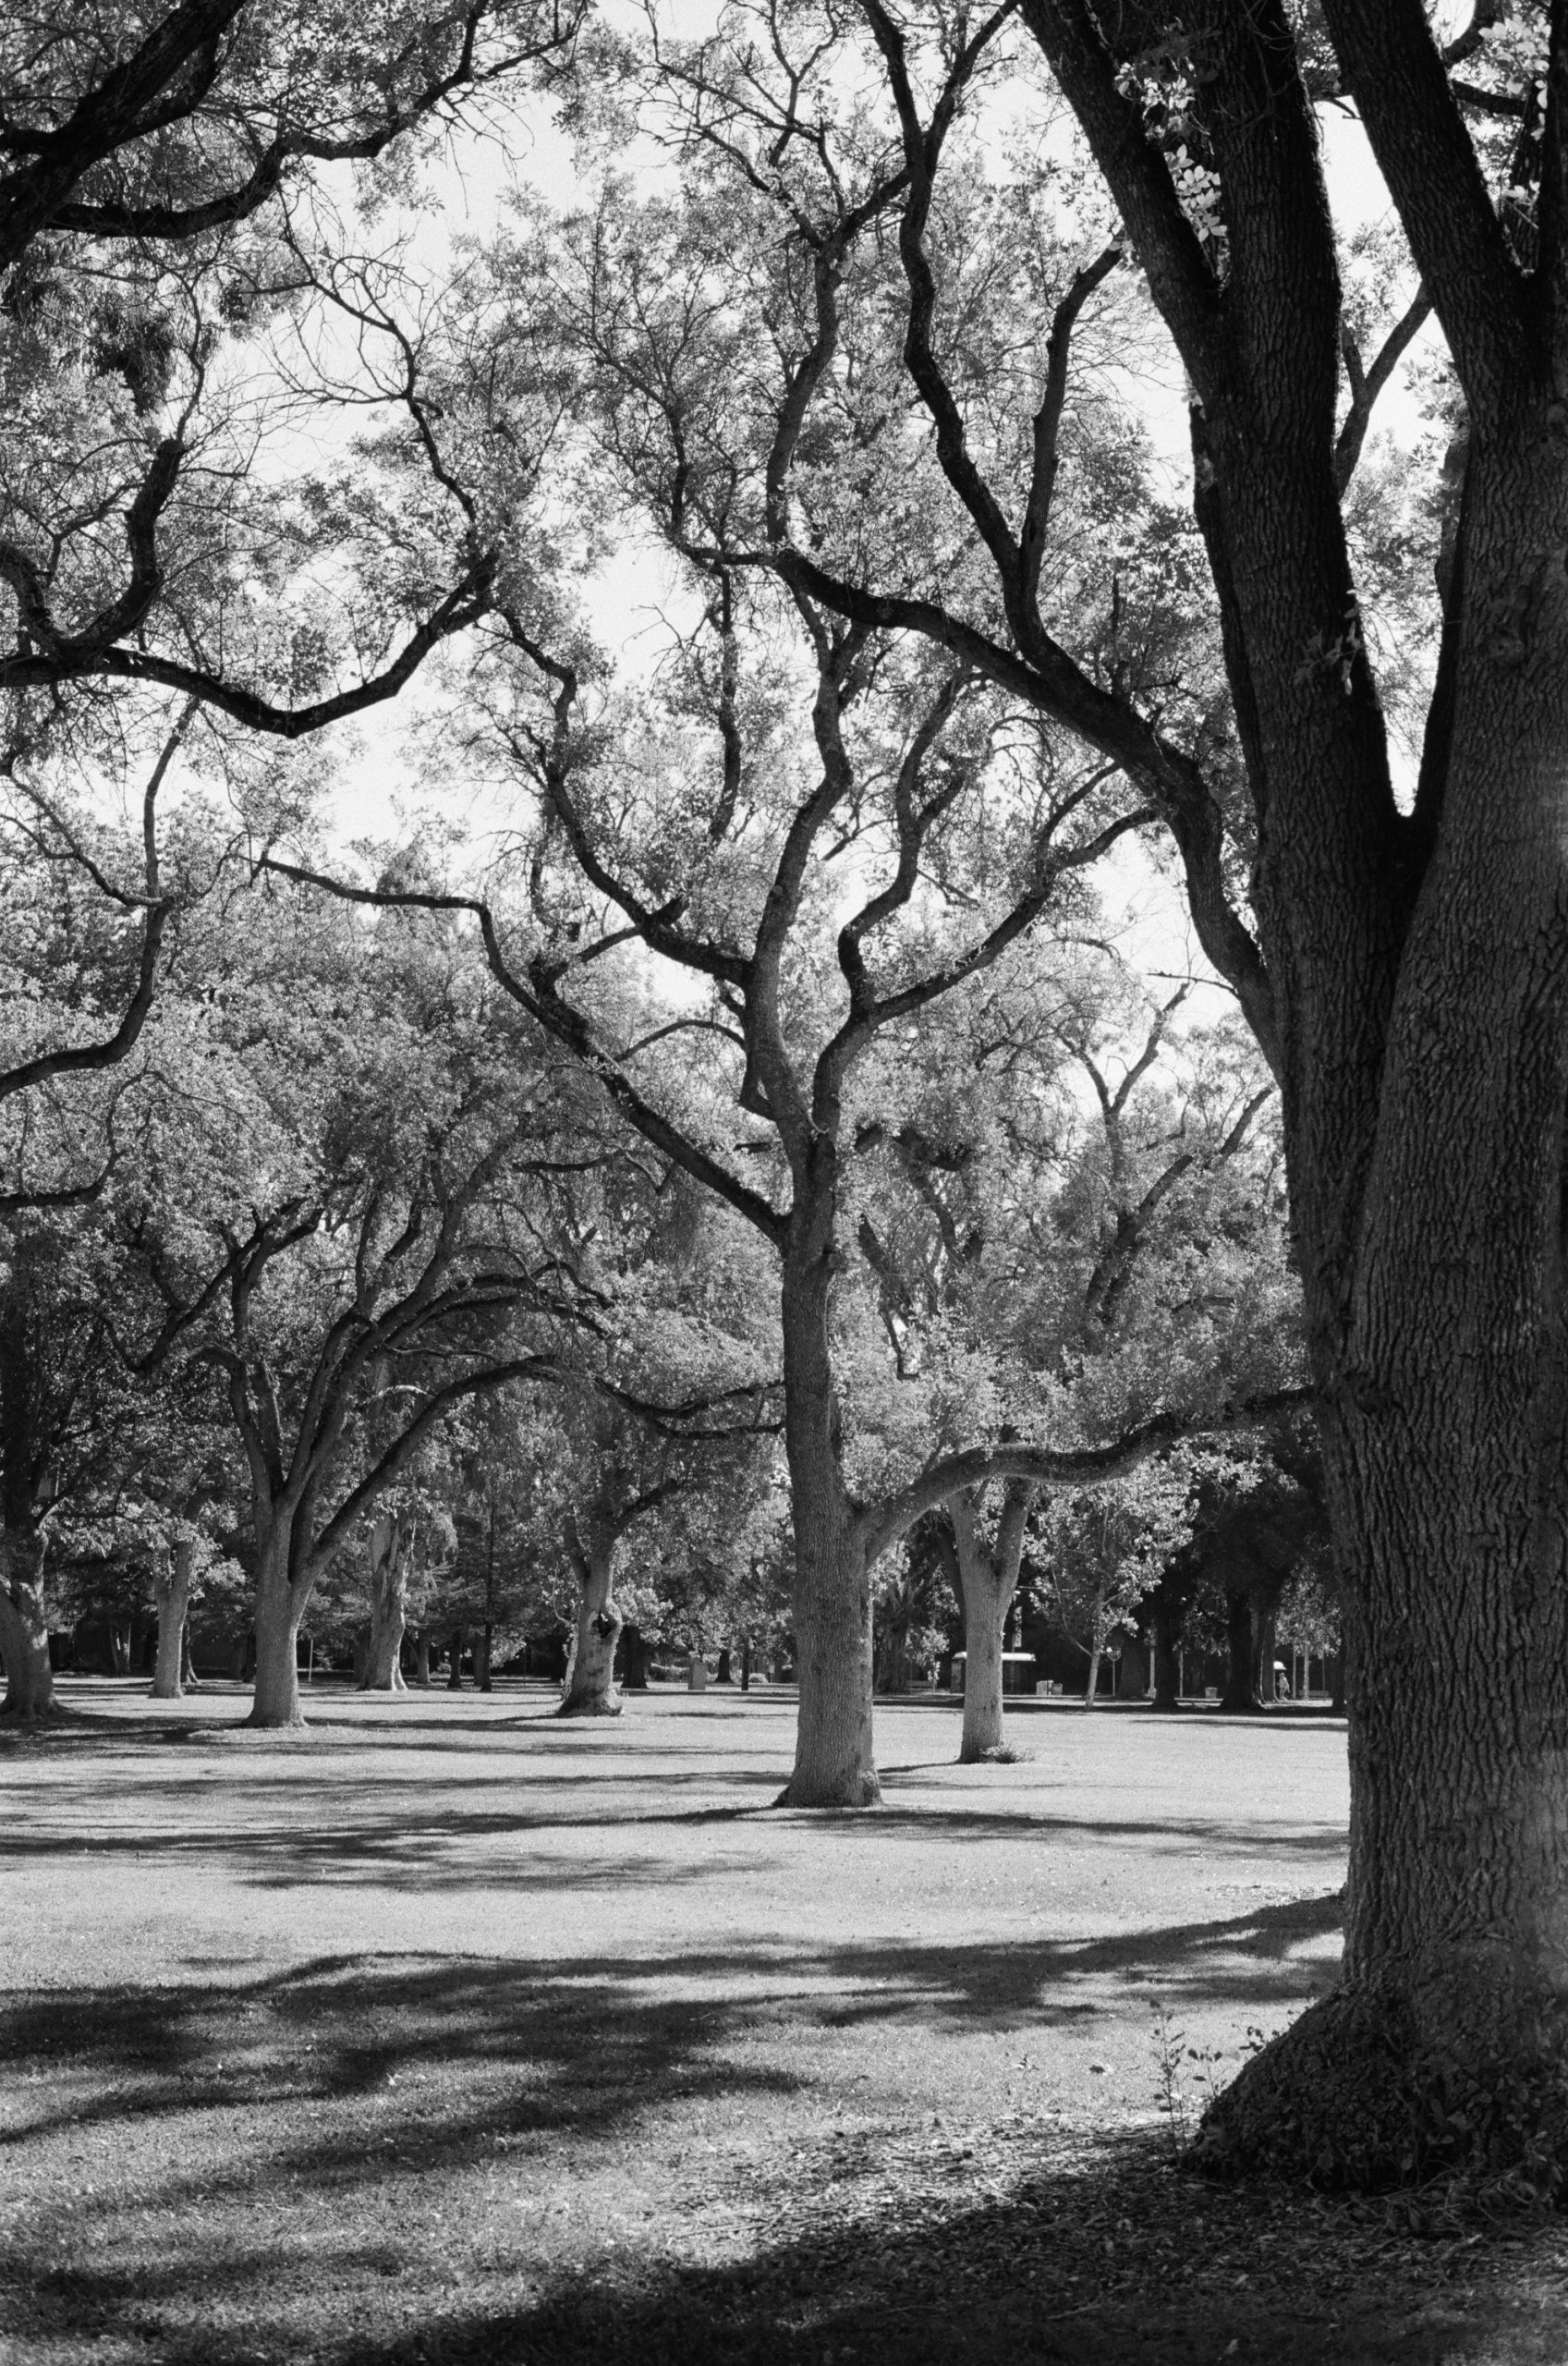
No Filter 
Yellow 12 Filter 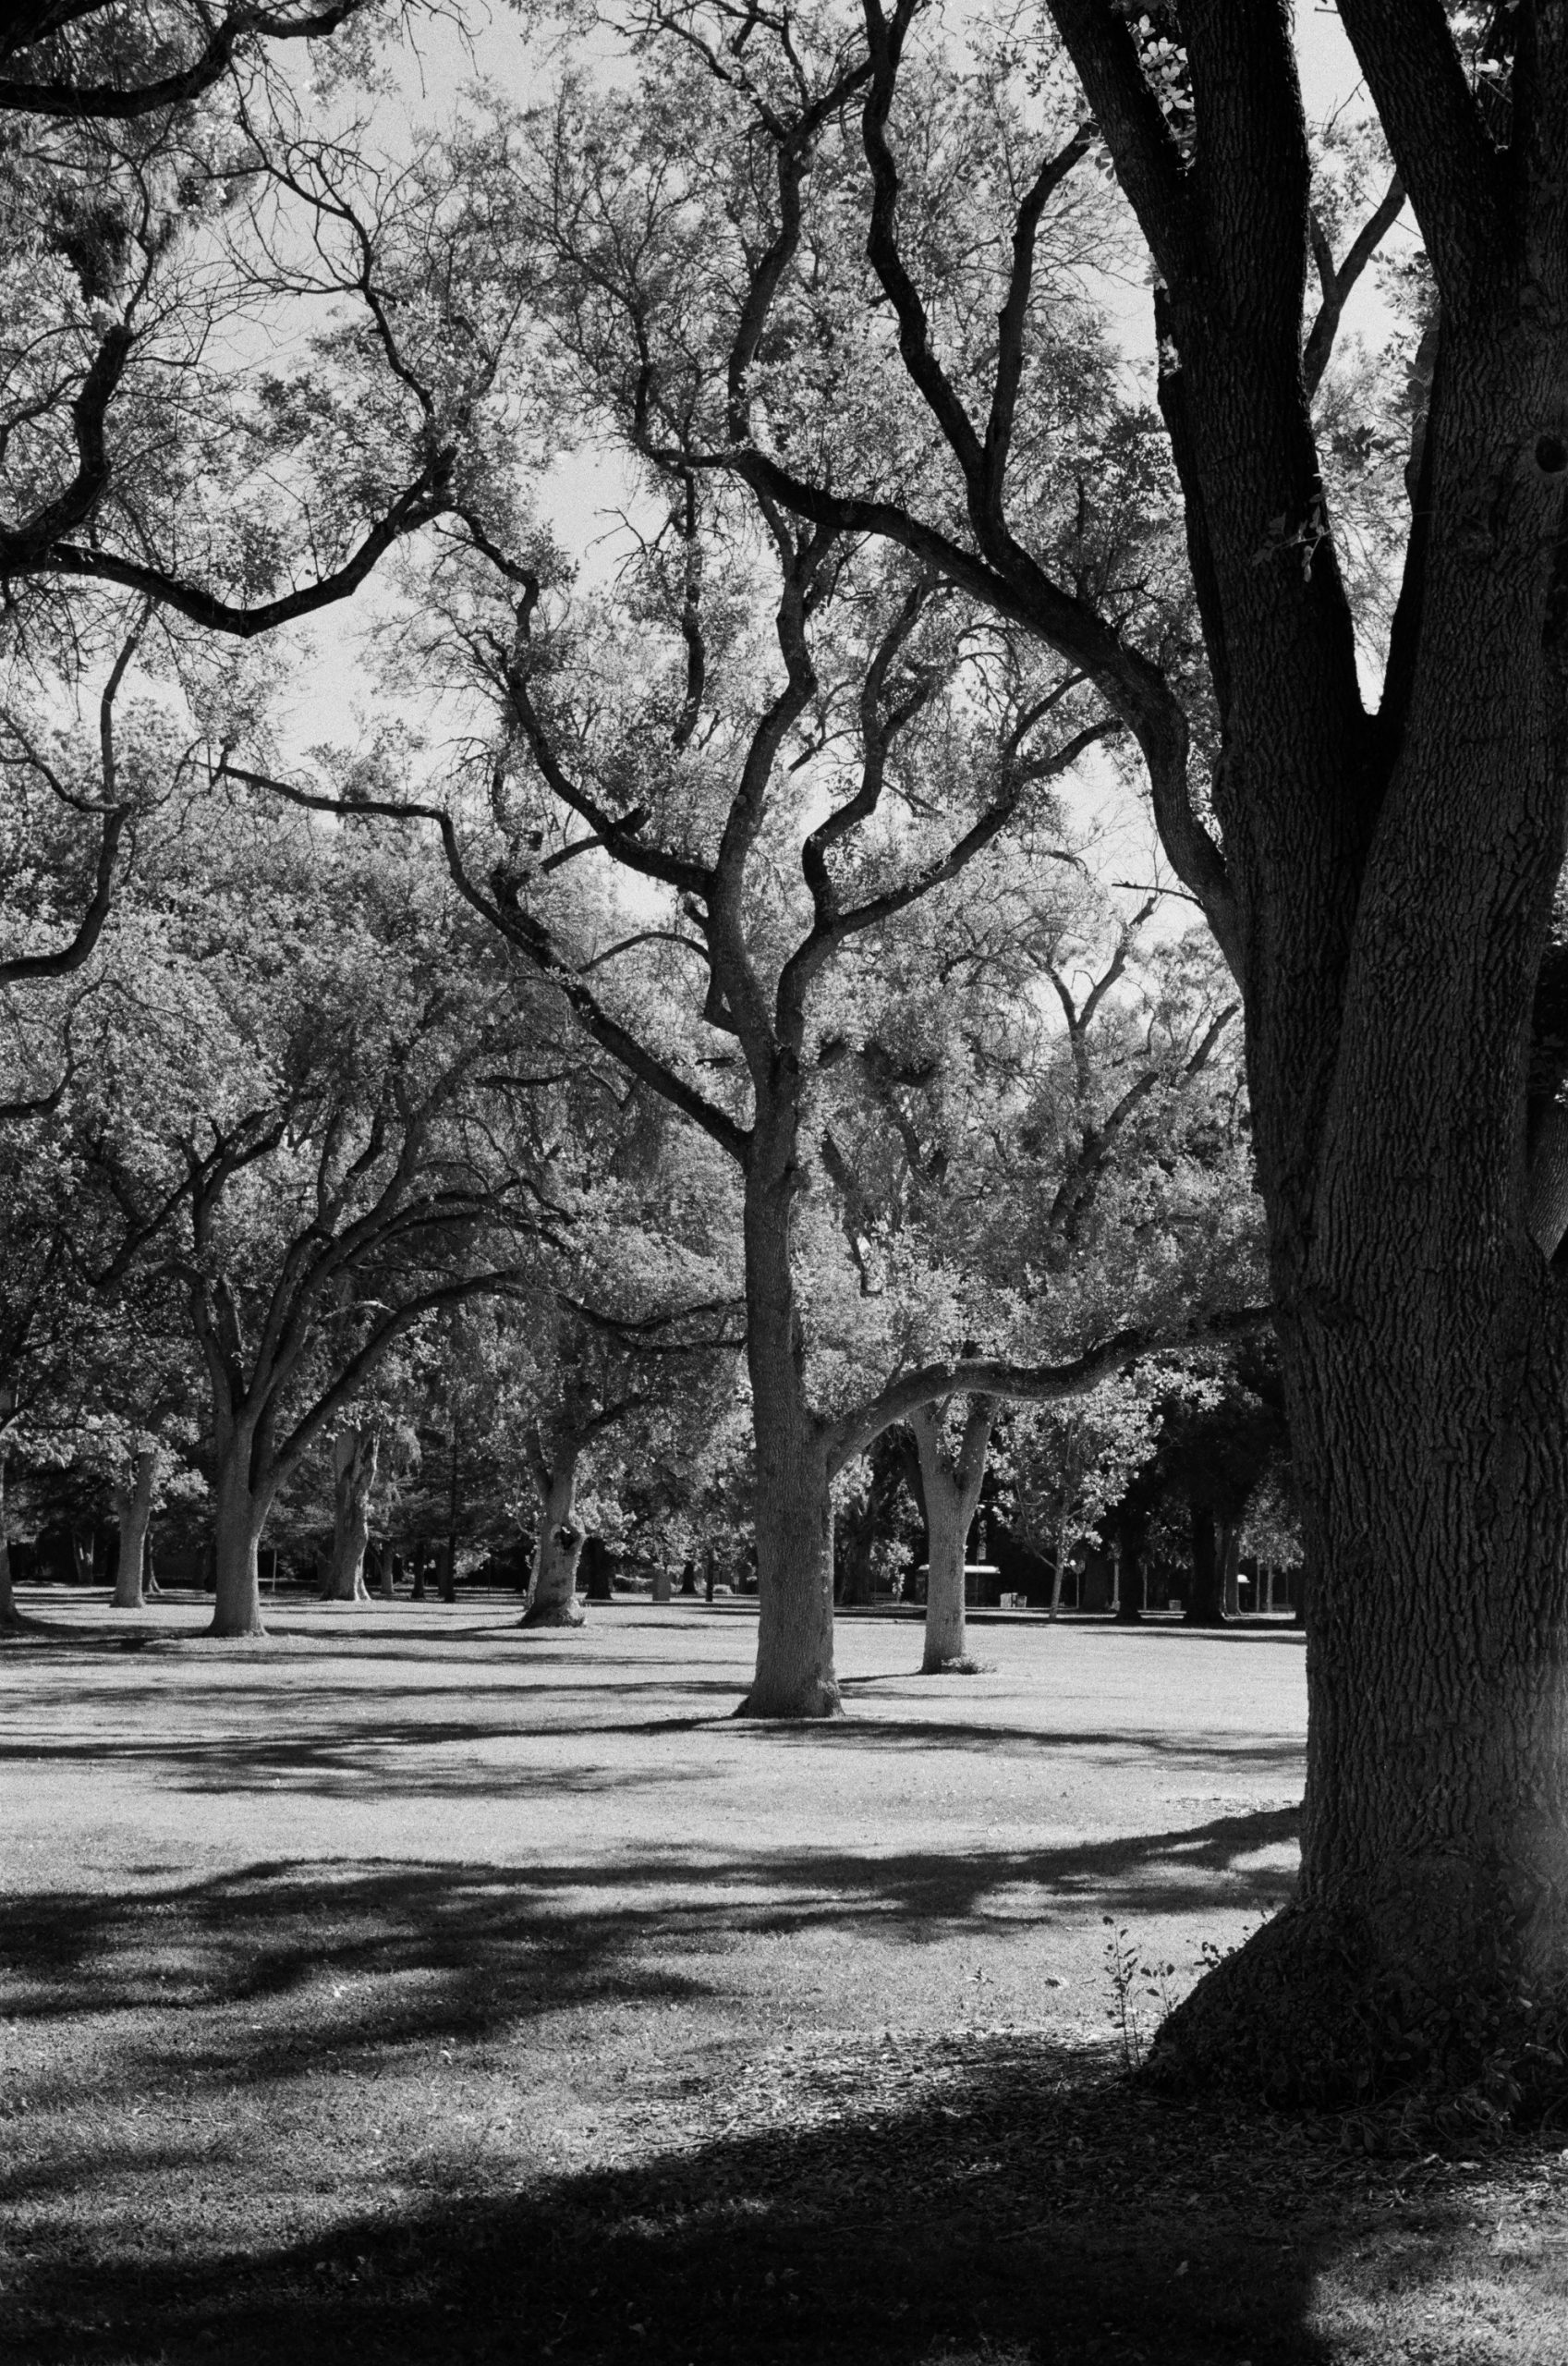
Orange 21 Filter 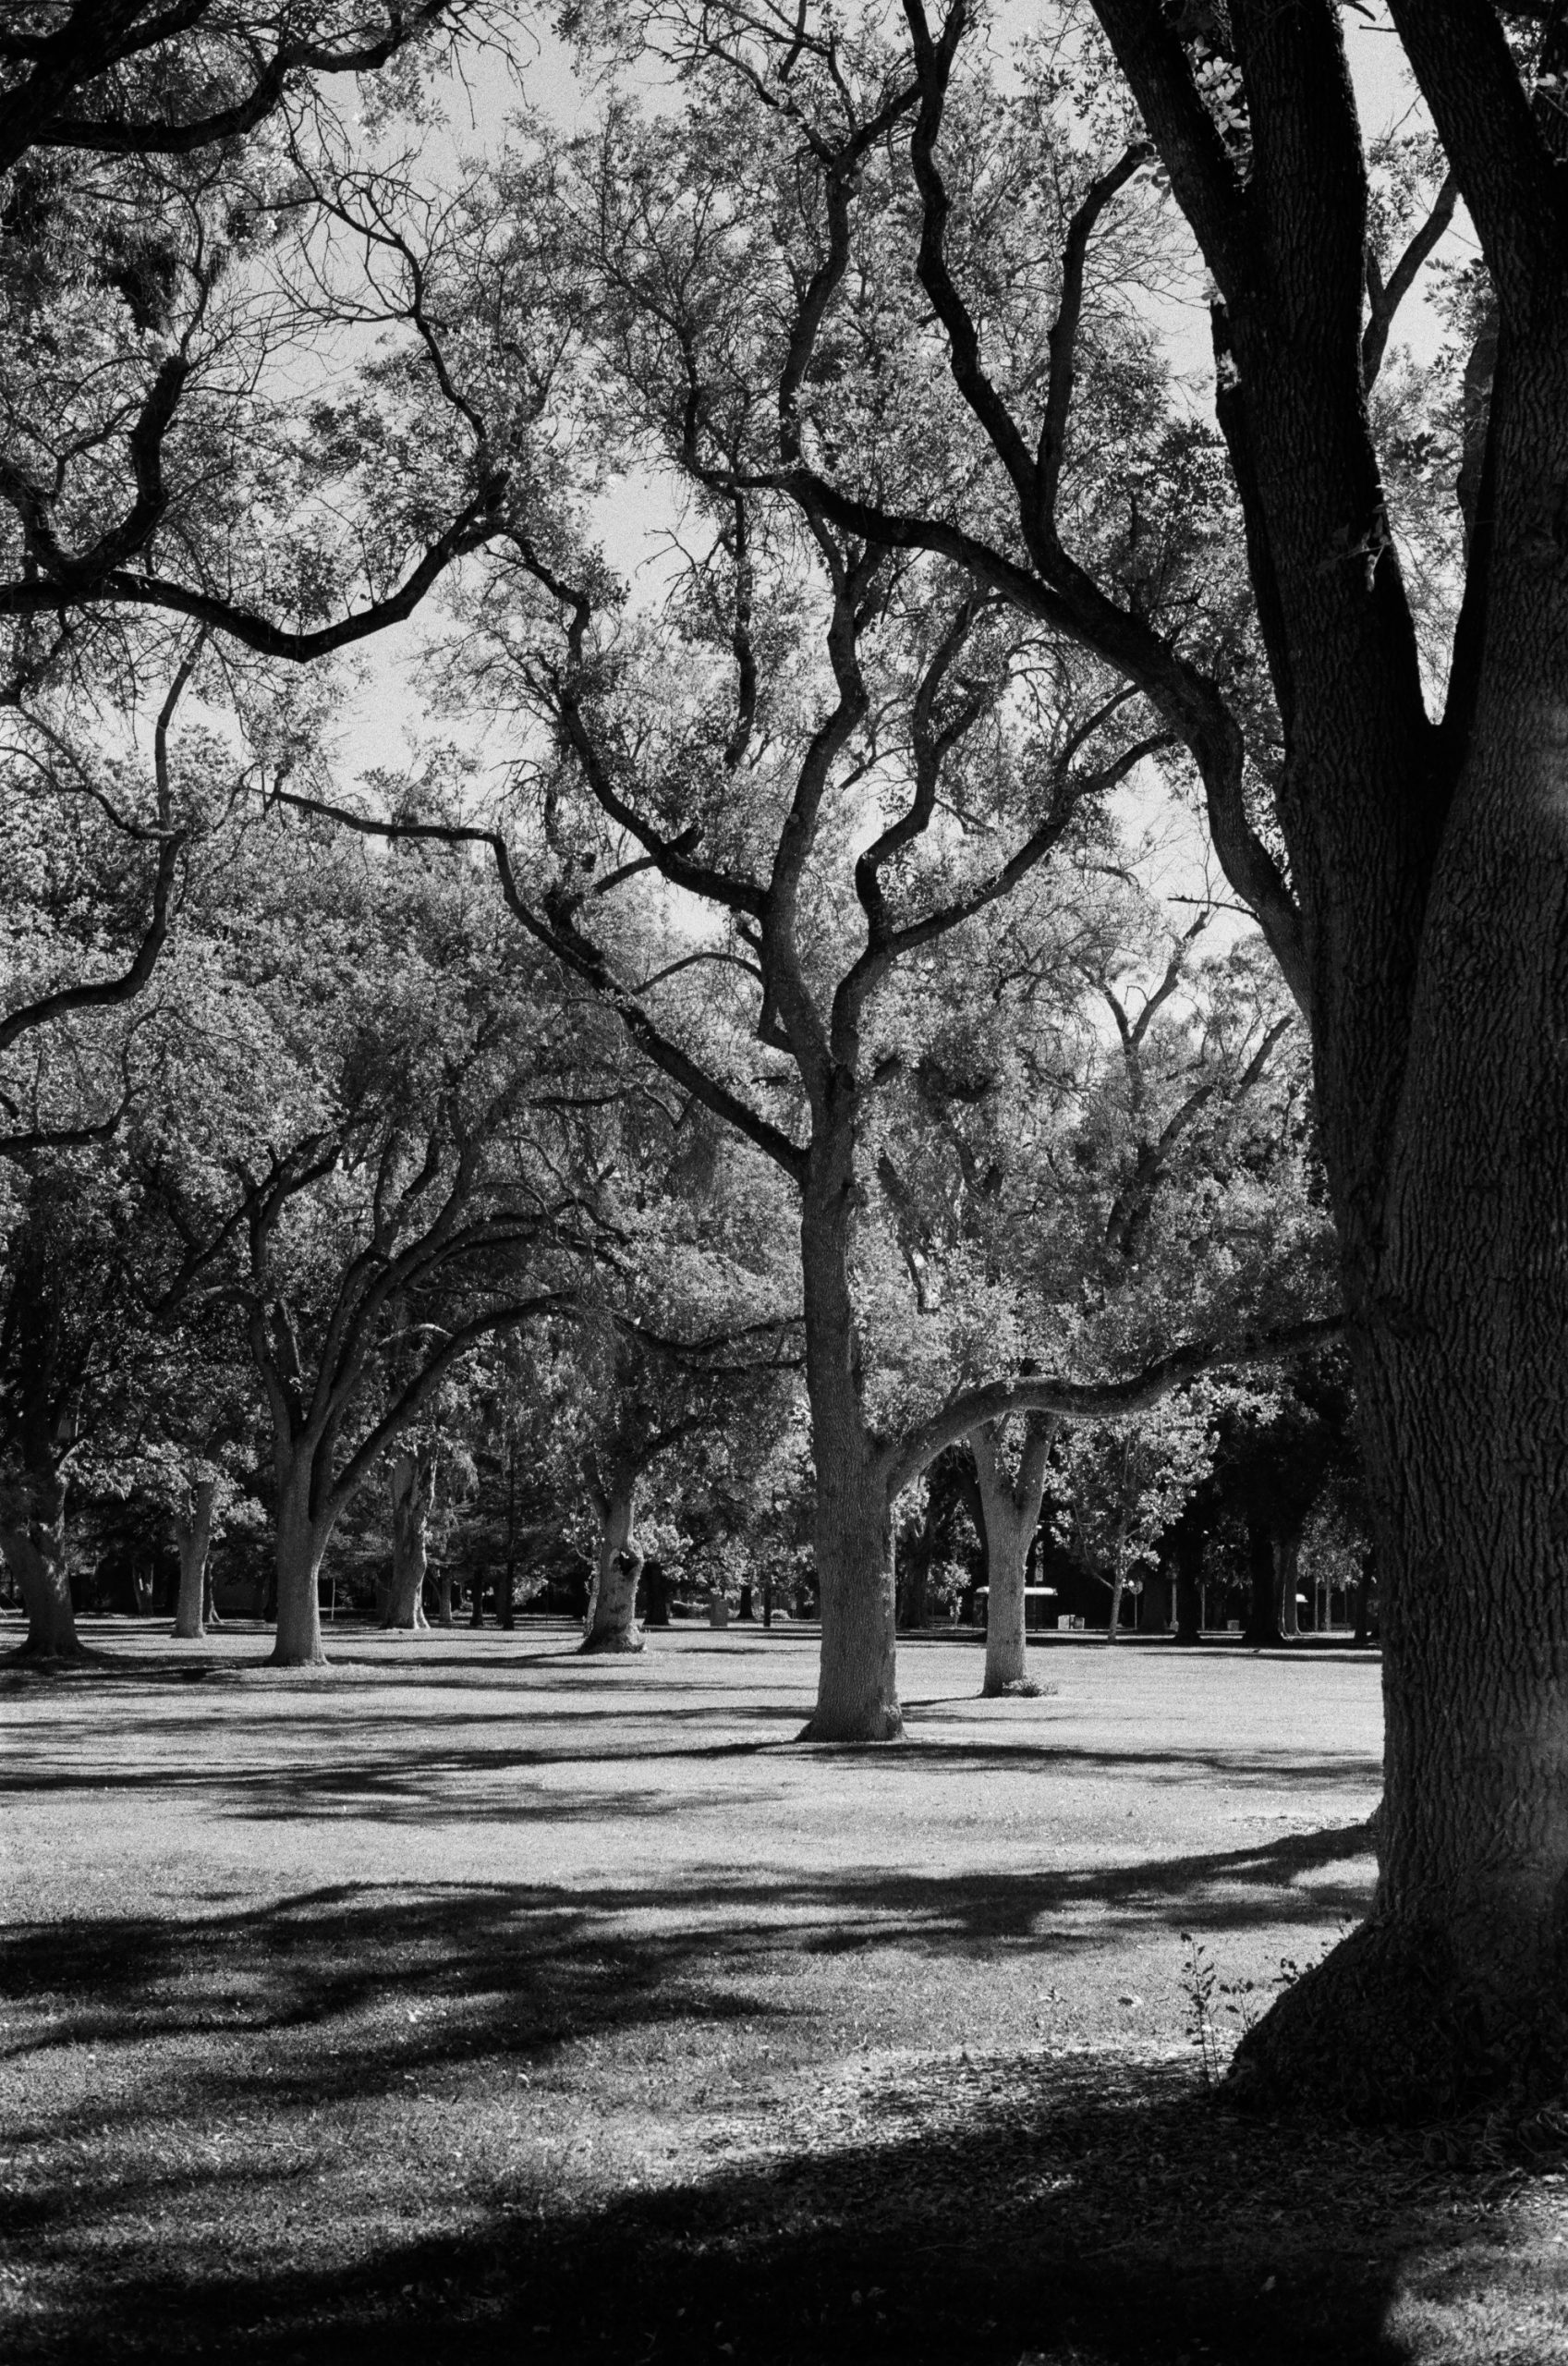
Red 25 Filter 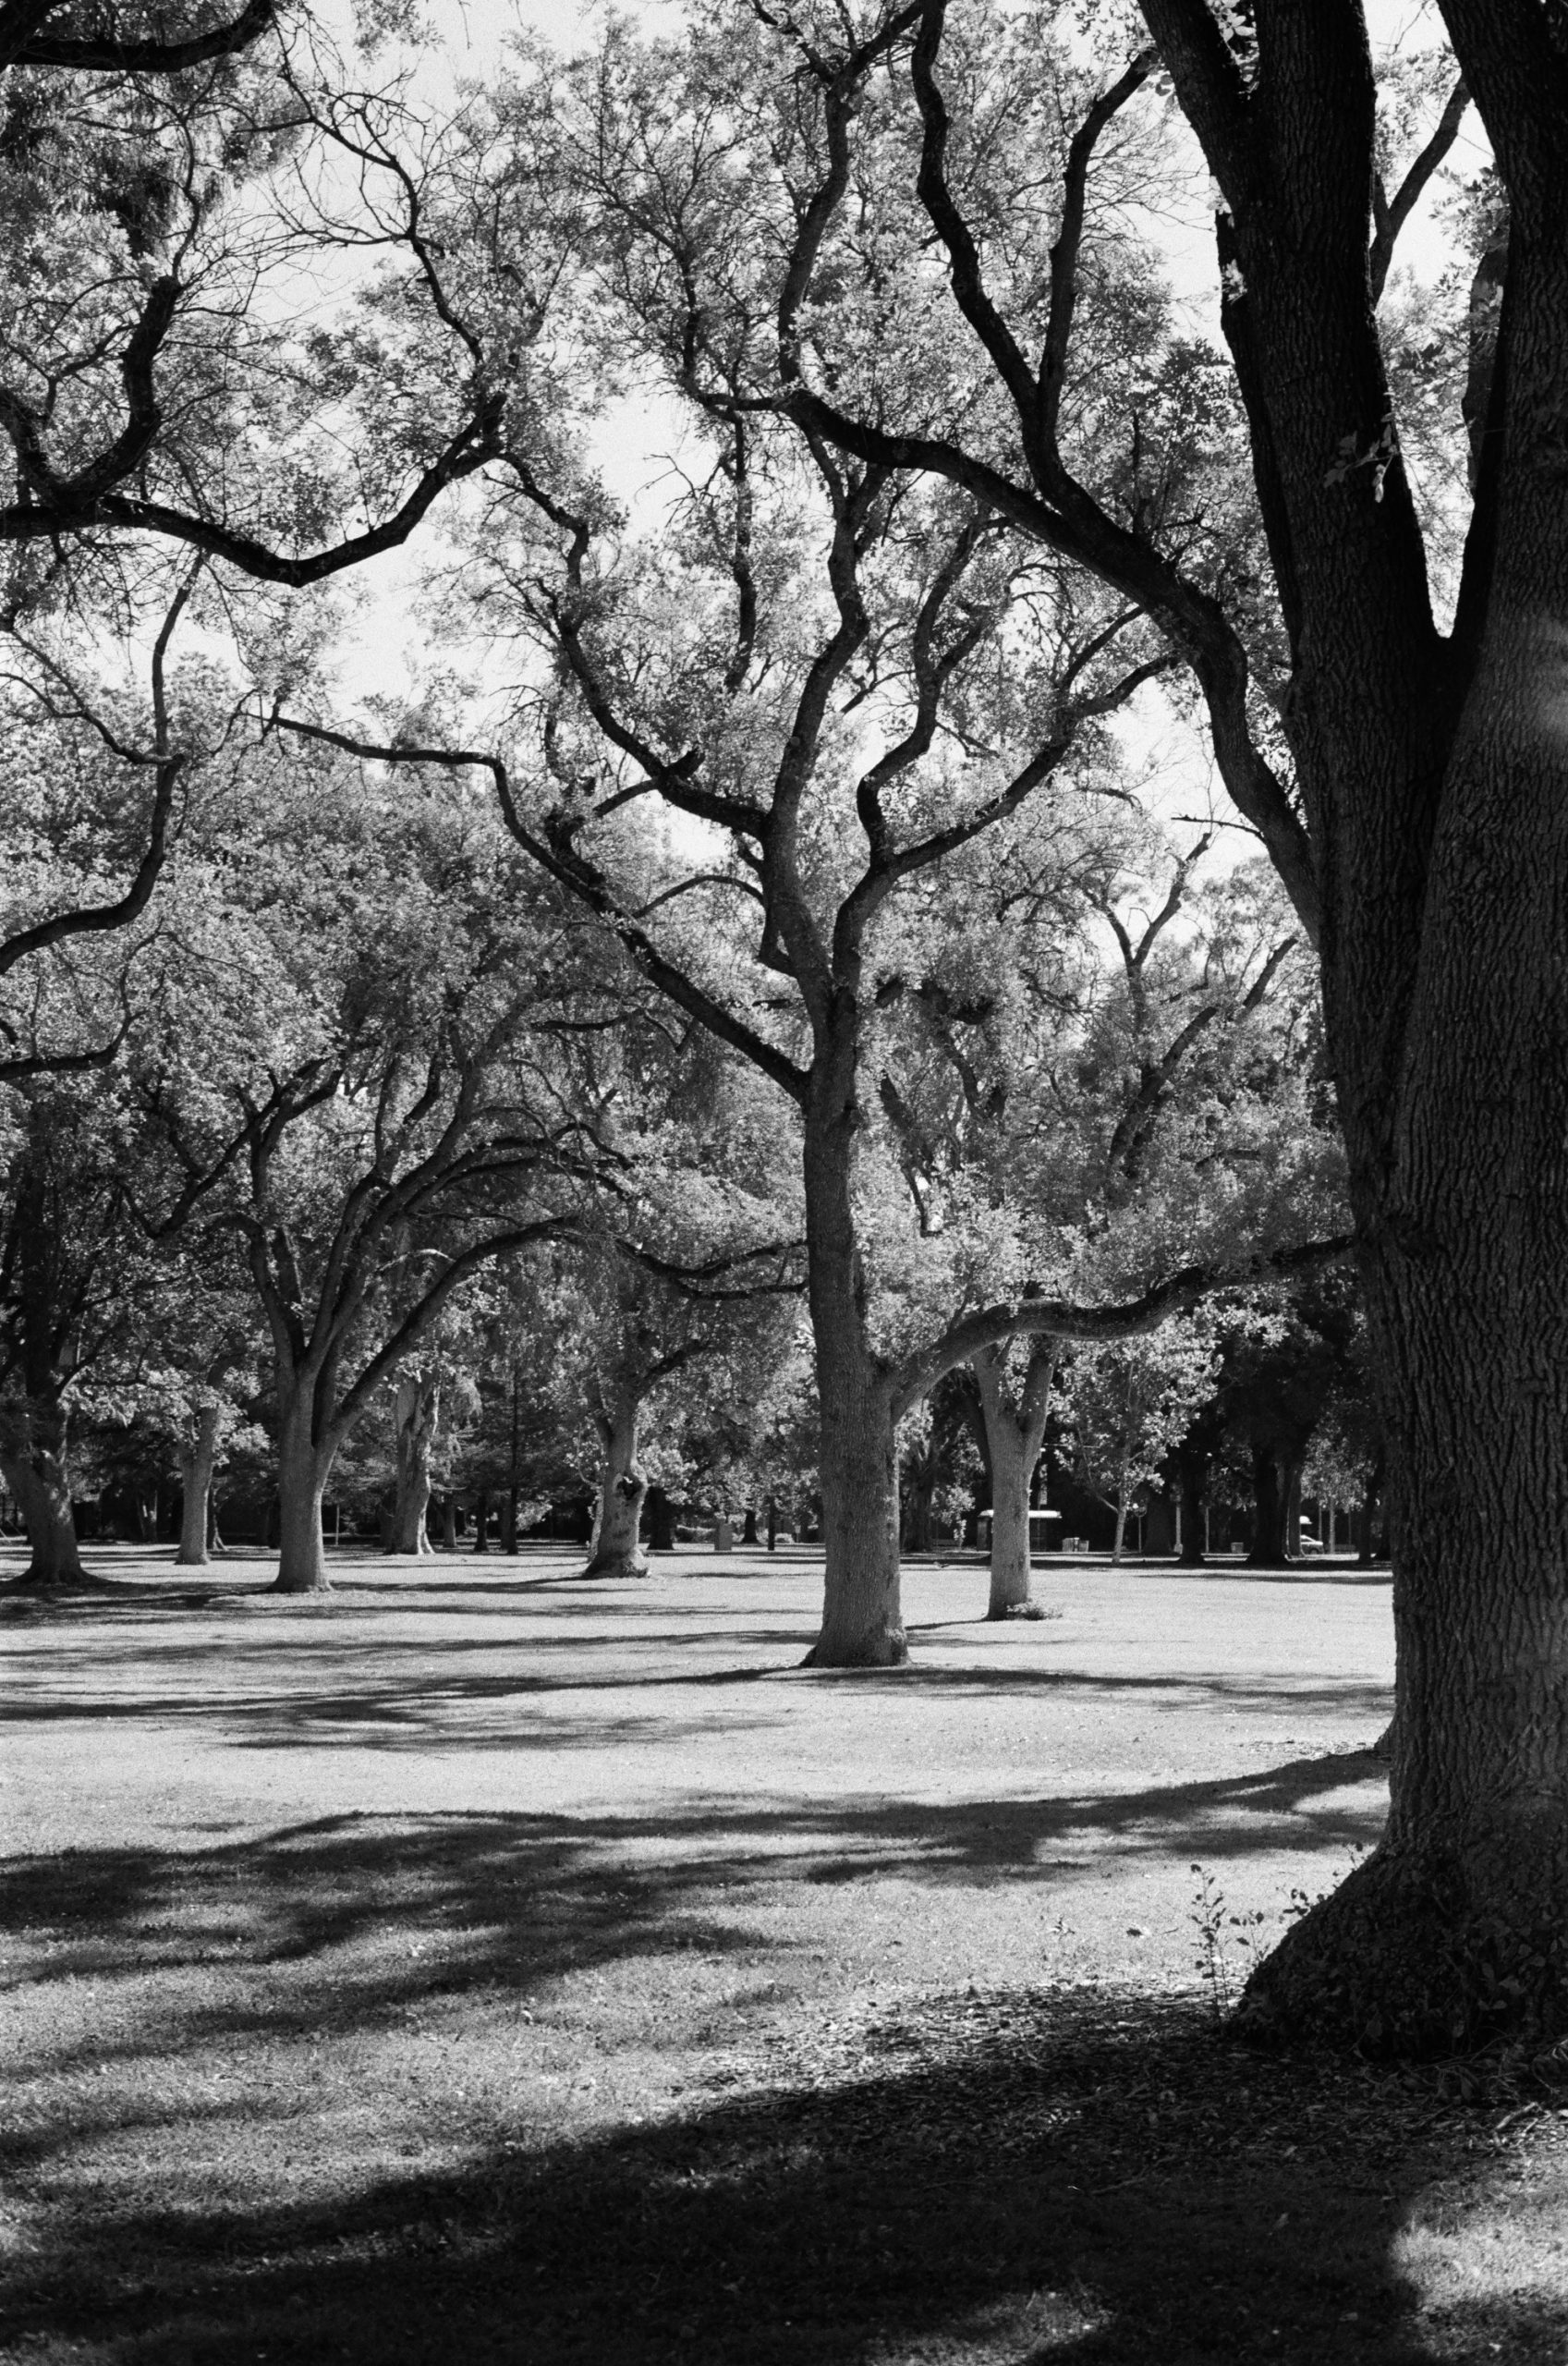
Green 11 Filter
Final Thoughts On Using Color Filters
Using a colored filter can create a unique look for B&W photography. Experimenting with different filters can yield beautiful results. We can all agree that it isn’t always necessary but may provide exciting effects for particular subjects or scenes. The kinds of effects that you never knew were possible, simply based on the color in the scene. Keep in mind that when it comes to exposure compensation, the outcomes will vary depending on the brand and filter type. For the purpose of this article, we used Tiffen Filters and were pleased with the outcome. Don’t forget to check out our Film Index for all you need to know about Black and White films. Once all is said and done, remember to check out The Darkroom’s easy online order form to get your rolls processed and printed.